A Comprehensive Guide to Crota's End Raid in Destiny 2
Conquer Crota's End with our no-nonsense guide to the Chalice of Light and every encounter, from the Abyss to Crota's defeat.
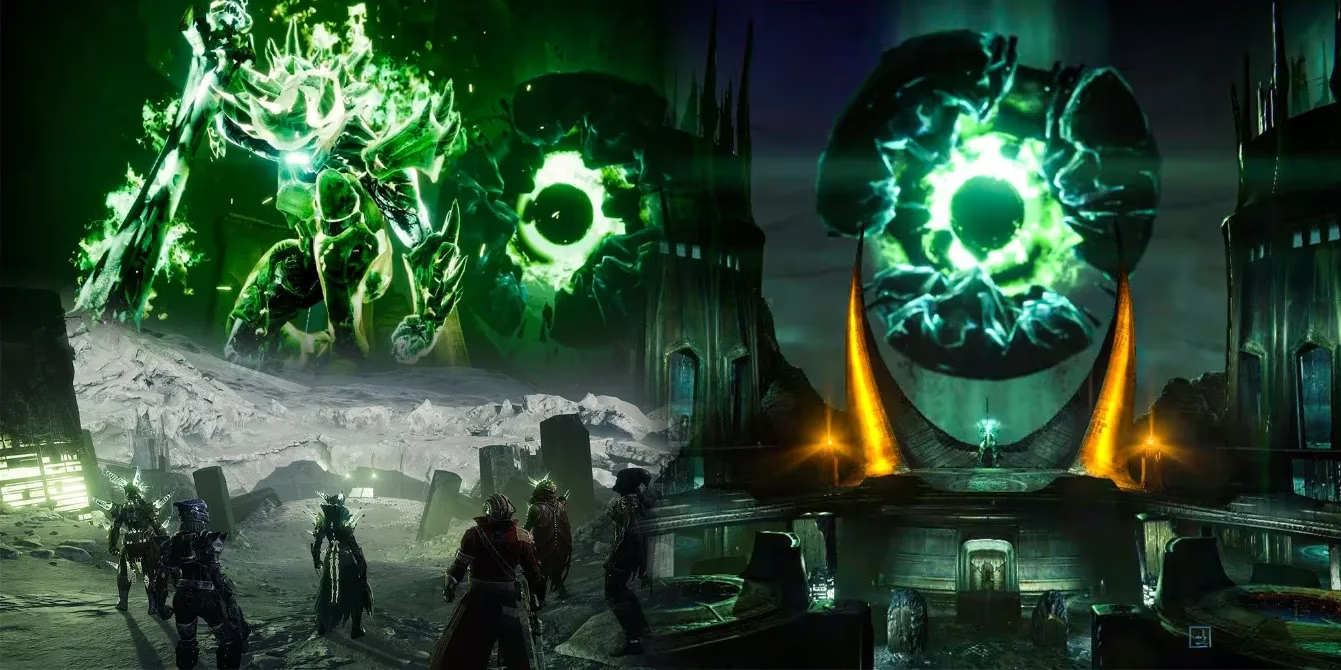
Since its reprisal in the Season of the Witch, Crota's End has become a fan‑favorite challenge for fireteams across the solar system. The familiar Hive‑themed corridors have been reworked with fresh mechanics that demand tight coordination and rapid adaptation. This guide breaks down every encounter, from the opening plate to the final showdown with Crota, Son of Oryx, ensuring even first‑timers can walk away with a chest full of loot.
At the heart of the raid lies the Chalice of Light, a relic that must be juggled between guardians throughout the entire journey. One player picks up the Chalice and gains a stacking meter; slaying enemies accelerates its fill. Once the meter overflows, the carrier receives the Engulfed in Light debuff — a 10‑second countdown to an explosion that kills the holder. To survive, another fireteam member must take the Chalice before the timer expires, which grants the new carrier an Enlightened buff. This Enlightened state is the key to every major action in the raid, from activating plates and lighting lanterns to bypassing spectral walls and wielding Hive swords.
Opening Encounter: Building the Bridge
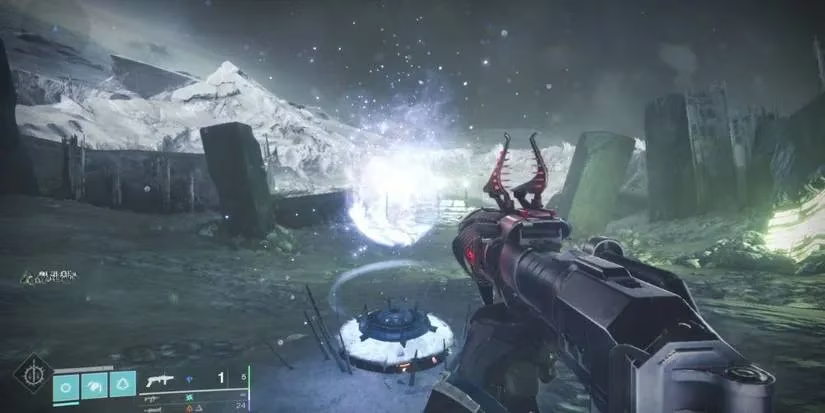
The raid begins right outside the Hellmouth. The team spots the Chalice of Light hovering near the edge of a broken bridge. Picking it up starts a simple but instructive loop: fill the Chalice, transfer it to generate an Enlightened buff, and then deposit that Enlightened energy onto the plate adjacent to the bridge. Each deposit raises a portion of the walkway. While one player handles the Chalice, others fend off swarming Thrall and Acolytes. When the plate has been Enlightened enough times, the bridge fully materializes, and everyone plunges into the Abyss.
First Encounter: Navigating the Abyss
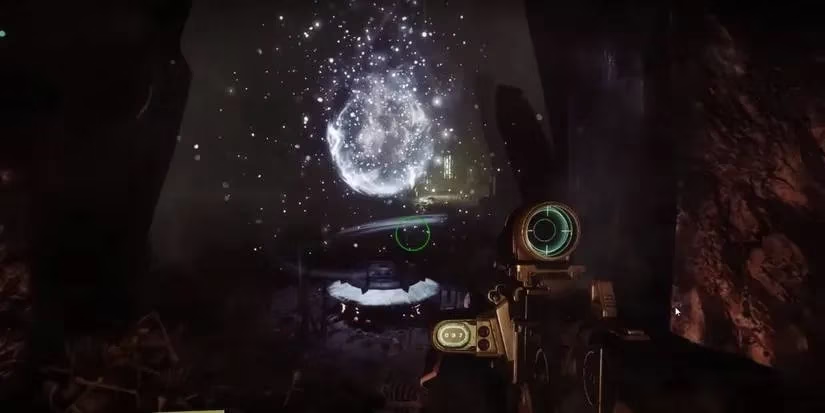
Dropping into the darkness applies two debilitating effects to every guardian: Weight of Darkness, which drastically slows movement, and Engulfed in Darkness, a team‑wide wipe timer. The only way to reset these debuffs is to activate Hive Lanterns scattered along a twisting maze.
The maze loop is relentless but rhythmic:
-
One guardian fills the Chalice and then hands it off, creating an Enlightened player.
-
The Enlightened player interacts with the nearest Hive Lantern, causing it to glow and refresh the darkness debuffs for anyone standing nearby.
-
The player holding the Chalice may also preserve it by depositing the relic at a lantern pedestal, which allows a different teammate to pick it up later.
Each lantern can be used only briefly before it ignites in lethal red light, forcing the team to move constantly. Anyone who recently became Enlightened gains Drained of Light — a short cooldown that prevents them from immediately picking up the Chalice again. Thrall and Knights flood the path, making add‑clear vital.
At the end of the maze, a final plate appears. Enlightening it once more builds the bridge to the next area.
Second Encounter: Oversoul Throne Bridge
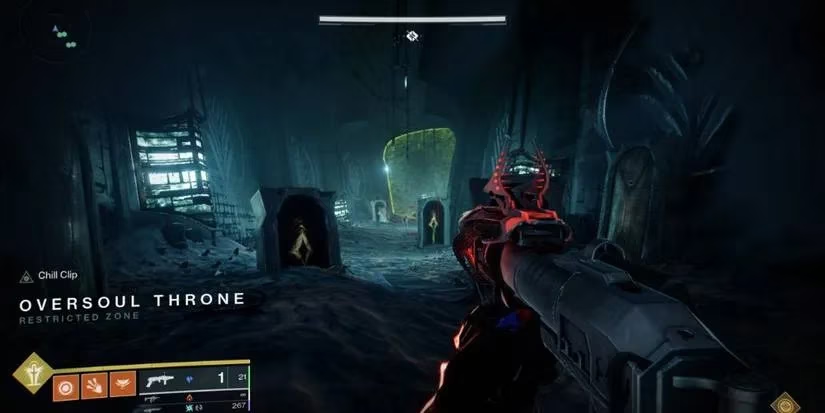
The fireteam enters a wide chamber split by a chasm. Both sides feature three plates: a central bridge‑forming plate and two Annihilator Totem plates on the left and right. The mechanic remains the same — shuffle the Chalice to create Enlightened carriers — but now the Annihilator Totems activate when someone occupies the middle plate. If a totem is left unattended, it glows red and eventually wipes the party. Therefore, two guardians must permanently hold the left and right totems while the rest manage the Chalice.
Once the central plate has been Enlightened sufficiently, Swordbearers spawn. Killing a Swordbearer drops a Hive Cleaver, which can only be picked up by an Enlightened player. The sword‑bearer can then traverse the bridge without being killed by the chasm’s energy. They cross to the far side, kill the Gatekeeper (sword damage only), and preserve the sword in a designated slot. The Chalice carrier can accompany them to deposit the relic on the far side, resetting the Engulfed debuff.
This cycle repeats until five Gatekeepers have been slain and five swords are preserved. At that moment, a swarm of Gatekeepers spawns on the far side. The guardians there must shuffle the Chalice among themselves to become Enlightened, retrieve the stored swords, and cut down every Gatekeeper. Completing this brawl ends the encounter.
Sword Mechanic Summary
| Step | Action |
|---|---|
| 1 | Kill Swordbearer, take Cleaver (requires Enlightened) |
| 2 | Cross bridge, slay Gatekeeper with Cleaver |
| 3 | Preserve Cleaver on far side |
| 4 | Repeat for five total swords |
| 5 | Use preserved swords to kill the Gatekeeper horde |
Traversing the Green Walls
After the bridge, the team enters a narrow hallway blocked by two translucent green walls. Only an Enlightened guardian can pass through. Once on the other side, they must immediately destroy the Shrieker stationed there, causing the barrier to dissipate for everyone else. The process repeats for a second wall. Beyond lies the final arena.
Third Encounter: Defeating Ir Yût
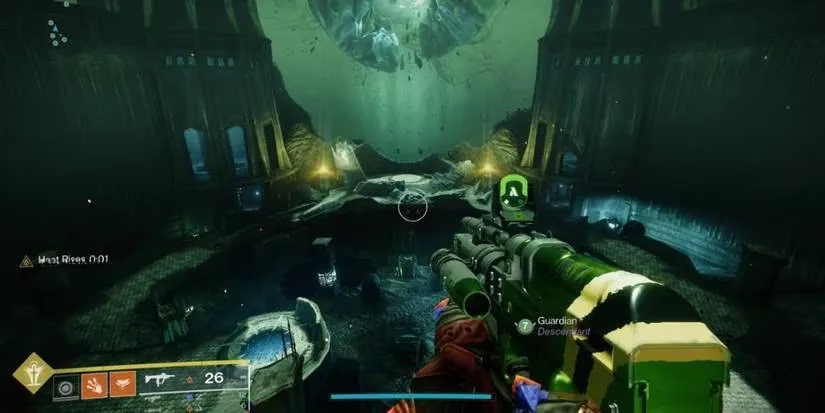
The Deathsinger’s lair requires the fireteam to split into two squads of three: left and right. Add‑clear triggers the collapse of successive barriers, eventually revealing a shielded Wizard — Ir Yût — in the central room alongside the Chalice.
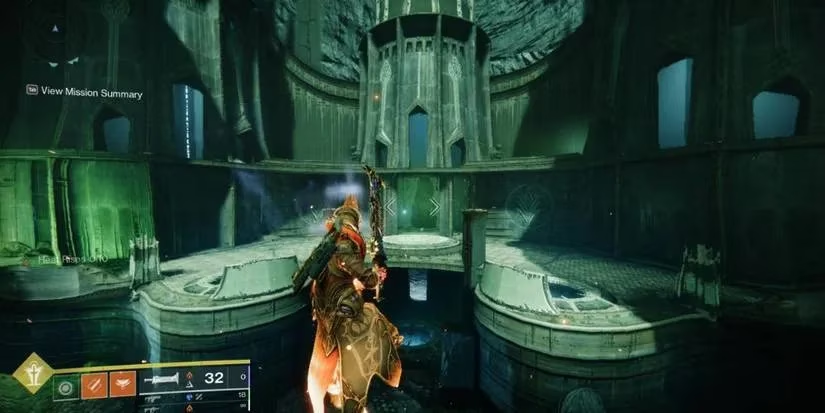
Seven side rooms ring the arena. Most contain Shriekers, but a set number house Hive Wizards. The encounter unfolds in three phases, each demanding more Wizards be slain simultaneously:
-
Phase 1: 3 Enlightened guardians enter rooms and kill the 3 Wizards at the same time. A simultaneous kill triggers Dark Liturgy, a 45‑second wipe timer. During this window, Ir Yût’s shield drops and the team must deal a massive amount of damage.
-
Phase 2: 4 Wizards must be killed simultaneously. The DPS window reappears.
-
Phase 3: 5 Wizards. Another DPS phase to finish off the Deathsinger.
Coordination is everything. Using a Well of Radiance or Ward of Dawn in the central room helps survive the relentless enemy waves while the Chalice is shuffled.
Final Encounter: Crota, Son of Oryx
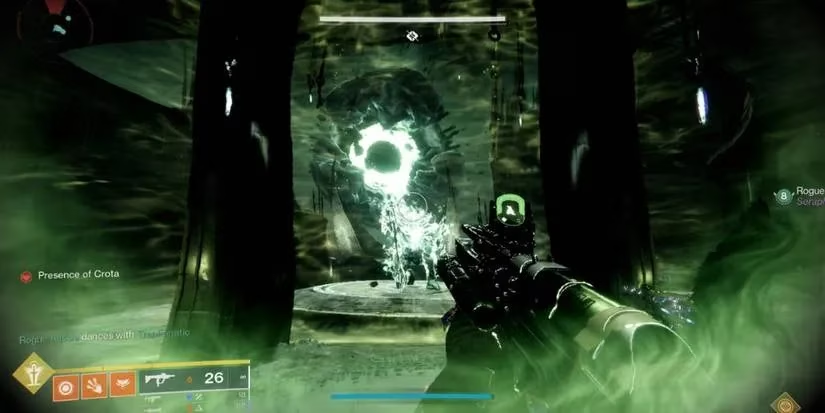
The raid climaxes in the same hall, now shrouded by transparent walls. Gathering near the central pillar triggers the fight. Crota rises, immune until the correct conditions are met.
A Chalice of Light sits in the middle of the arena, but the transfer mechanic changes: players must stand in circular Pools of Light scattered around the floor to pass the Chalice and generate an Enlightened buff. Knights in the upper left and right rooms must be killed to spawn Swordbearers. When an Enlightened guardian picks up a dropped sword, they can lower Crota’s shield.
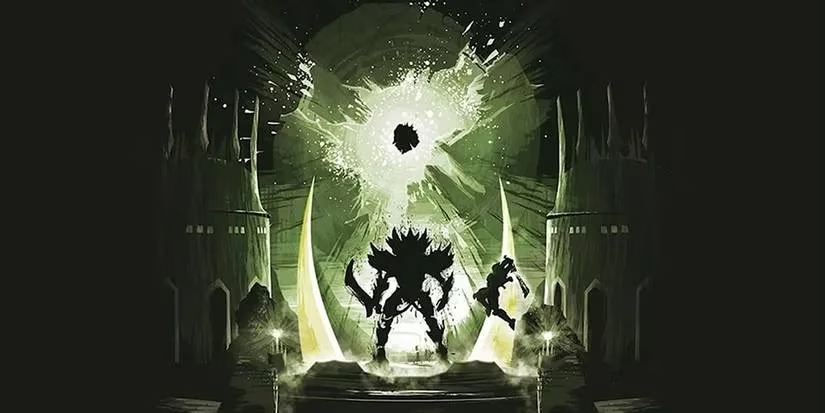
Damaging Crota requires a coordinated push. Two or three sword‑wielders must charge together, as Crota’s melee can one‑shot a lone guardian. Once the shield breaks, a 30‑second Oversoul orb appears at the front of the arena. Designate one Enlightened player to shoot the Oversoul at the last possible moment — the longer they wait, the more damage the team can pour into Crota. After the Oversoul is destroyed, the damage phase ends and the cycle repeats.
When Crota’s health drops low enough, he enters a Final Stand. He becomes briefly immune, then vulnerable again. Fire everything. A second Oversoul with a shorter cooldown will spawn soon after; due to odd timing bugs, it often wipes the team regardless, so slaying Crota before that second orb expires is the ultimate goal.
Final Tips 🛡️
-
Communication is key: Assign a dedicated Chalice runner for each encounter and call out when the meter is nearly full.
-
Loadout matters: Lament and other high‑burst swords excel against Gatekeepers and Crota. Splash weapons help with the Abyss Thrall.
-
Stay mobile in the green walls: Killing the Shrieker quickly is vital, but watch out for Hive boomers on the far side.
With teamwork and patience, Crota’s End becomes one of the most rewarding raids in Destiny 2. Good luck, Guardian.