A Guardian's Complete Guide to Destiny 2's Imbaru Engine Trials
Discover the secrets of the Imbaru Engine and Minor Arcana in Destiny 2 with this expert guide to unlocking Savathun's most intricate puzzles.
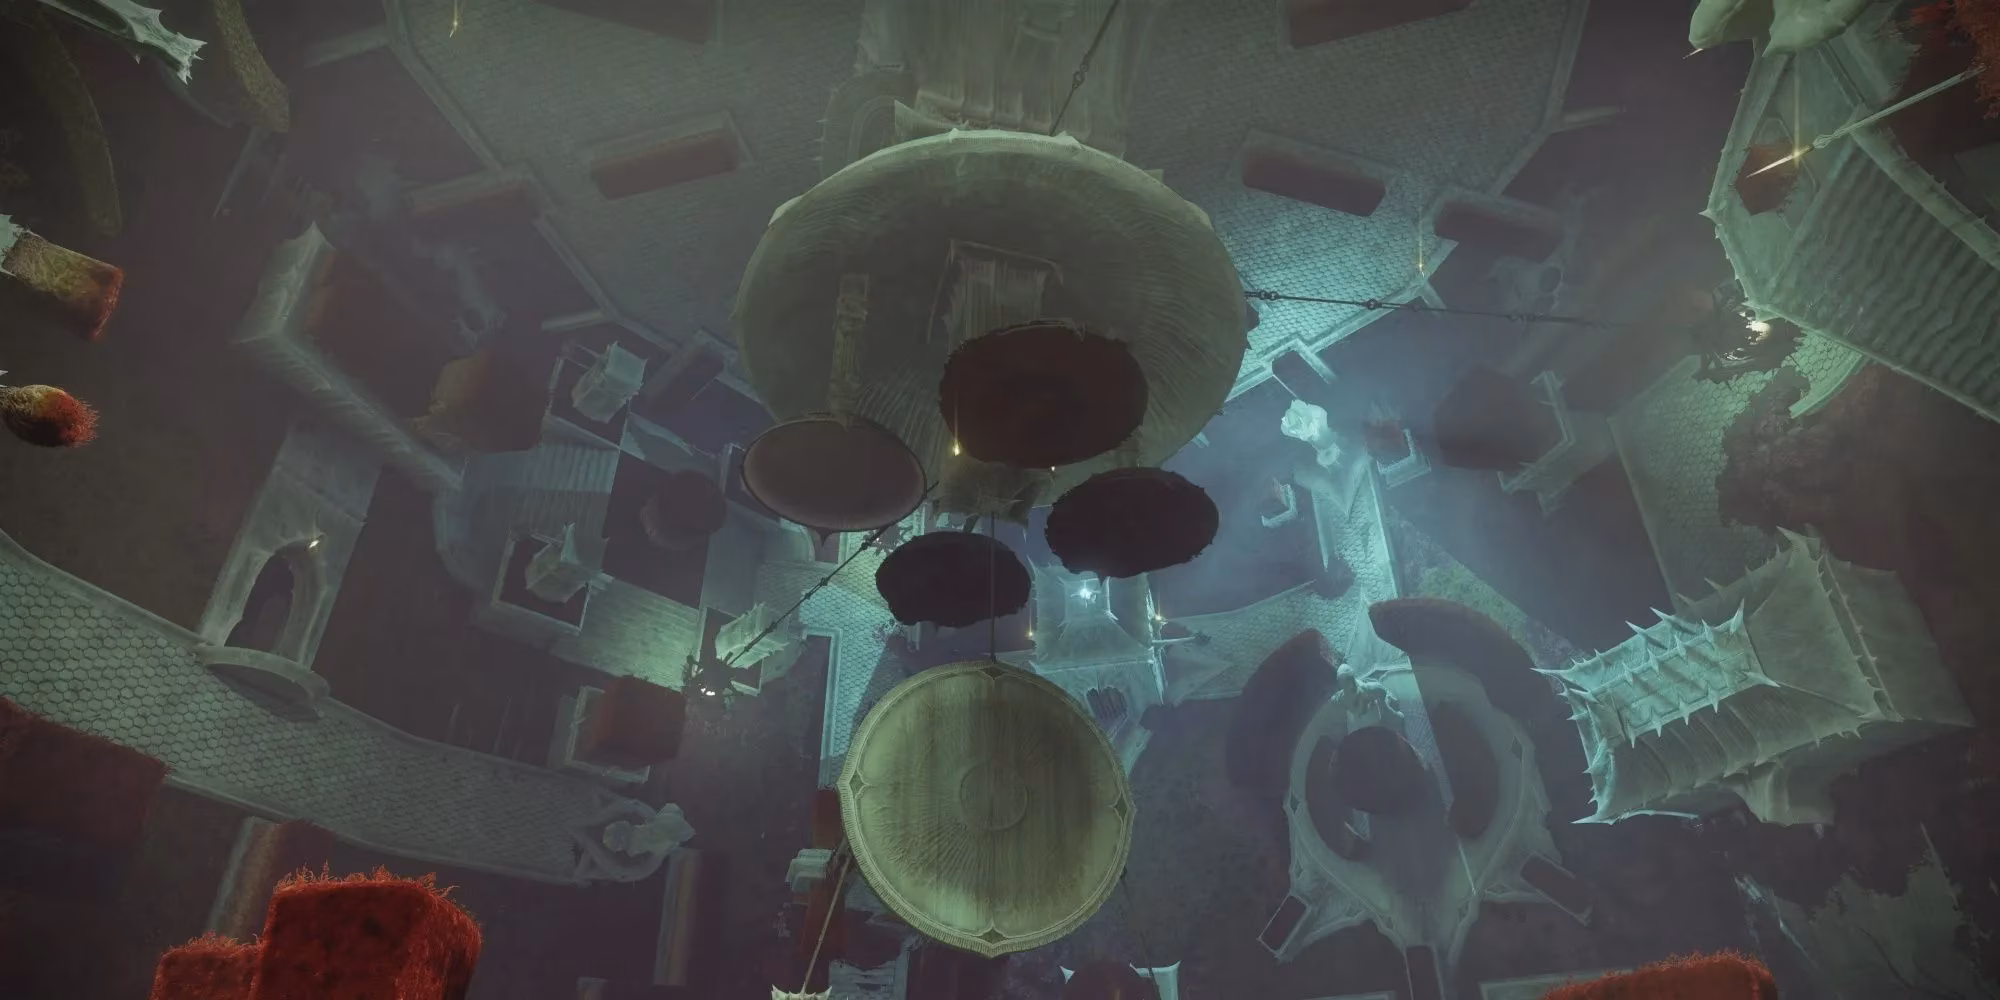
As a seasoned Guardian, I've spent countless hours unraveling the secrets of Savathun's machinations. The Imbaru Engine, introduced in Destiny 2's Season of the Witch, stands as one of her most intricate and rewarding puzzles. I remember first unlocking it after completing the fifth week of "The Bladed Path" quest. The activity, nestled quietly next to the Altars of Summoning in the H.E.L.M., felt deceptively peaceful. No enemies, no modifiers, just the silent, imposing architecture of Hive design daring me to solve its riddles. Over the weeks, Bungie revealed its full scope, culminating in a final, brain-bending test that teased the future. Let me guide you through every step, from finding the hidden cards to conquering the ultimate Test of Truth and Lies.
🔑 Unlocking the Trials: The Minor Arcana Hunt
Before you can even attempt the main trials, you must prove your worth by finding their corresponding Minor Arcana cards scattered across the seasonal activities. It's a scavenger hunt that tests your observation skills.
-
Test of Strength Card: This one hides in Savathun's Spire, just before the final boss arena. Walk past the card pedestal, turn right, and you'll spot it floating in a room corner. A simple grab, but easy to miss in the heat of battle.
-
Test of Navigation Card: For this, head to the Altars of Summoning. On the southern part of the arena, a statue holds a Hive crystal. Shatter it to reveal the Opaque Card, then climb up to claim it. Returning to the H.E.L.M. deciphers it.
-
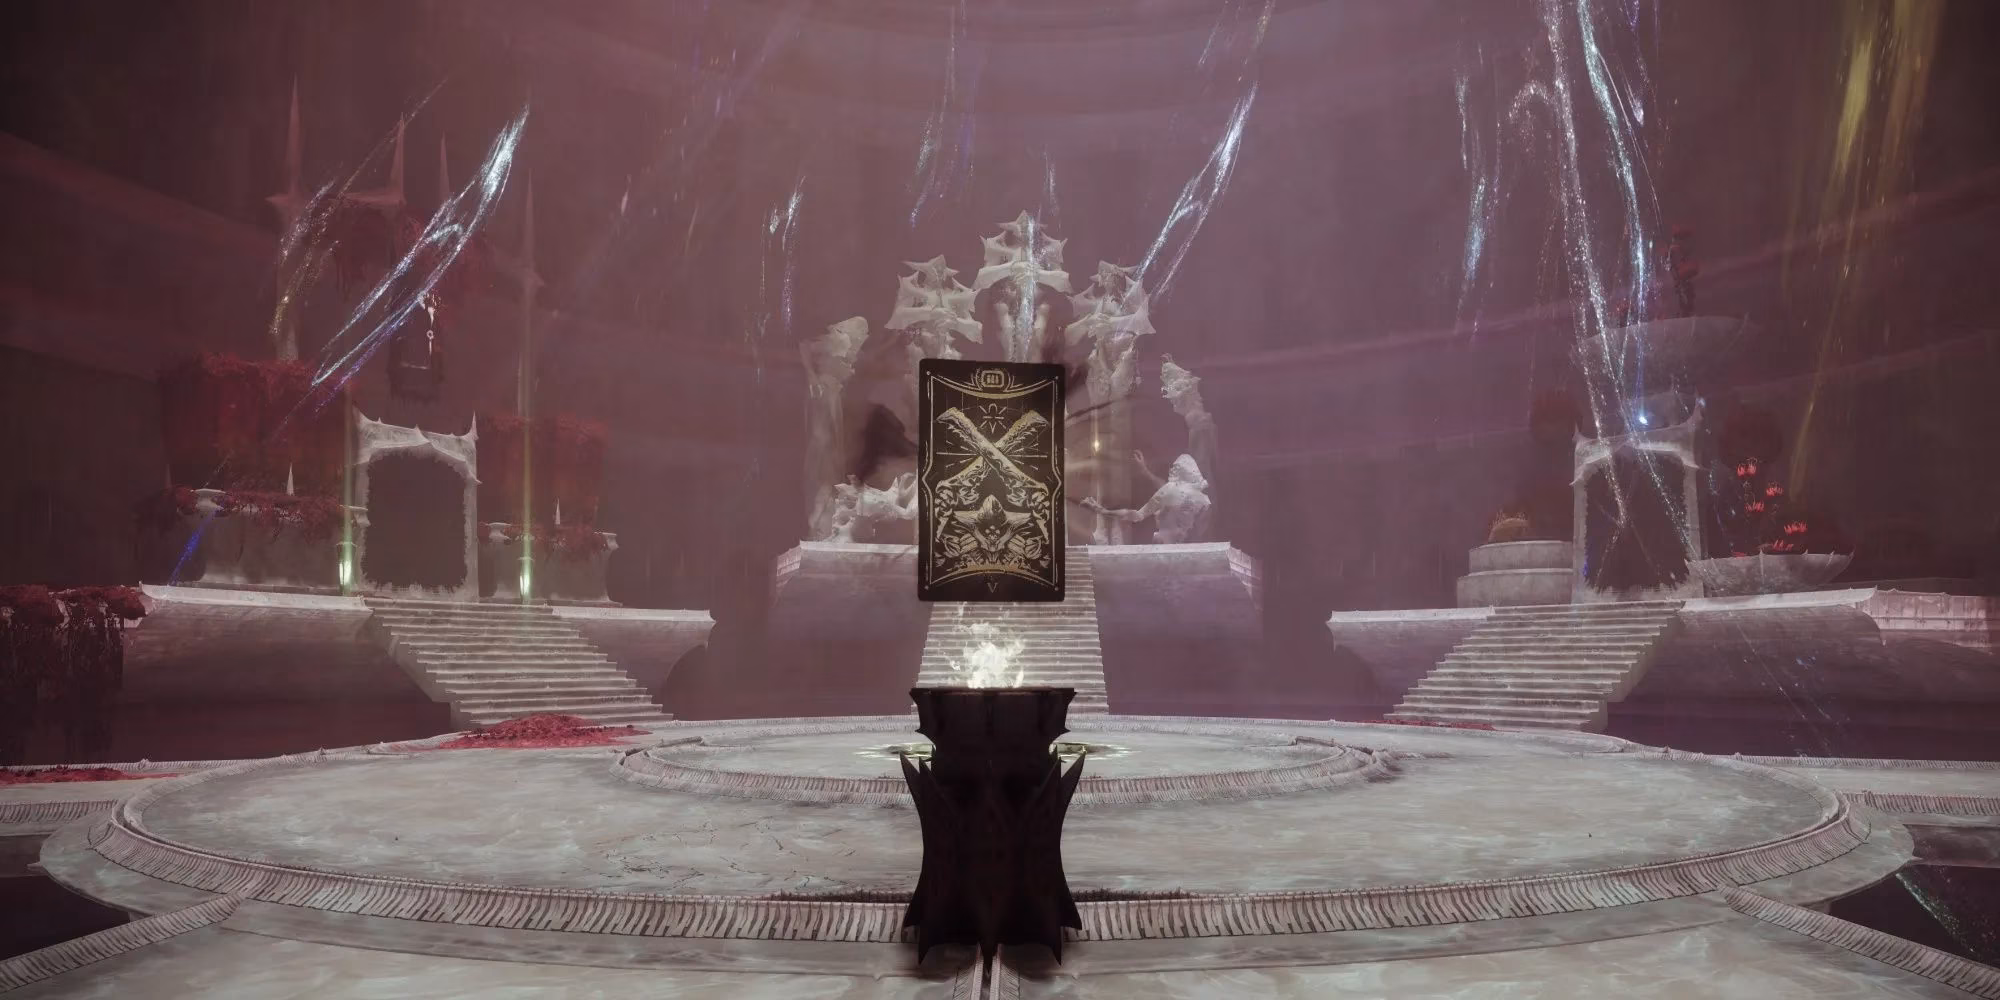
A Parting Gift Card: The key to the final test. Find it in the Altars of Summoning, perched atop a massive Hive pillar in the right-most arena. Look up from the combat space near Savathun's Spire.
🕵️ Solving the Test of Cunning
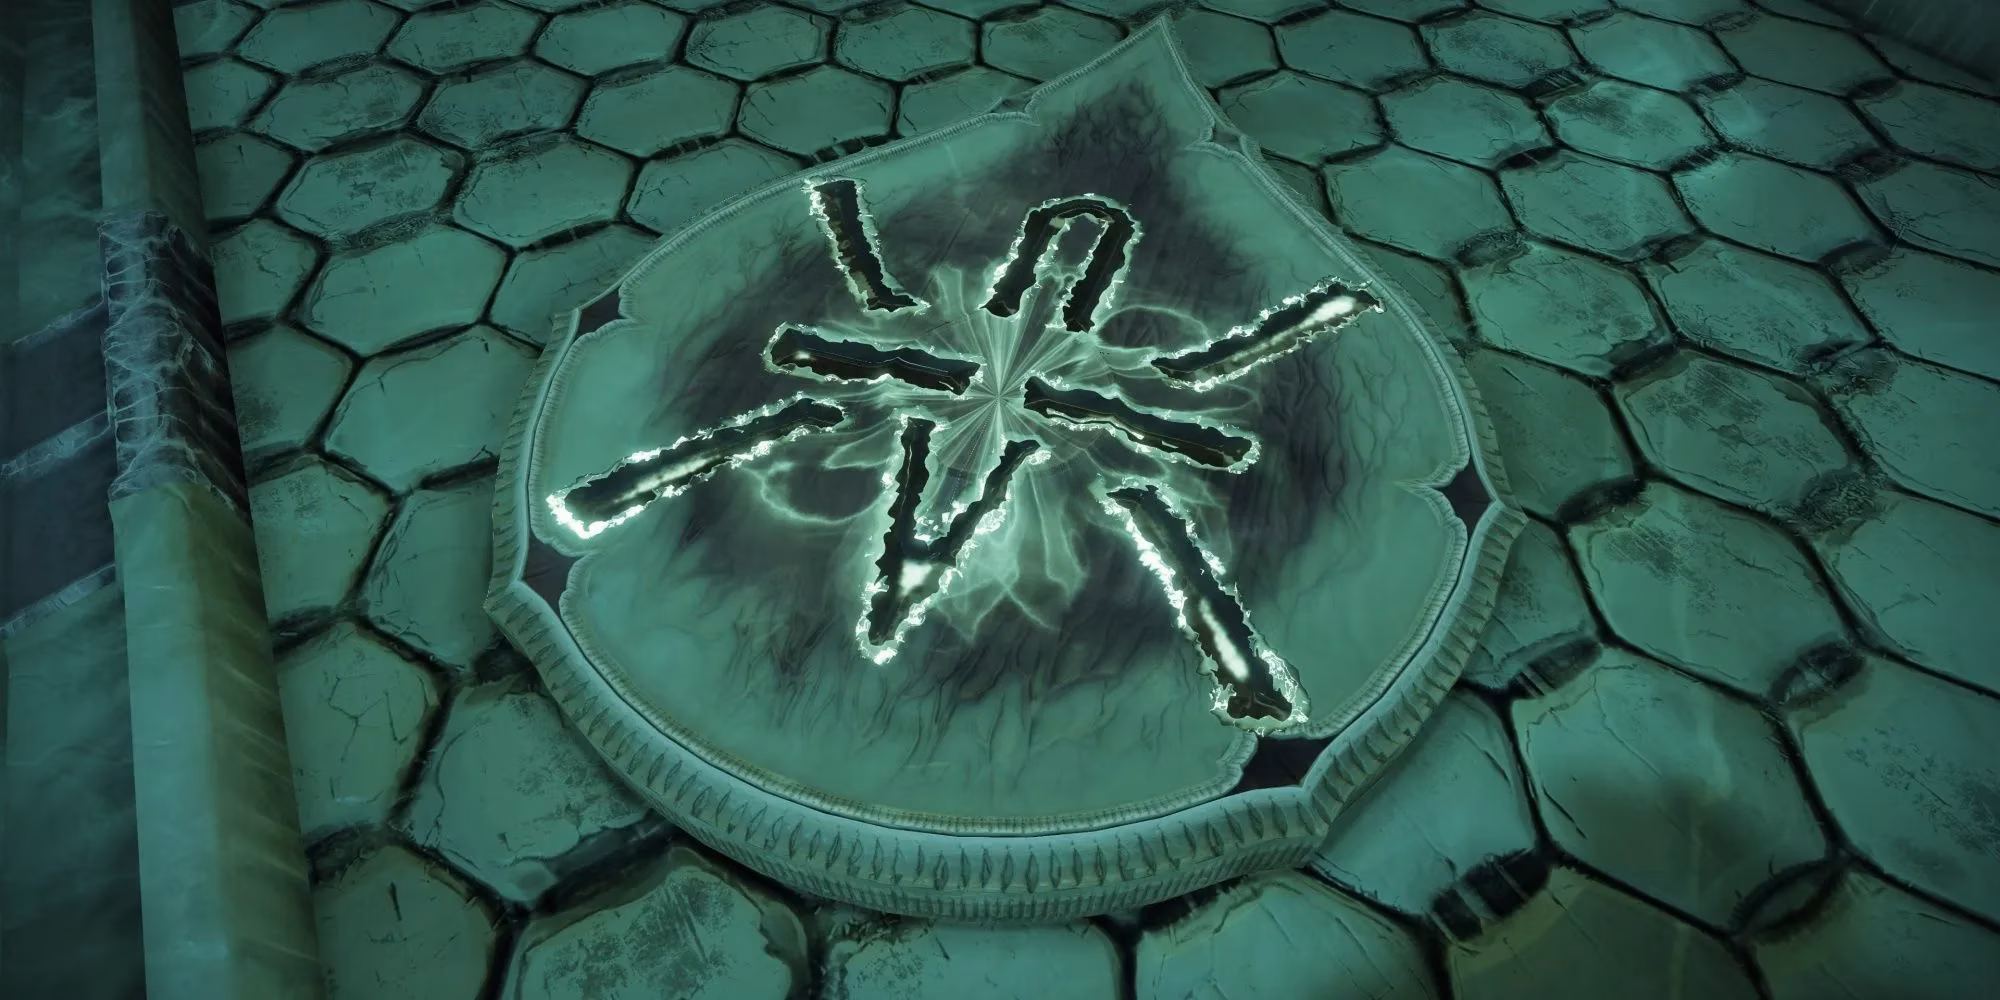
This first test is a lesson in patience and perception. The core rule is simple: only open chests marked with the correct 'spider' symbol (a circle with a diagonal slash in each corner). Opening the wrong one means a swift, embarrassing death.
The test unfolds in three waves:
-
First Choice: Two chests spawn directly in front of you. Identify the spider symbol on the plate nearby and open that chest.
-
Second Wave: Turn around. Two more chests appear on a raised platform. Both must have the spider symbol to be safe. Open them.
-
The Gauntlet: The arena floods with over a dozen chests, but only three are safe. This is where many Guardians falter. You can brute-force it through repeated deaths, but the intended method is to search. Every chest has a corresponding symbol plate within about 5 meters. Look on walls, in hidden nooks, and behind structures. Finding all three correct chests completes the trial.
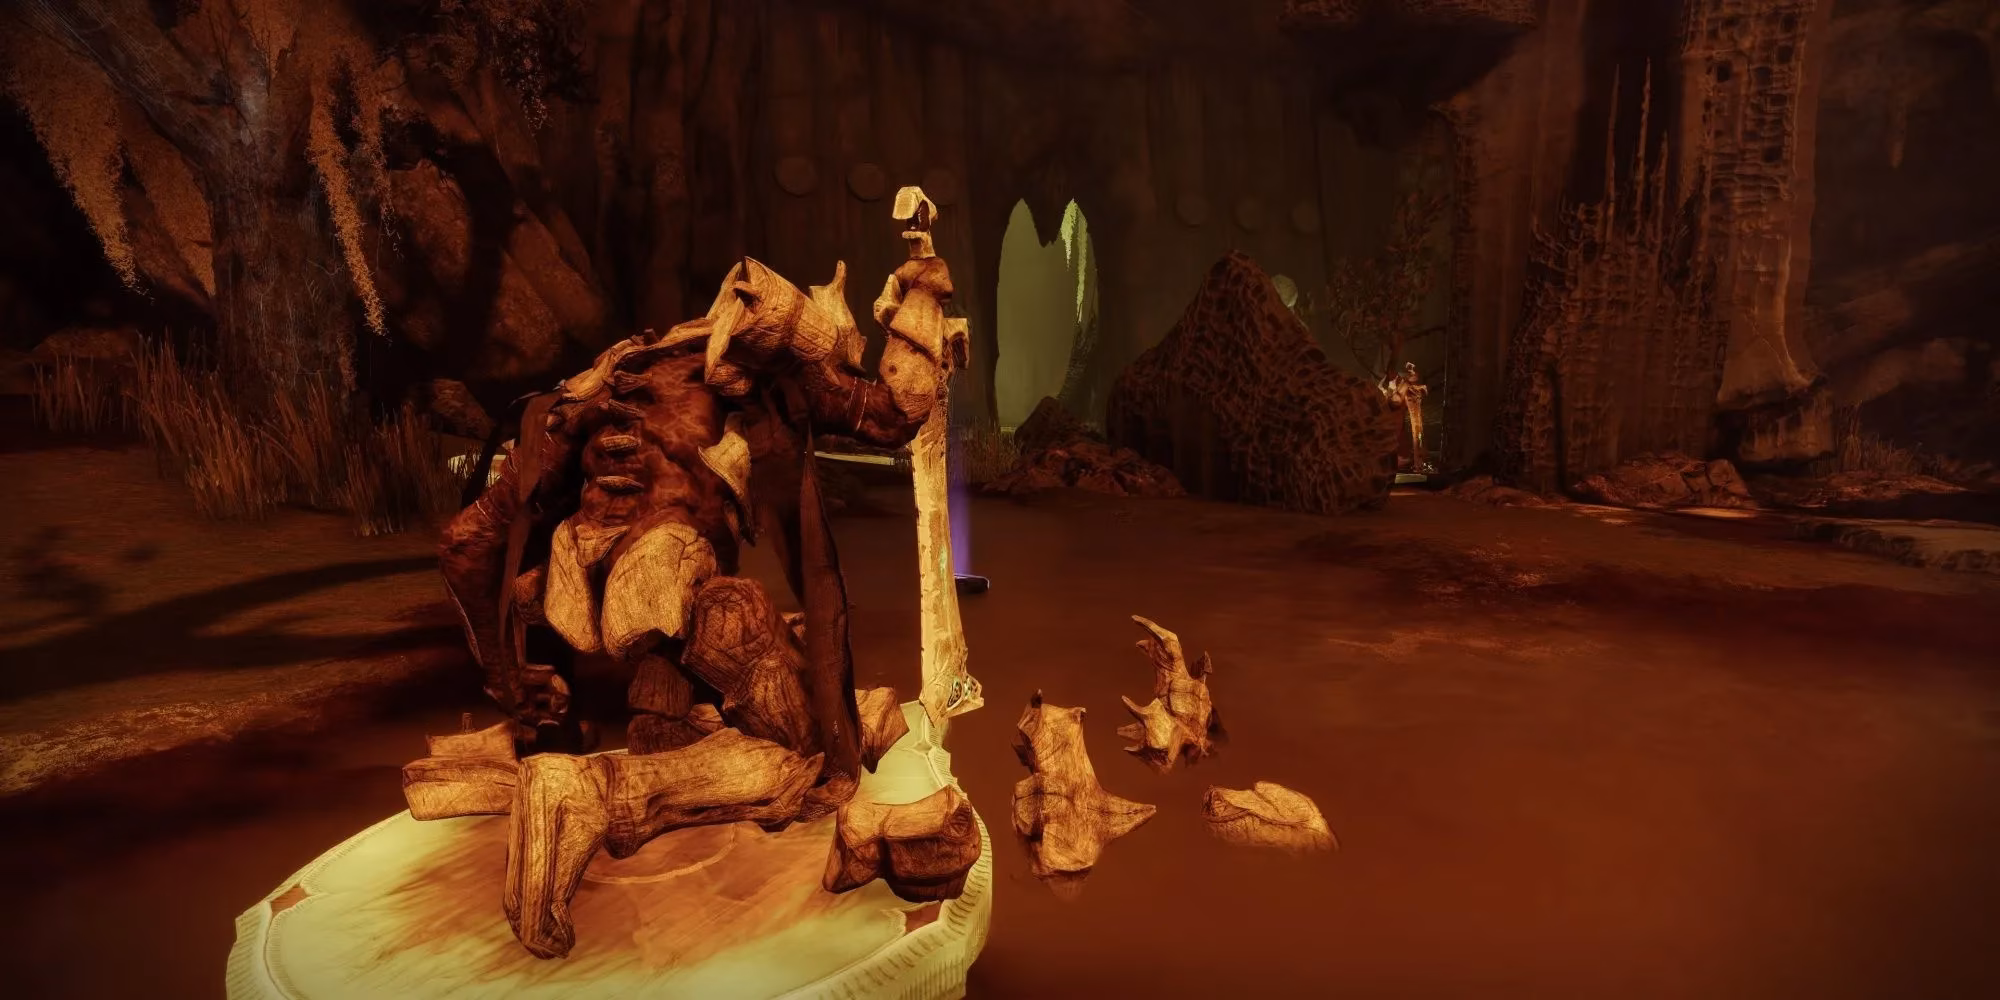
💪 Mastering the Test of Strength
After Cunning, head through the door beside the initial chests (if you have the card). Navigate a trap-filled hallway—avoid the upstairs portal—to reach the Strength trial. This test trades symbol recognition for precise execution.
Your goal: kill the kneeling Hive enemies in a strict, hidden order. Start by activating the Deepsight orb. White footsteps will guide you to the first target, a Hive Knight. Under each enemy is a plate with a pointer. That pointer guides you to the next target... at first.
The complexity ramps up in the second and third rooms. Here, you must skip the enemy immediately indicated by the plate and kill the next one in the sequence. It's a rhythm of observe, skip, and strike. The full order, which I had to memorize through trial and error, is:
| Order | Enemy Type | Location | Note |
|---|---|---|---|
| 1 | Hive Knight | Starter Room | Follow Deepsight footsteps. |
| 2 | Hive Knight | Starter Room | Directly across from #1's plate. |
| 3 | Hive Knight | Starter Room | Atop an incline leading to a tower. |
| 4 | Cursed Thrall | Tower | Drop down, kill the closest one. |
| 5 | Cursed Thrall | Tower | Skip the Knight, kill the Thrall its plate points to. |
| 6 | Cursed Thrall | Tower | Skip a Thrall, kill the one by the tower wall. |
| 7 | Cursed Thrall | Cave | Enter cave under Deepsight orb, first on left. |
| 8 | Cursed Thrall | Cave | Skip a plate, kill the Thrall the skipped plate points to. |
| 9 | Cursed Thrall | Cave | Repeat the skip rule. |
| 10 | Cursed Thrall | Cave | Repeat the skip rule for the final kill. |
🧭 Navigating the Test of Navigation
Head back to the elevator room after Strength and take the left door. Dodge spinning traps, ride a gravity lift, and you'll arrive at the Navigation chamber. This is a test of spatial awareness and elemental recognition.
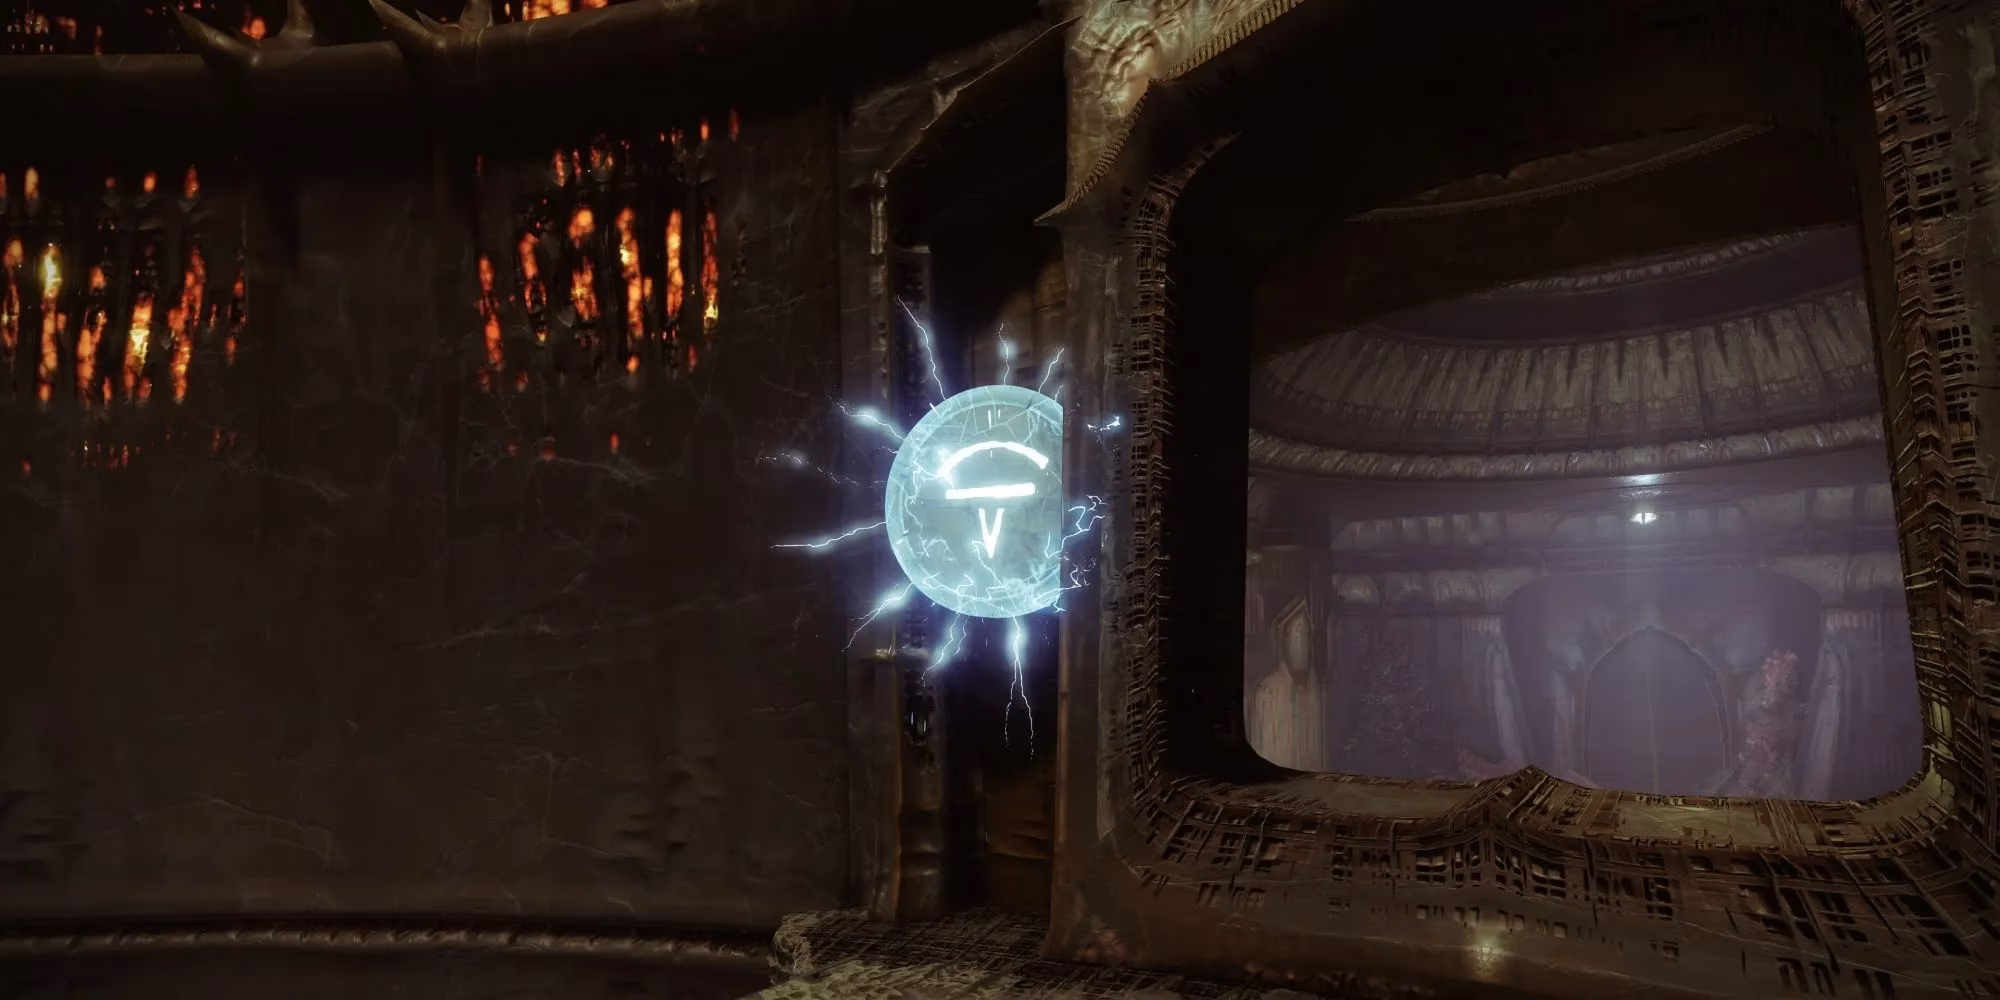
Seven dormant portals line the room, each decorated with Hive runes for Arc, Solar, and Void. When you start, a portal frame behind you spawns with a single, highlighted rune. Your task: find and activate the portal whose rune matches the position and element of that single rune.
For example, if an Arc rune appears on the left side of the frame behind you, you must find a portal with a left-side Arc rune and shoot it. Entering the correct portal advances you to the next set. Enter the wrong one, and it's back to the start.
The final two sets add a twist: you must reposition yourself on adjacent platforms to correctly line up the rune's orientation before shooting. For those who want the direct solution, the portal order (starting from the leftmost as #1, going clockwise) is:
-
Portal #2: Shoot the left Arc rune.
-
Portal #5: Shoot the top Solar rune.
-
Portal #4: Reposition slightly, then shoot the right Void rune.
-
Portal #7: For the final cluster, shoot the lowest-hanging Solar rune.
Completing this awards an Ascendant Shard and seasonal weapons, marking the original end of the Engine.
🔥 Unlocking the Final Test: Truth and Lies
But Savathun had one last secret. After beating Navigation, start a new run and reach the third floor. A new portal appears. Inside, three unlit braziers surround a ritual circle. To begin the ultimate test, you must find and light three corresponding braziers in the world:
-
Imbaru Engine: Backtrack to the Test of Cunning room. Activate the Deepsight Orb and follow the footsteps behind you, climbing a wall to find it.
-
Savathun's Spire: In the labyrinth jumping section, after the pendulum and spinning columns, a Deepsight Orb appears on the path to the final portals. Activate it, turn right, and follow floating platforms around a pillar.
-
Altars of Summoning: Go to the base of Savathun's Spire (the tower). Activate the Deepsight Orb there and follow the revealed platforms.
Light all three, return to the portal room in the Imbaru Engine, and ignite the braziers. The door to the Test of Truth and Lies opens.
🧩 Conquering the Test of Truth and Lies
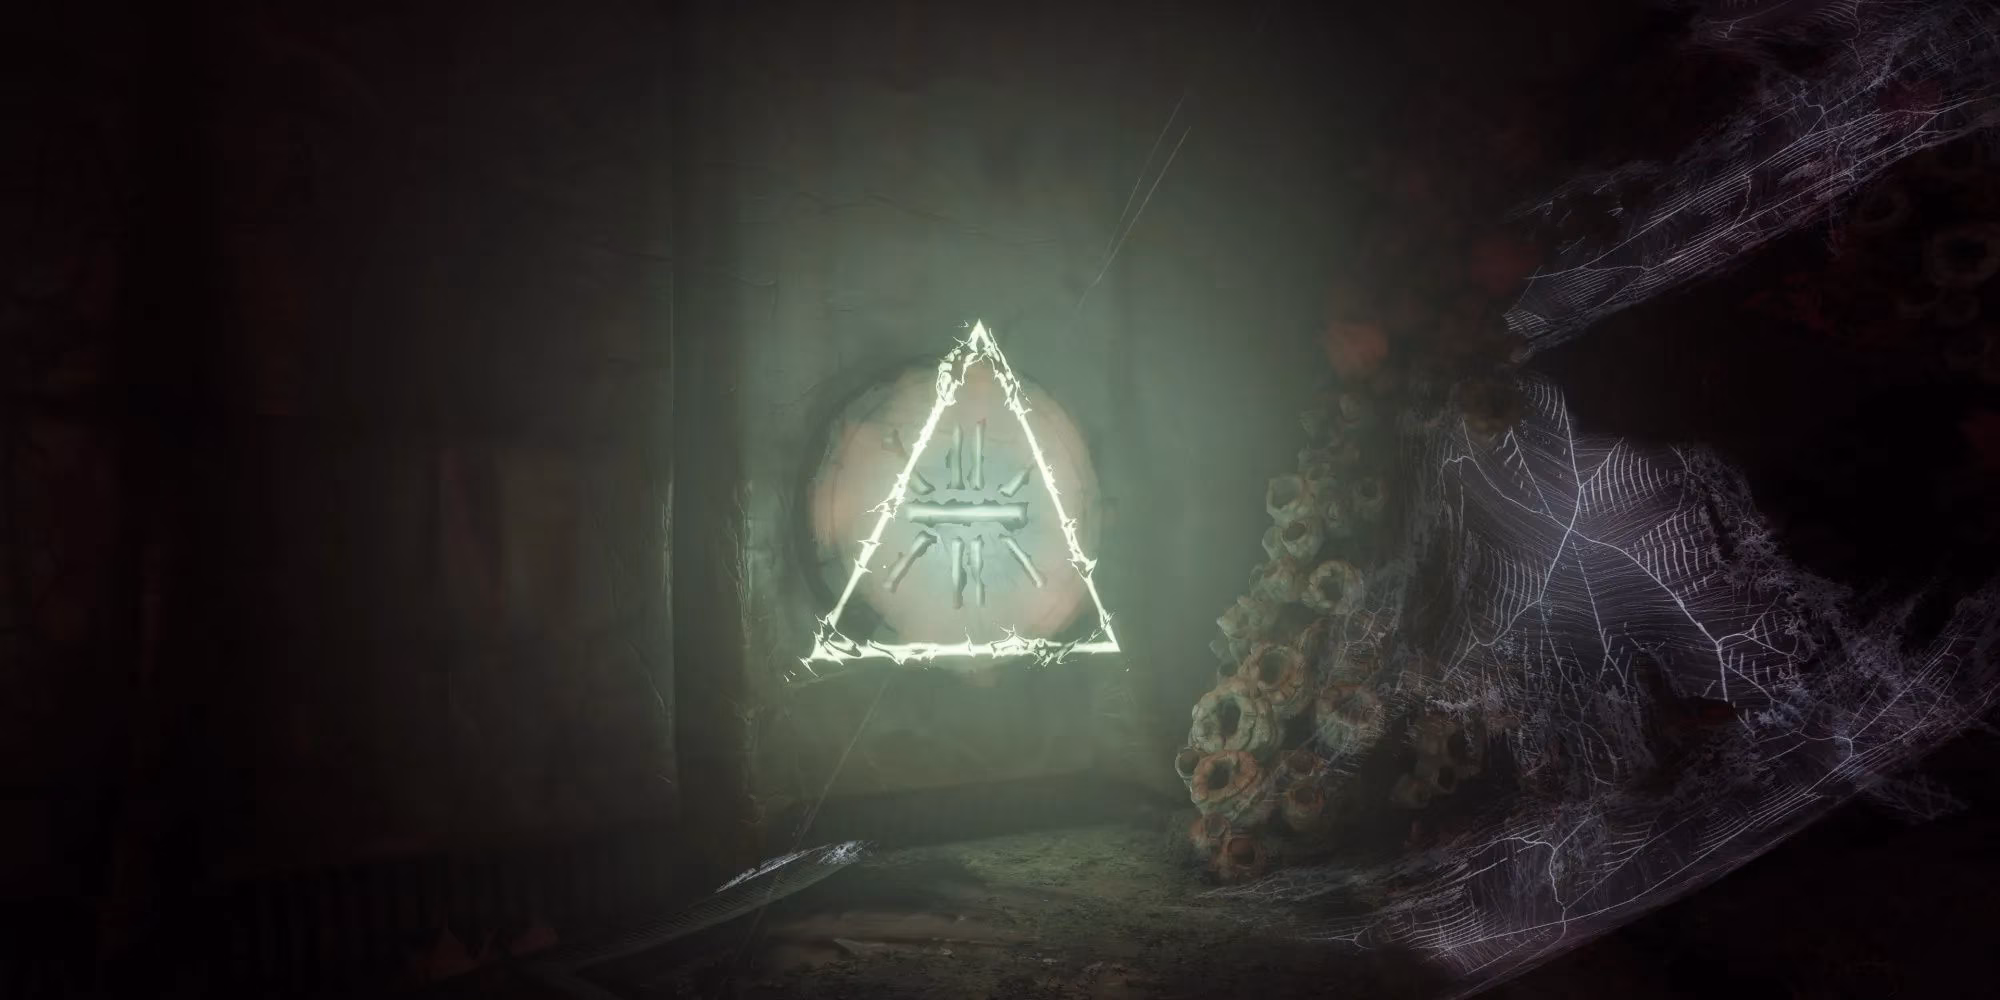
This is Savathun's masterpiece of deception. The room contains 16 Hive runes. You start by interacting with two runes to gain the "Truth" and "Lie x2" buffs. With these, you can interact with Hive statues to get clues. Each statue highlights three runes, marking them with either a circle or a triangle. Your goal: activate every rune that is truly a triangle.
The brutal catch? The "Lie x2" buff means each statue lies about two of the three symbols it shows. A statue might show two triangles and a circle, but only one of those triangles is real; the other symbol is a lie.
The initial chamber statues are insufficient. The key revelation is that every Hive statue in the entire Imbaru Engine becomes interactive, 16 in total across four floors. You must visit them all, record their projections, and cross-reference the data to find inconsistencies and deduce the truth.
After a long night of note-taking and logic puzzles, my fireteam and I cracked the code. The solution, organized by the four corners of the final chamber (with runes numbered 1-4 from left to right), is:
-
Top Left Corner: Activate rune 4.
-
Top Right Corner: Activate runes 3 and 4.
-
Bottom Left Corner: Activate runes 3 and 4.
-
Bottom Right Corner: Activate runes 2 and 4.
Activate these runes, then interact with the central triangle rune between the top statues. If correct, a hidden room unveils your prize. After listening to Ikora and Eris's insightful dialogue, you'll be rewarded with a unique, exclusive shader and powerful Season of the Witch weapons. It's a fitting end to a puzzle that truly makes you feel like you've outwitted the Witch Queen herself. The Imbaru Engine remains, in my opinion, one of Destiny 2's finest examples of secret, rewarding gameplay that tests more than just your trigger finger.