Conquering MWZ's Epic Shepherd Mission
Conquer Call of Duty: Modern Warfare 3 Zombies' Shepherd mission with expert strategies and a battle-hardened loadout for ultimate victory!
🔥 I still feel the adrenaline coursing through my veins just thinking about Call of Duty: Modern Warfare 3 Zombies' Shepherd mission – that insane, pulse-pounding finale to Act 2: Mother of Invention! Let me tell you, this isn't some casual stroll through Urzikstan; it's a glorious, explosive ballet of bullets, zombies, and sheer chaos that'll test every ounce of your tactical genius. 🧠💥 Picture this: elite mercenaries raining lead from rooftops, Special Infected lunging from shadows, and the ground trembling beneath a high-tech super-weapon called the Neutralizer. I barely escaped with my digital life... twice. But after devouring every strategy, perfecting my loadout, and embracing the madness, I emerged victorious. And you can too! Strap in, soldier, because I'm about to drop the ultimate guide to dominating this legendary challenge and claiming those sweet, sweet exclusive operator skins and XP mountains. 🏆✨
💼 My Battle-Hardened Loadout: No Room for Weakness!
You wouldn't storm a fortress with a water pistol, right? Exactly! Gear up like the apocalypse depends on it (spoiler: it kinda does). Based on my brutal trial-and-error runs, here’s the non-negotiable arsenal:
-
Weapons That Scream Overkill: I swear by the WSP Swarm's terrifying fire rate – that drum magazine chews through armored goons like butter! 🧈 The PDSW 528? A laser beam for headshots. And the Holger 556? Pure, beautiful destruction. Pack-A-Punch one to Tier 3 MINIMUM. Anything less is suicide!
-
Perks or Perish: Speed Cola’s reload magic saved me when a Mangler charged. Jugger-Nog’s extra health? Essential when rockets start flying. Quick Revive for solo gods? Absolutely. Deadshot Daquiri made headshots effortless. And Elemental Pop? Random elemental effects turned desperate moments into hilarious victories! 🎯💥
-
Miscellaneous Lifesavers: Tame a Hellhound BEFORE stepping foot near the Shephard evac! That furry killing machine respawned mid-mission and tanked zombies while I dealt with snipers. Loyalty pays off!
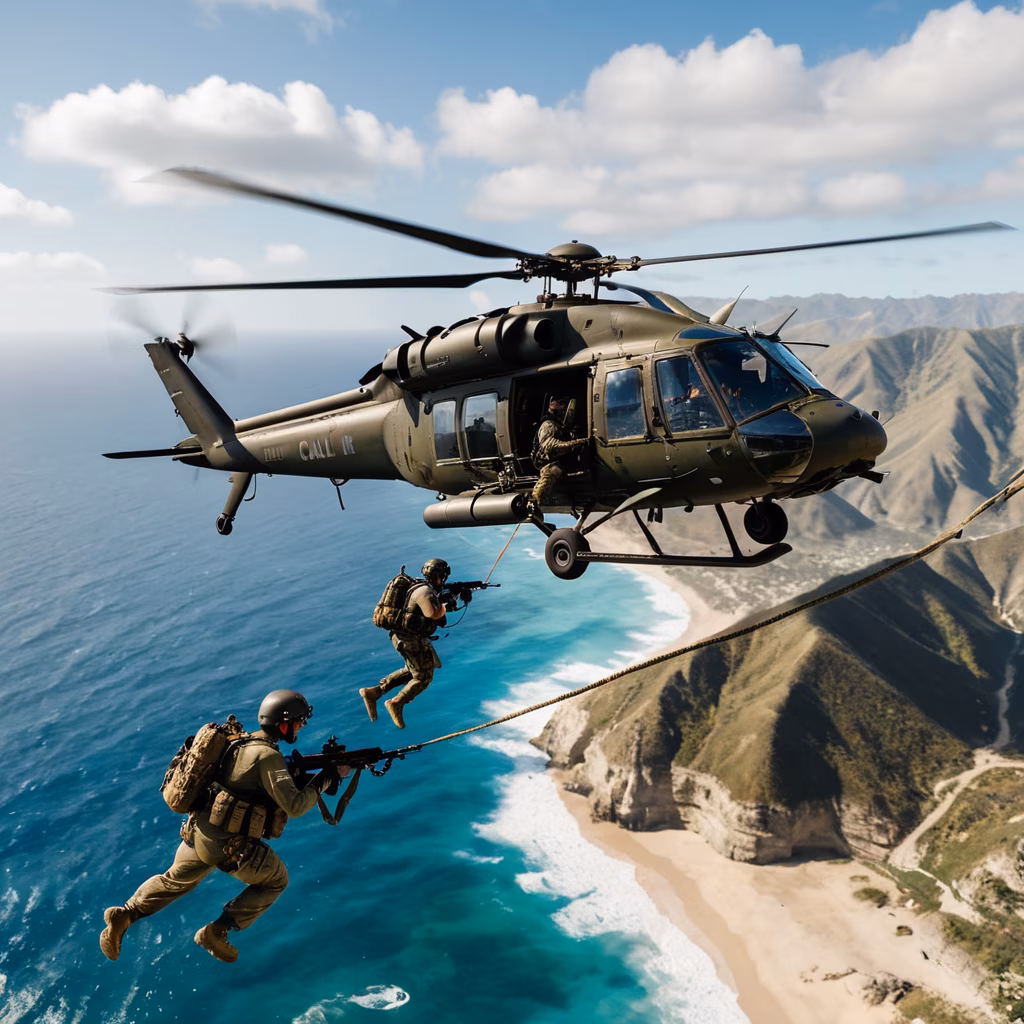
🚁 Deploying Chaos: Finding That Golden Ticket
Forget those boring regular evacs! Spotting the Shephard evac point marked with a golden star felt like finding Excalibur. Pro tip: Deploy anytime before the gas swallows it! ☠️ Everything in your backpack transfers – perks, weapons, ammo mods. Use that! I spent an extra 10 minutes grinding contracts for perks and PAP crystals. Worth. Every. Second. When ready? Jump into that chopper and brace for the beach landing from hell!
☠️ Beach Bloodbath & SAM Turret Takedown
Holy. Smokes. Touching down felt like D-Day meets a zombie convention! INSTANTLY sprint for the nearest building – hesitation means death by rooftop sniper. Mercs poured from windows, zombies clawed at the sand... glorious! Your target: DESTROY TWO SAM TURRETS lighting up the sky. 🎯
-
Clear the Perimeter: Thin out soldiers guarding the building entrance. Use cover! Walls are friends.
-
Indoor Slaughter: Inside? Armored elites! Pick them off one-by-one from doorways. Never rush! If overwhelmed, retreat outside to reset.
-
Rooftop Rampage: Ascend via ropes. Place explosive charges on each SAM turret by interacting with them... then RUN! Enemies swarm the roof instantly. Clear mercs FIRST before planting bombs – trust me, getting shot mid-plant is rage-inducing! 💣
🛡️ Escort Armageddon: The Neutralizer Gauntlet
SAMs down? Time for the MAIN EVENT! Race to the flare on the map’s southern edge. Defend like your life depends on it (it does!). A merc chopper spawns – let zombies soften them up first! Then... behold! The NEUTRALIZER! Activate that glorious ACV. This becomes MWZ’s most intense Escort Contract on steroids! 🧪
-
Zombie Tsunami: Manglers, Disciples, Screamers – they throw EVERYTHING! Stand atop the ACV 🚛 – it keeps moving and gives a firing vantage!
-
Final Countdown: Reach the detonation zone? Interact to start the test. The Tesla coil zaps nearby zombies (cool, but not enough!). KEEP ELIMINATING until the detonation signal!
-
BOOM! One last interaction... and KA-BLAMMO! Mission success! 💥
❓ People Also Ask
-
Can you solo the Shepherd mission like a true lone wolf? Absolutely! I did it! But bring that Hellhound and MAXIMUM firepower. It’s sweaty, but doable!
-
What happens if you die during Shepherd? Heartbreak! You lose everything equipped or earned that match. No retries – back to the lobby!
-
How long does the mission take? With prep? 30-45 minutes of pure tension. The escort alone feels like an eternity!
This mission isn’t just a challenge; it’s a baptism by fire that forges true MWZ legends. That moment when the Neutralizer’s explosion lit up the sky... pure gaming euphoria! 🤩 But enough about my glory days – what’s the CRAZIEST clutch moment YOU’VE ever pulled off against impossible zombie odds?