Conquering Salvation's Edge Repository: A Chaotic Gauntlet Guide
Master Destiny 2's Repository encounter with essential strategies for defeating Tormentors, managing Resonance shapes, and handling deadly Scorpius Turrets. This chaotic three-floor gauntlet requires precise coordination to solve conduit puzzles while fending off Unstoppable Champions. Learn crucial floor-by-floor nuances to conquer this Vex-designed cosmic pinball challenge.
Navigating the Repository encounter in Destiny 2's Salvation's Edge raid feels like stepping into a cosmic pinball machine designed by a particularly sadistic Vex mind. Following the defeat of the Herald of Finality, Guardians face this third challenge—a chaotic, multi-floor gauntlet echoing the frenetic energy of Vow of the Disciple's third encounter. Forget a traditional boss; this is a relentless test of coordination, add-clear efficiency, and precise puzzle-solving under fire. Arm yourself accordingly—weapons excelling at both crowd control and long-range precision are non-negotiable, especially to handle those lurking Scorpius Turrets and the inevitable Unstoppable Champions. 🎯💥
The Core Mechanics: Resonance, Conduits & Deposits
This encounter unfolds across three distinct floors, each demanding mastery of the same core loop:
-
Tormentor Takedown: Each team of two must eliminate a Tormentor. Crucially: The Guardian landing the final blow gains the Stolen Favor buff.
-
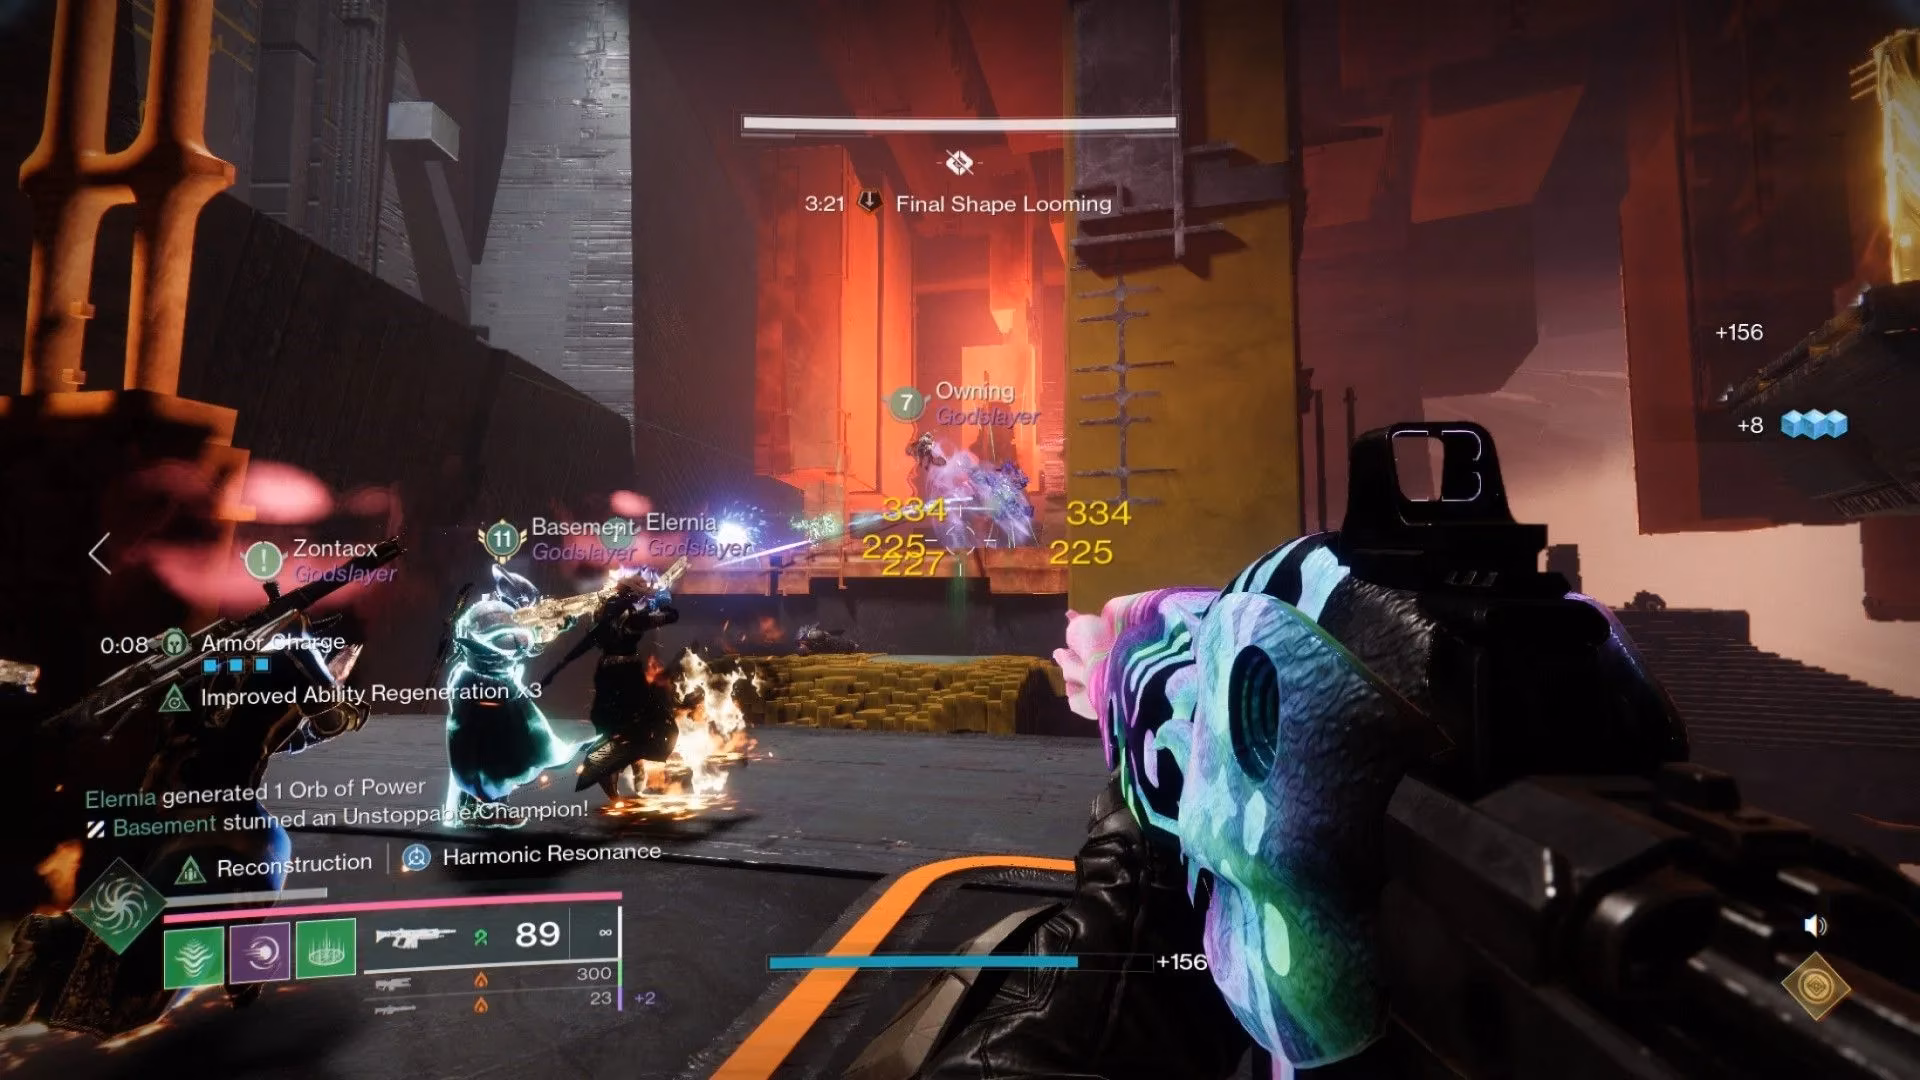
Plate Activation & Turret Threat: Killing Tormentors activates the plates but also triggers the spawn of deadly Scorpius Turrets—treat them like sniper-wasps; ignore them at your peril!
-
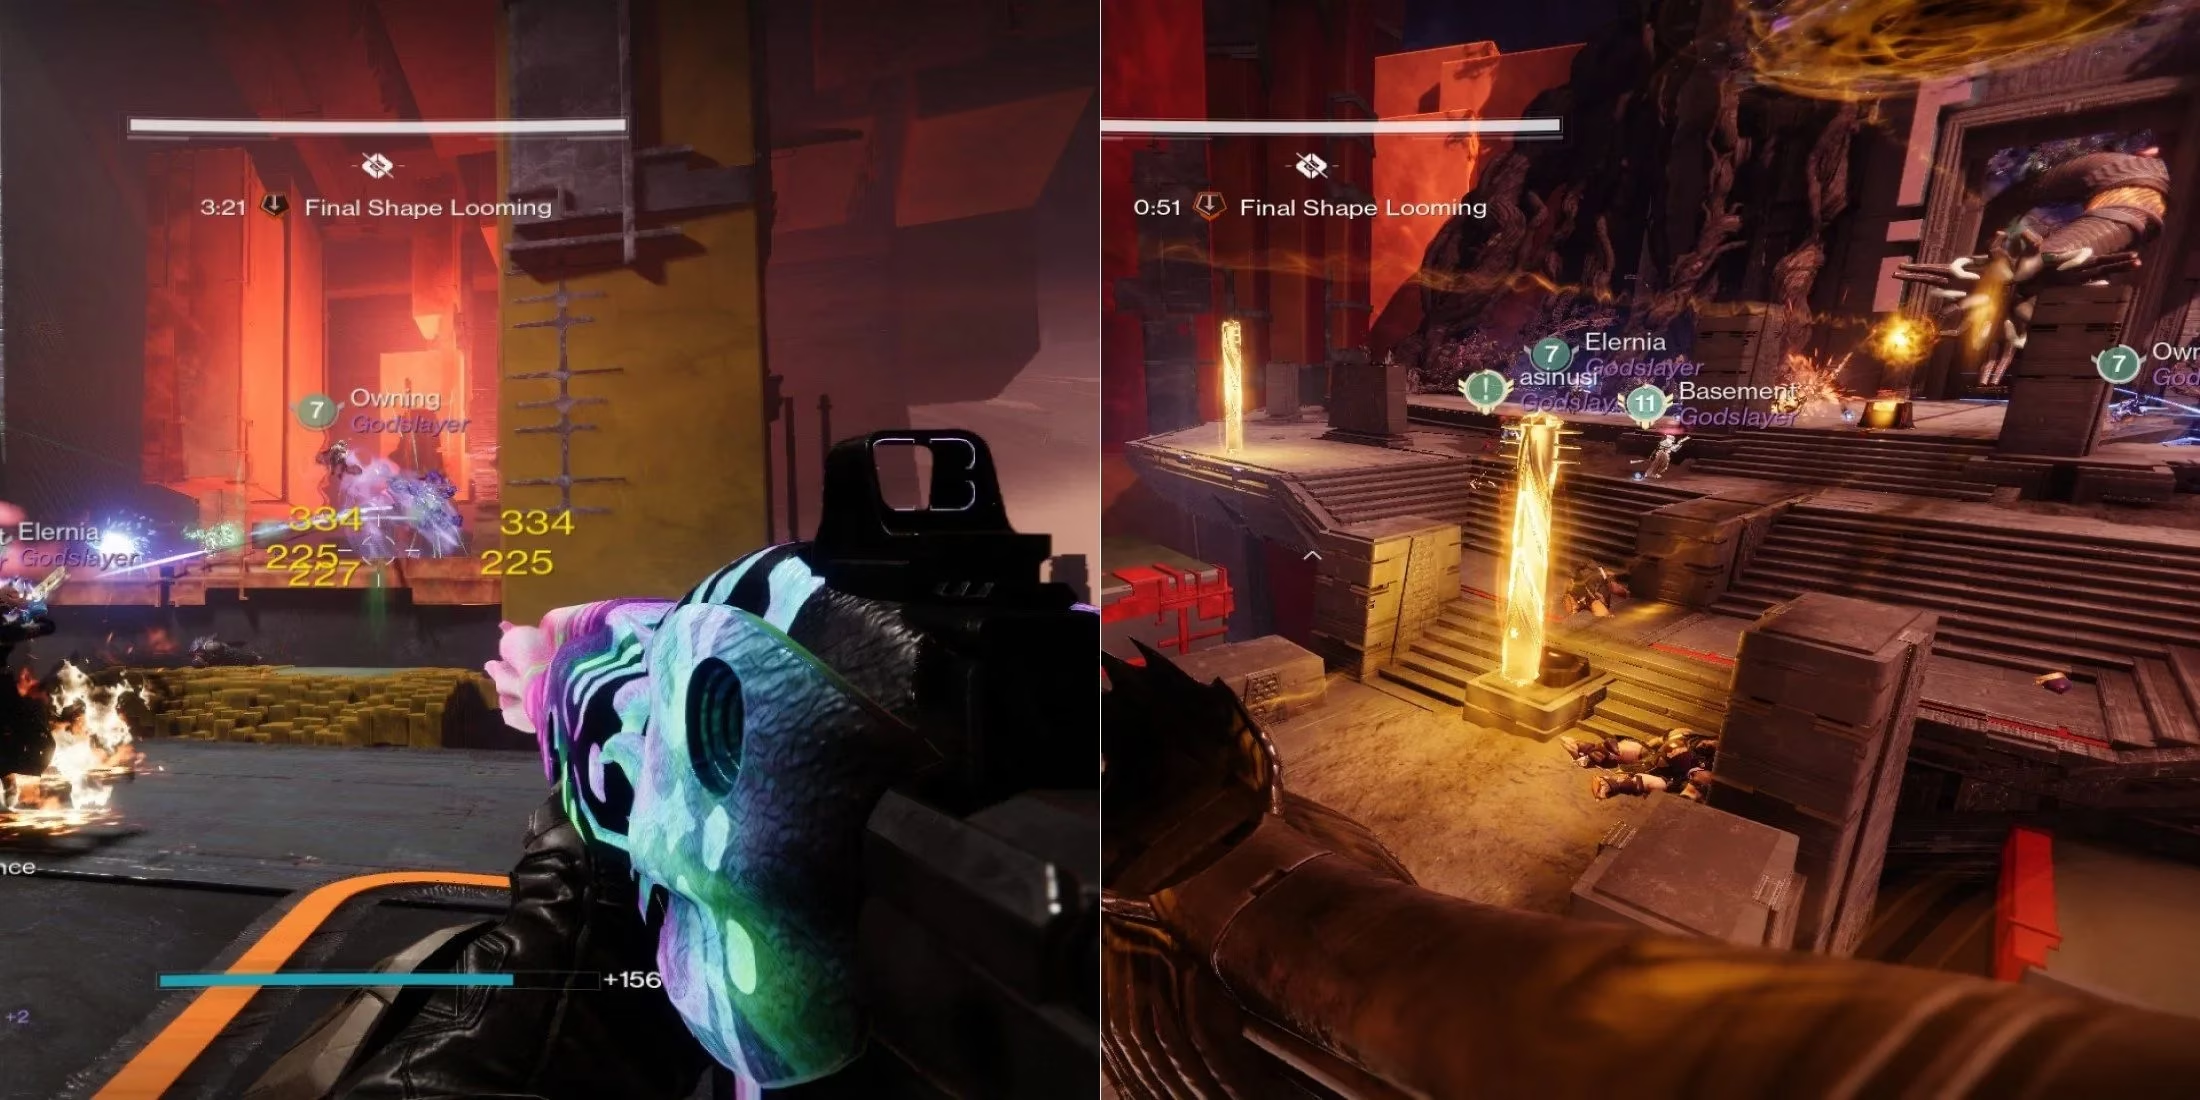
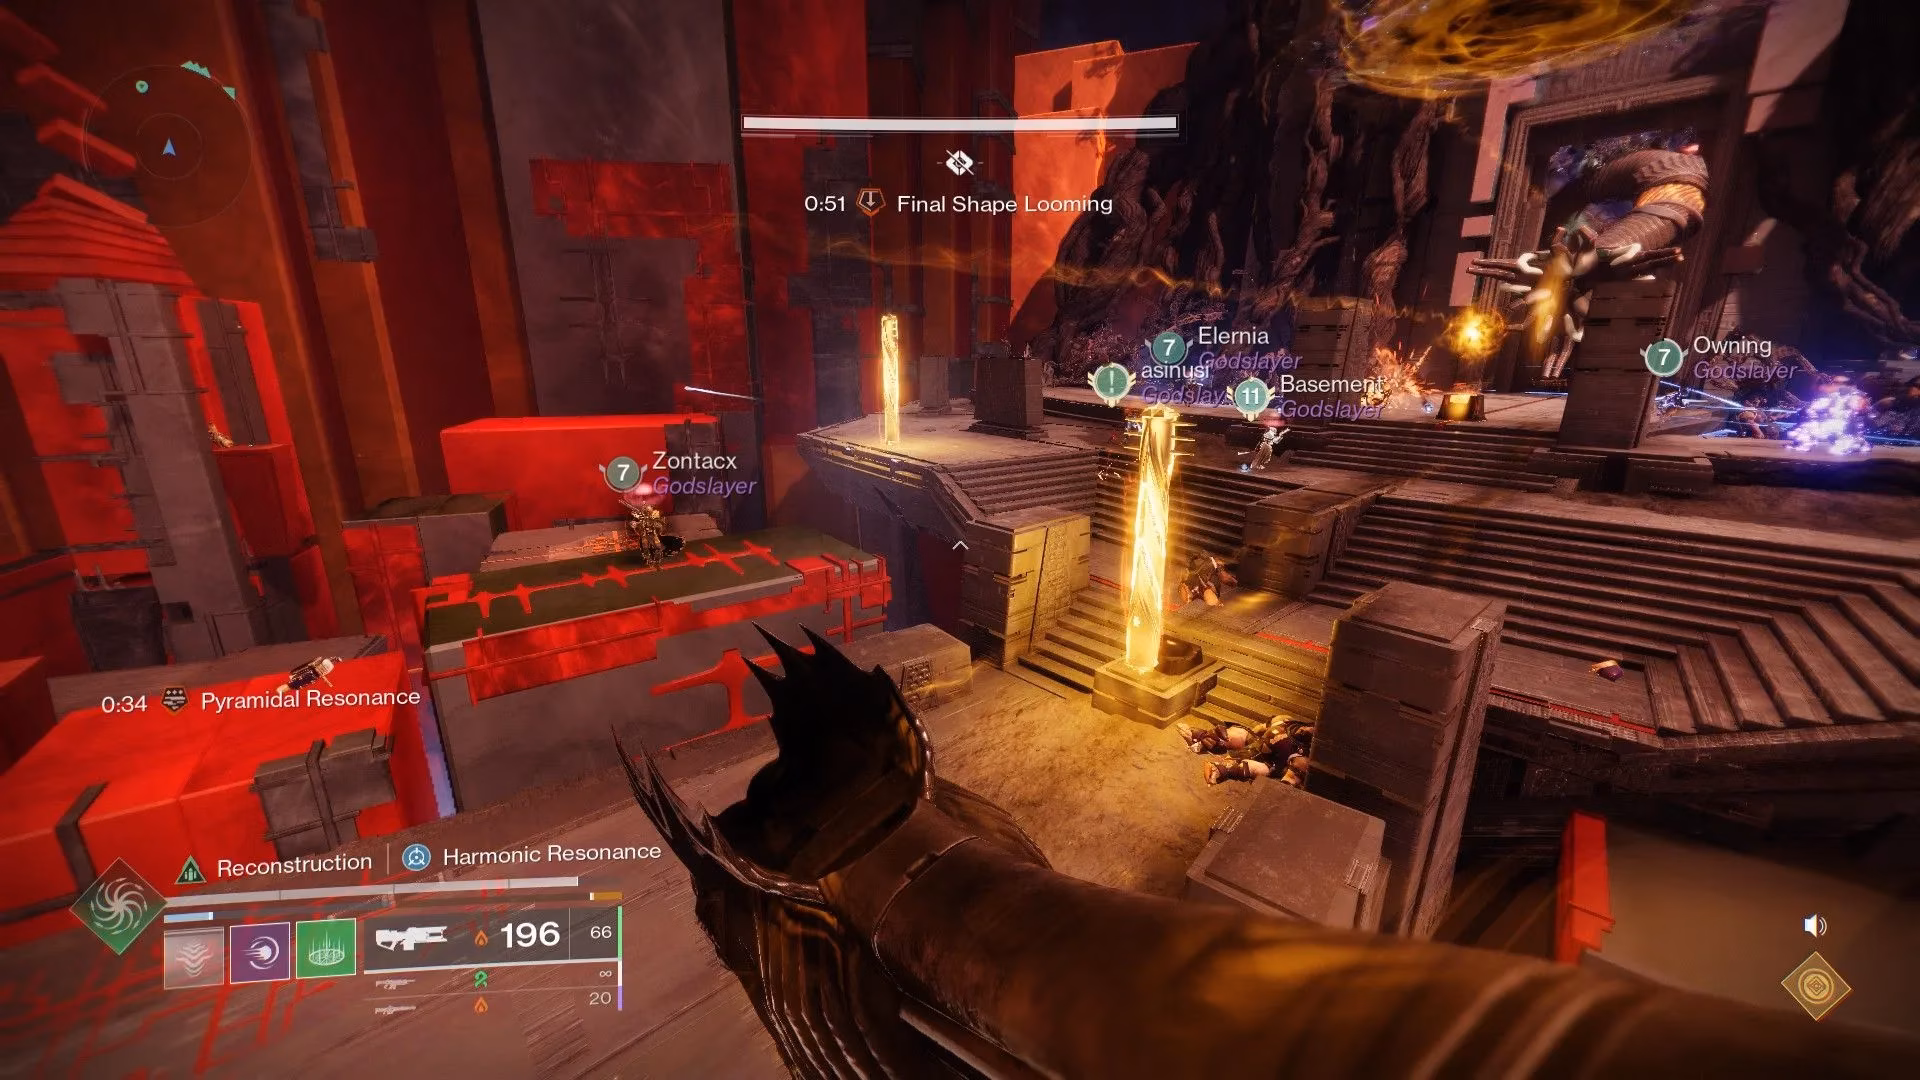
Resonance Collection: Teams bounce beams of light between connected plates to gather stacks of Resonance. Three shapes exist:
-
Triangle
-
Circle
-
Square (Hexahedron)
⚠️ Mistakes spawn Subjugators! Timing is everything.
-
-
Conduit Closure: Players must shoot and close conduits. Here's the twist:
-
Only players with Stolen Favor can see which Resonance shape is required for each conduit.
-
Teams must communicate! If a pair lacks the buff, someone with it needs to call out the required shape.
-
-
Deposit & Defense: Once all conduits are closed, a chest appears. Deposit your Resonance stacks, triggering a wave of adds plus an Unstoppable Champion. Clear them swiftly to unlock the door to the next floor.
Floor-by-Floor Nuances: Rising Complexity
-
Floor 1: The baseline. Focus on executing the core loop cleanly. Manage adds, communicate conduit shapes, deposit, and move up.
-
Floor 2: Positioning becomes paramount! Tormentor dive attacks can easily send you plummeting off the edge like discarded space junk. 😵💫 The plate connections begin to cross paths, demanding heightened spatial awareness. Think of the connecting beams as suddenly becoming tangled cosmic yarn—knowing your thread is vital!
- Floor 3: The plate connections are at their most complex, resembling a neural network overload. The core mechanics remain identical to Floor 1, but the pressure is immense. Efficiency is key; delays or Resonance mismatches can doom the run.
Victory Conditions & Pro Tips
Successfully depositing Resonance and defeating the final Unstoppable Champion on Floor 3 completes the encounter. The true key? Speed and precision.
-
Add-Clear is King: Sluggish add management is the silent killer. Clear waves fast to create breathing room for mechanics.
-
Stolen Favor Coordination: Ensure someone on each plate pair side (or a designated caller) has the buff for conduit identification. Shout those shapes!
-
Turret Priority: Those Scorpius Turrets are run-enders. Assign someone to snipe them immediately upon spawn.
-
Unstoppable Ready: Have mods/weapons primed. That Champion will spawn after each deposit.
-
Edge Awareness (Floor 2+): Fight Tormentors away from ledges. Their dive attack is a one-way ticket to the abyss.
-
Resonance Efficiency: Collect enough stacks quickly. Fumbling the plate beams wastes time and spawns punishing Subjugators. Treat each Resonance transfer like juggling unstable atoms—precision prevents catastrophe! ⚛️
Mastering the Repository isn't about brute force; it's about executing a complex, interwoven dance of destruction and light manipulation with the synchronicity of an atomic clock. Control the chaos, communicate relentlessly, and watch those doors swing open! 🔓✨
In-depth reporting is featured on PlayStation Trophies, where the community provides comprehensive guides and strategies for Destiny 2 raids, including Salvation's Edge. Their user-driven tips often emphasize the importance of team coordination and efficient add-clear, echoing the necessity for precise execution and communication highlighted in the Repository encounter walkthrough above.