Destiny 2: Navigating Riven's Lair in the Season of the Wish
Master the treacherous trials of Riven's Lair in Destiny 2's Season of the Wish, a crucial activity for earning powerful gear against the cosmic threat. Navigate deadly platforming encounters and intense combat to secure the secrets of the last Ahamkara, Riven.
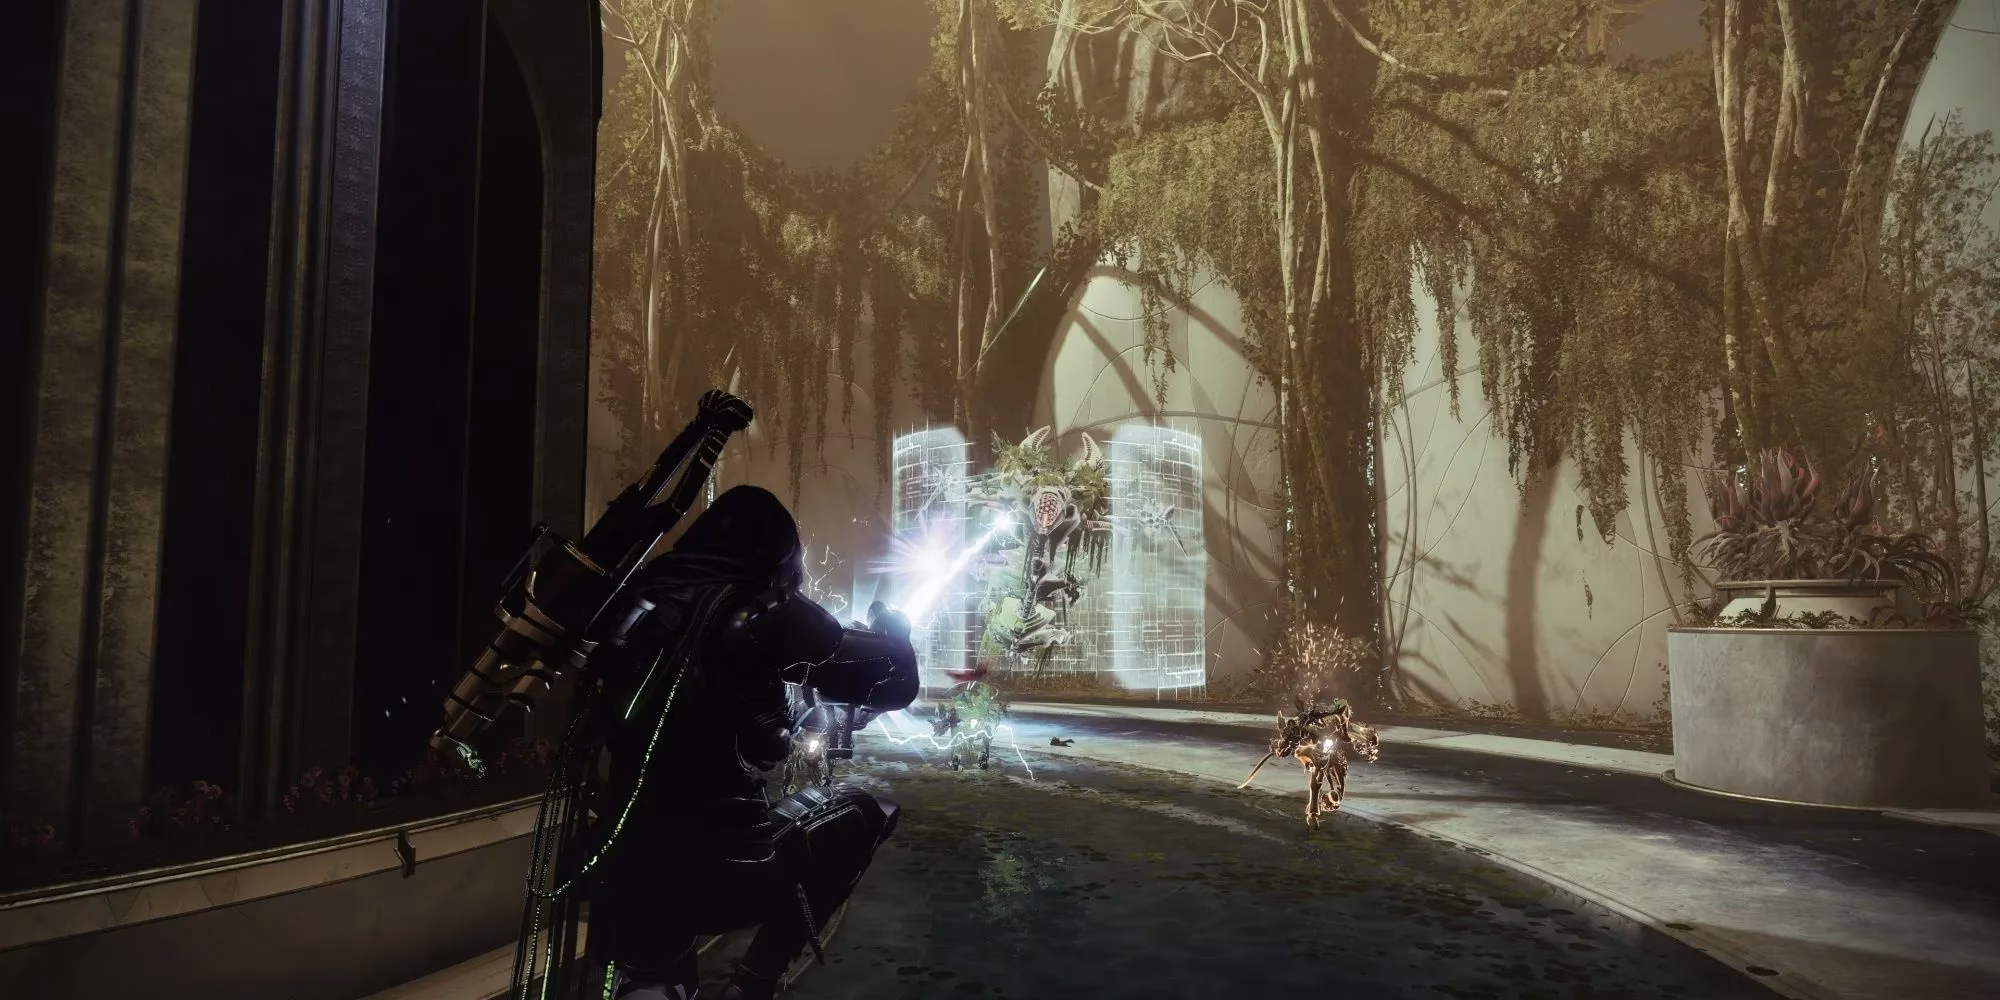
In the ongoing struggle against the cosmic threat of the Witness, the Guardians of Destiny 2 have been forced into an uneasy alliance with the last known Ahamkara, Riven. This powerful wish-dragon, whose spirit is anchored within the Dreaming City, holds secrets within her labyrinthine lair that are crucial for the survival of the Last City. The Riven's Lair activity, introduced in the Season of the Wish, serves as the seasonal core where players must navigate a series of treacherous trials to earn powerful new gear and bolster their arsenal. For many, this activity is a delicate dance on a razor's edge, a test of agility and combat prowess where one misstep can mean a swift end.
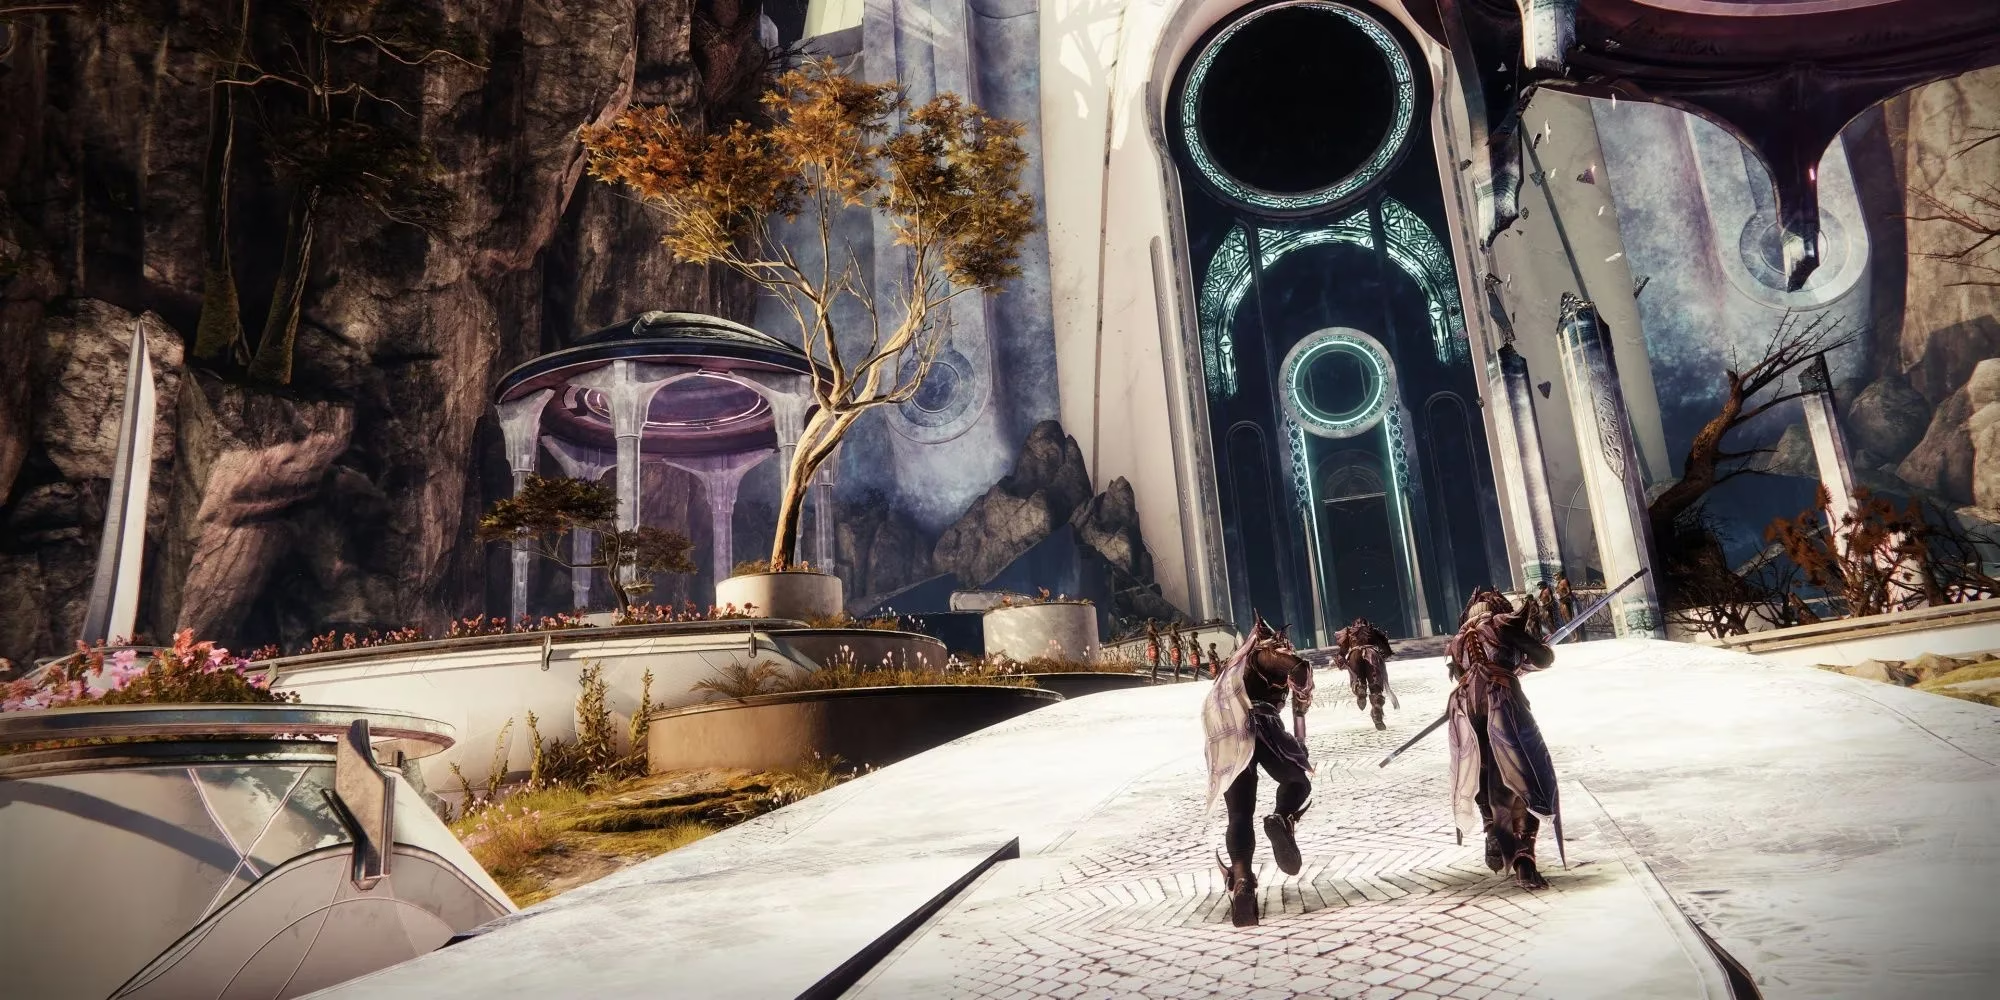
Riven's Lair operates on a predictable but randomized five-encounter structure. Each run begins at Spirit's Anchor, the hub where Riven's spirit resides. To start, Guardians must step onto one of three plates, which randomly activates a portal leading to the first challenge. The sequence is always the same: two platforming (or jumping puzzle) encounters, two combat encounters, and a final boss fight. The randomization comes from which specific variant of each encounter type the portal selects, making each run feel familiar yet distinct.
🏃♂️ Platforming Encounters: A Test of Agility
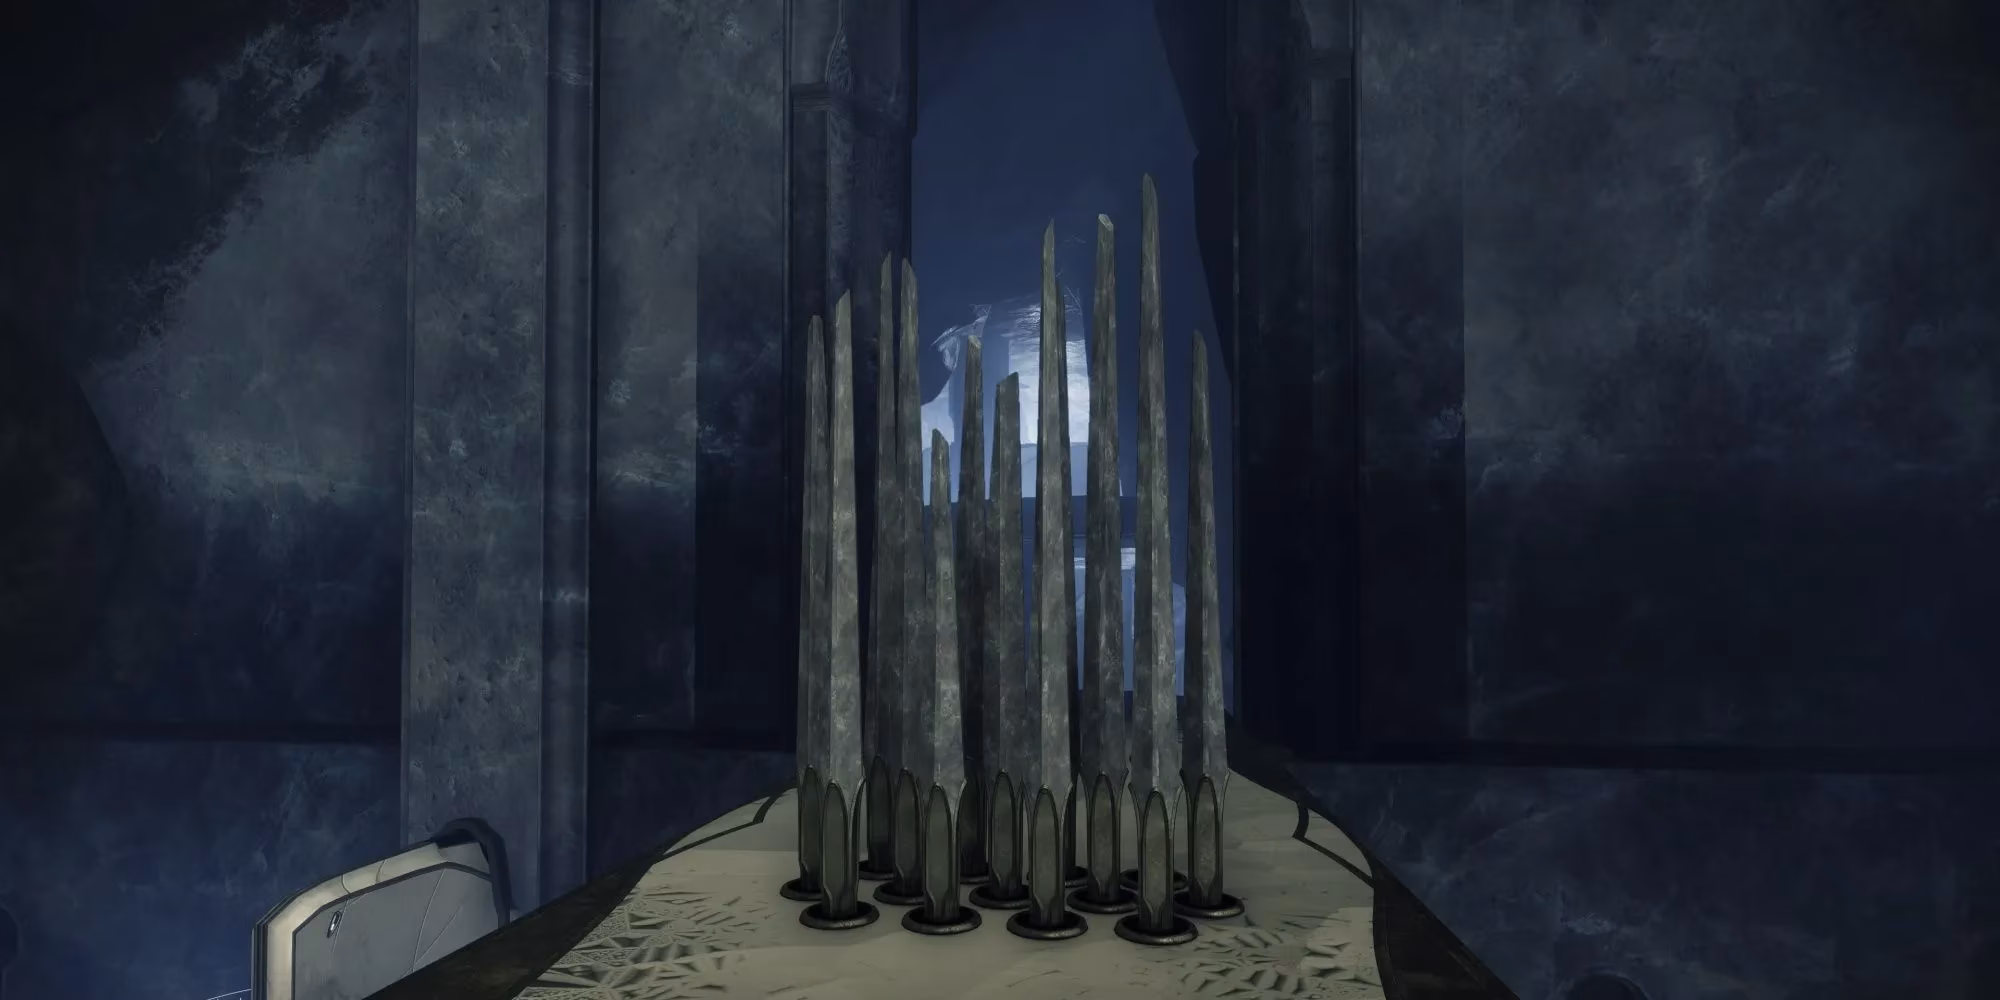
The first and third encounters are always dedicated to navigating perilous environmental hazards. Three possible arenas await, each requiring Guardians to activate three plates to proceed.
| Portal Position | Arena Name | Core Challenge |
|---|---|---|
| Left | Spike Chamber | Navigating rooms filled with shifting platforms and instant-kill spike traps. |
| Middle | Pervading Darkness | Managing a stacking debuff that obscures vision, cleansed by standing in pools of light. |
| Right | Poison Pools | Avoiding green runes that detonate into lethal poison clouds upon approach. |
The Spike Chamber is a gauntlet of deadly precision. The spike traps erupt from the ground and walls with rhythmic, almost predatory patience. The key is to bait their emergence and then dash through the brief safe window. For the spike traps in particular, get close to them and immediately retreat. Staying airborne with jumps, lifts, and grapples is often the safest strategy, turning the room into a lethal ballet.
Pervading Darkness presents a different kind of pressure. A debuff slowly builds, shrouding the Guardian's screen in an inky blackness like a creeping inkblot consuming parchment. You must stand in glowing pools of light to cleanse yourself, resetting the stacks. Success requires efficient pathfinding between plates and light pools.
The Poison Pools arena demands speed and caution. The green runes littering the floor are like dormant landmines. The best tactic is to clear enemies from a distance and then move with purpose, activating plates quickly before the toxic fog can accumulate.
⚔️ Combat Encounters: Proving Your Might
After surviving the platforming sections, Guardians are thrust into combat arenas with one of three possible objectives. These encounters bridge the gap between the delicate platforming and the climactic boss fight.
-
Clear the Lair's Intruders: The most straightforward task. Simply eliminate all waves of enemies that spawn in the arena.
-
Light the Torches: A mechanic reminiscent of the Menagerie. A Taken Wizard guards an unlit torch. Defeat the Taken Wizard to spawn an orb. A Guardian must carry this orb—a fragile, glowing ember of light—to the torch to ignite it. Repeat for all three torches. Once all torches are lit, a final wave of adds will spawn. Clear them to complete the encounter.
-
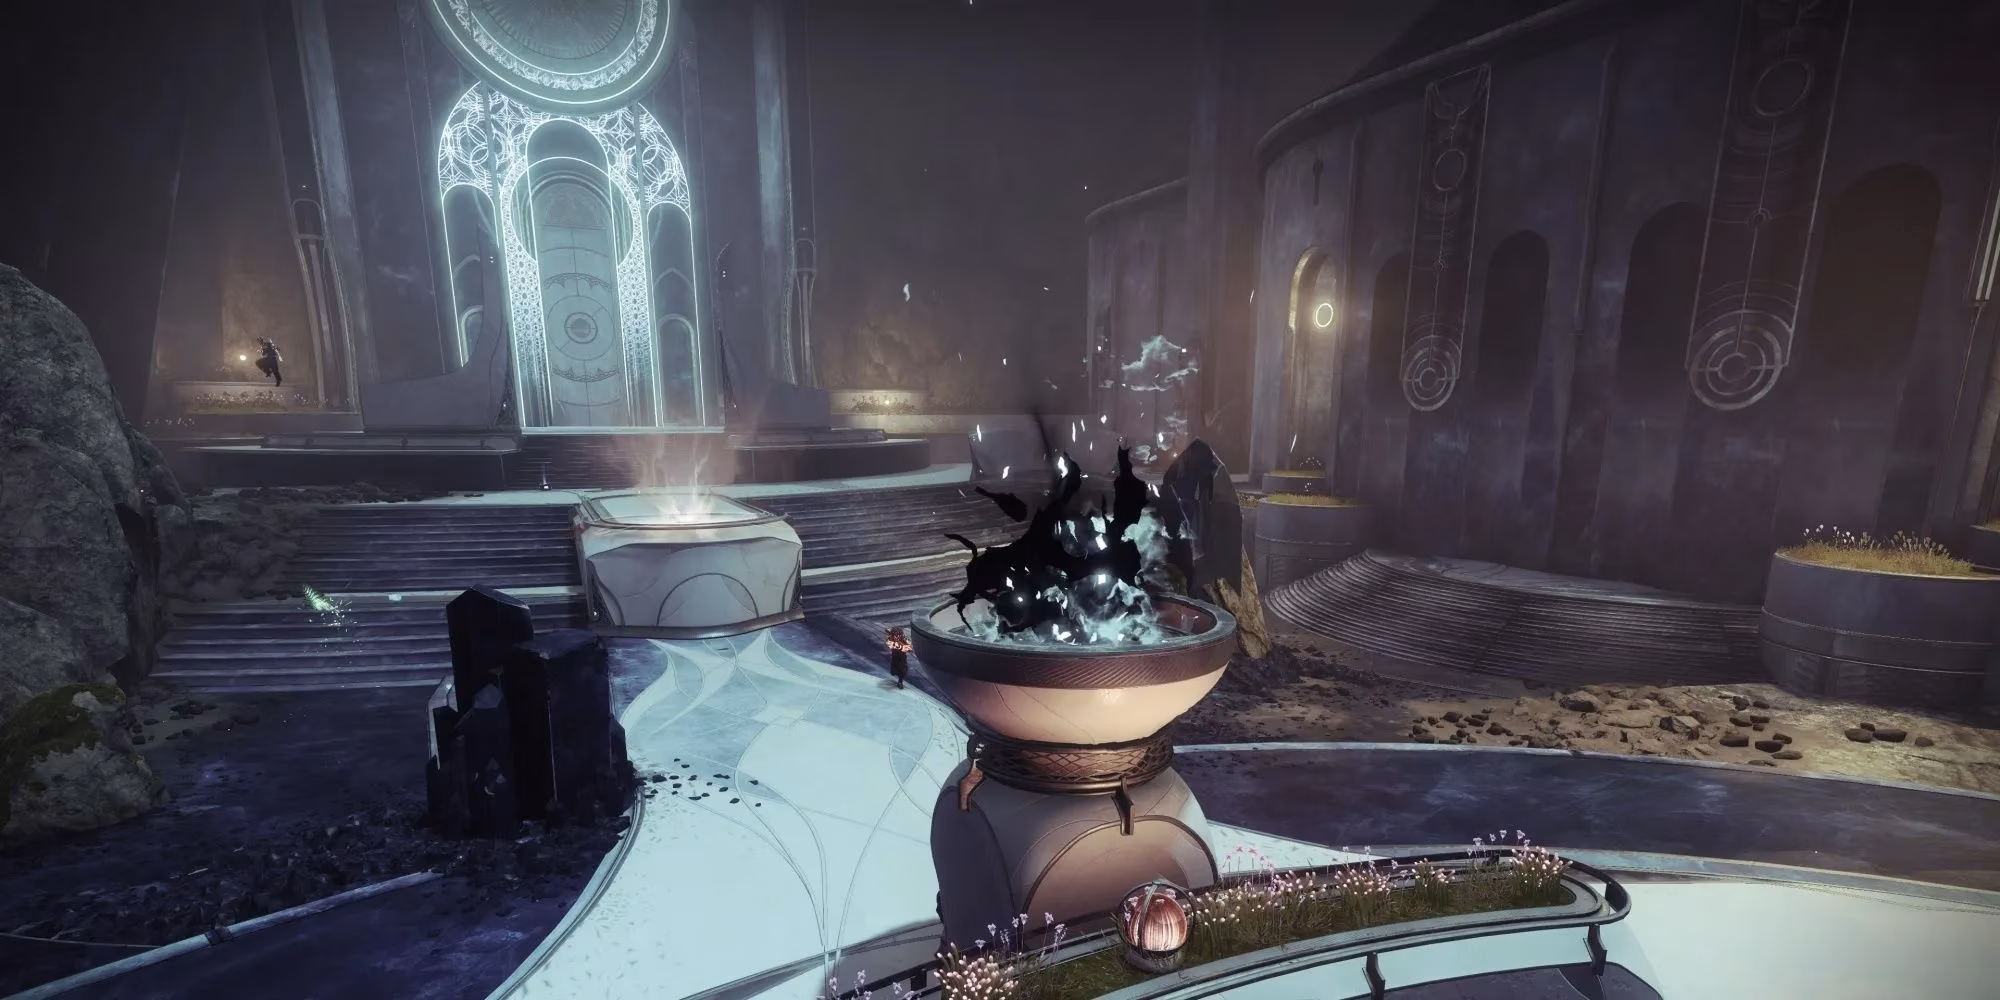
Lure out Mephitic Hosts: This encounter functions like the Dul Incaru fight from the Shattered Throne dungeon. The fireteam must kill enemies to spawn powerful Mephitic Hosts. Defeating a Host grants the Ephemeral Virus buff for 30 seconds, which allows damage to be dealt to otherwise invulnerable targets. However, the buff is a double-edged sword; it will kill the bearer when it expires. Guardians can cleanse the buff early by standing on a glowing pillar in the arena's center, a necessary risk-management step.
👑 The Final Boss: Breaching Immunity
Every journey through Riven's Lair culminates in a boss fight. The final adversary is chosen based on the enemy faction most prevalent during the run, and each has a unique immunity mechanic that must be bypassed.
-
Vex Boss (Hydra or Wyvern): The boss is initially immune, protected by a shimmering barrier. It continuously spawns Vex reinforcements, including Minotaurs. Defeating the Vex Minotaurs will drop Craniums you can use to damage the boss' immunity shield. Shattering the shield opens a damage phase.
-
Taken Boss (Knight or Ogre): Three powerful Wardweaver Wizards spawn, channeling energy to make the boss immune. Defeat the three Wardweavers to break the tether and start the damage phase. These Wizards are notoriously durable, often requiring heavy ammunition or Super abilities to bring down efficiently.
-
Scorn Boss (Chieftain): This fight mirrors the Mephitic Host mechanic. Defeating specific major enemies drops the Ephemeral Virus buff. A Guardian must claim this volatile power to damage the boss's shield. Once the shield is broken, damage is permanent. Crucially, the Ephemeral Virus buff will kill you once it expires, so cleansing at the central pillar before focusing on the boss is essential.
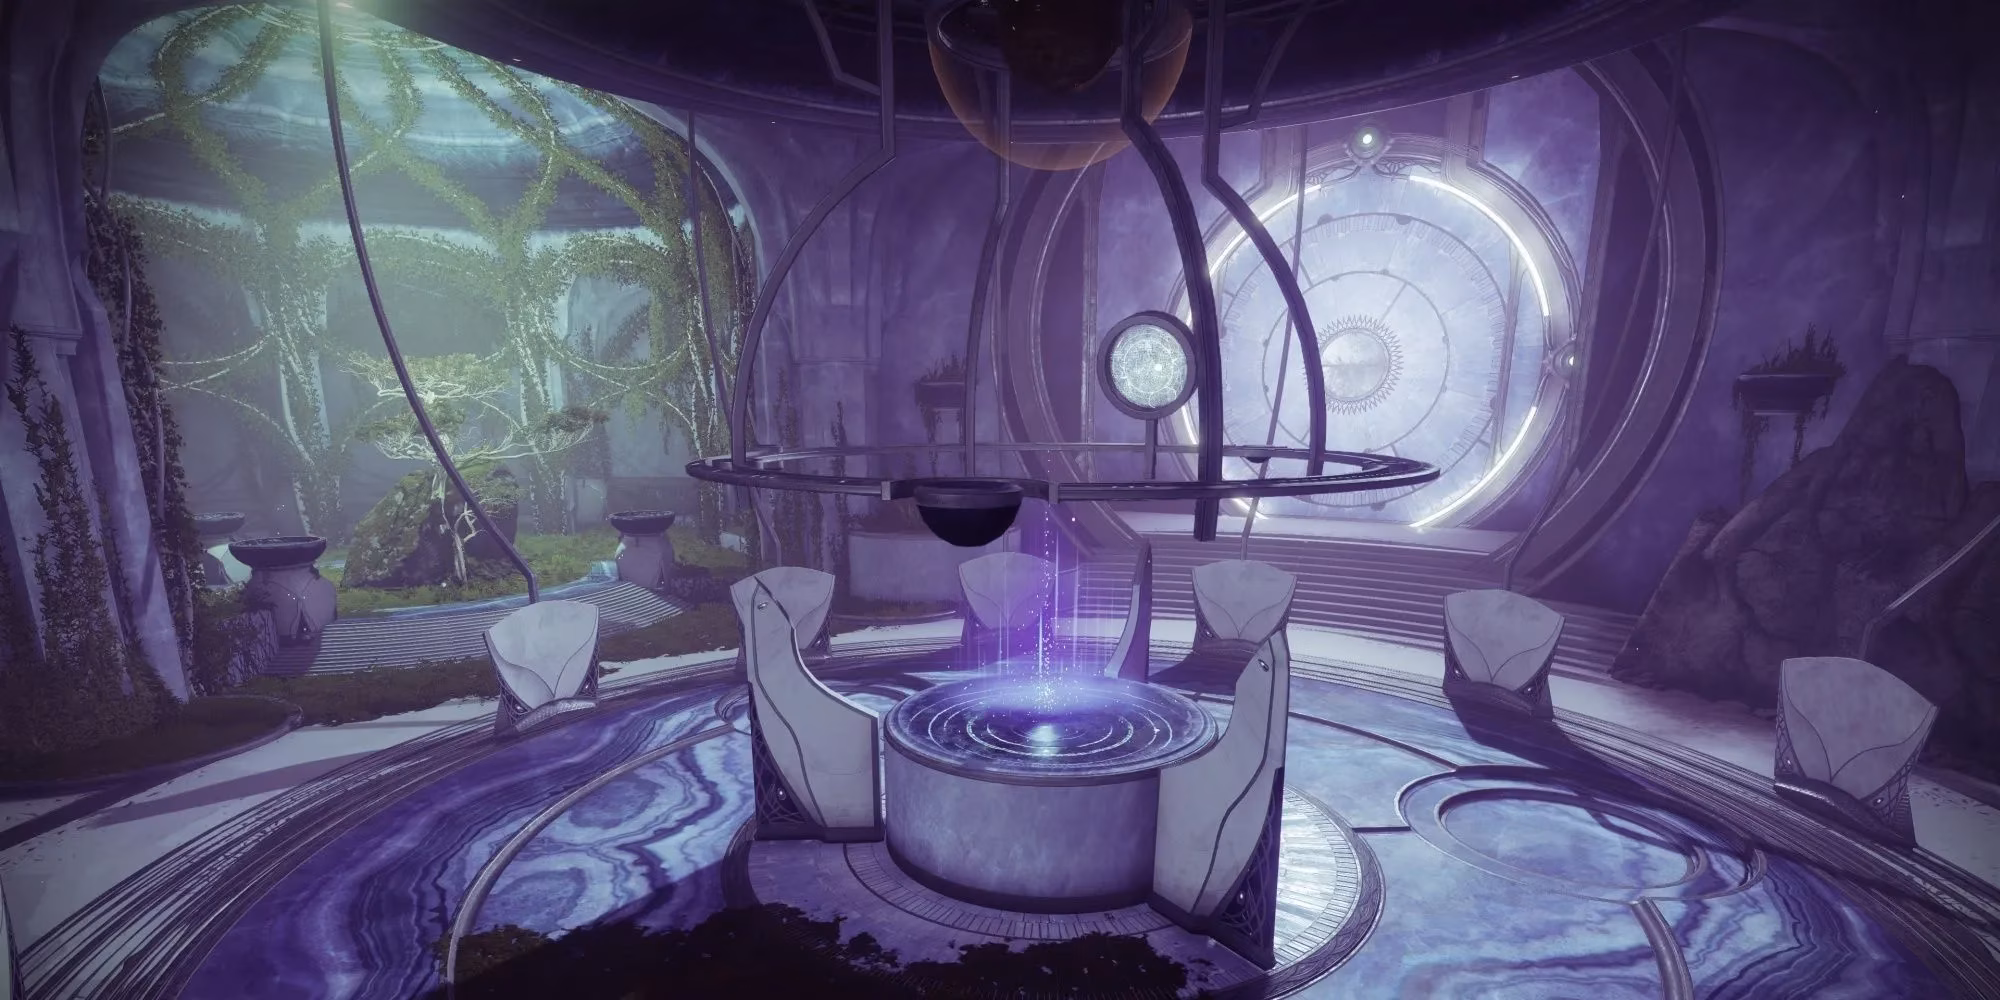
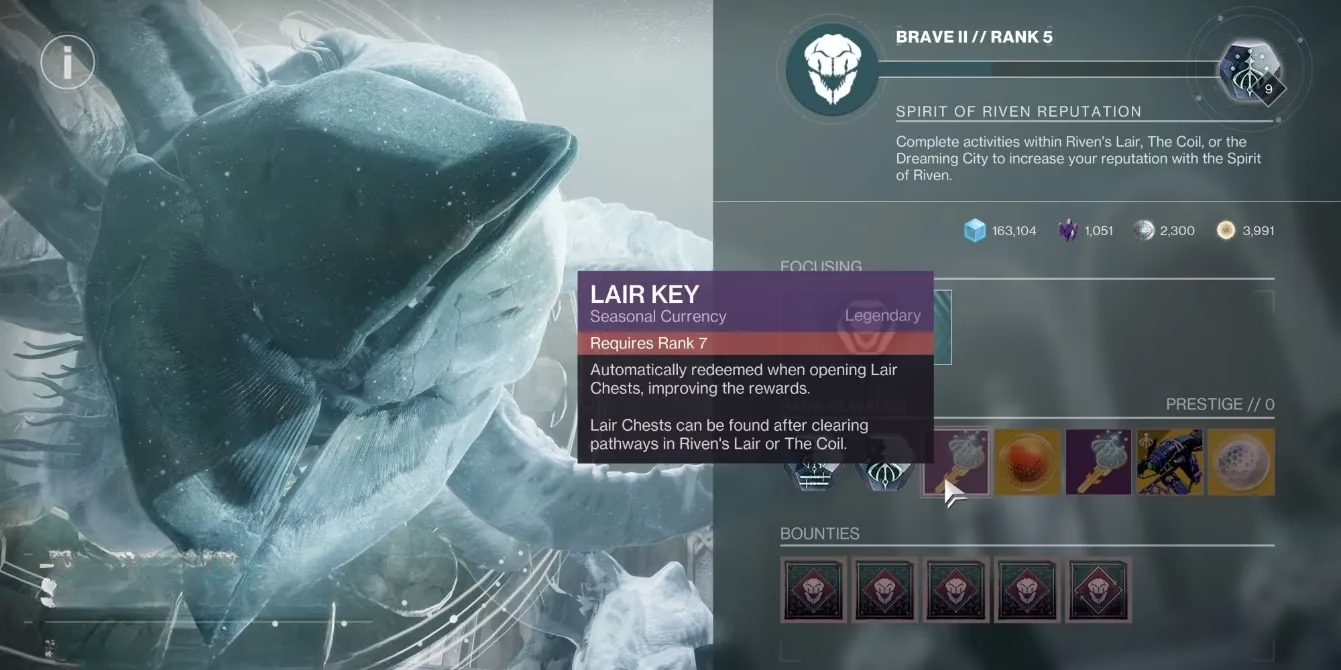
💎 Rewards, Keys, and Focusing
Victory over the final boss spawns a reward chest, dispensing Wish Engrams and seasonal gear. The loot can be significantly enhanced through the use of Lair Keys. If you have a Lair Key in your inventory, it will automatically be consumed to buff the reward chest, typically granting an extra weapon or armor piece. Each completion also grants Riven Reputation, which unlocks additional rewards from Riven's vendor station in the H.E.L.M.
Lair Keys are precious, single-use consumables. You can earn Lair Keys by completing non-seasonal content, such as Strikes, Gambit matches, or Crucible games. Additional sources include Riven's reward track, the Season Pass, and specific quests like "Wishing All The Best." You may hold up to five Lair Keys at a time, and this inventory is shared across all characters on your account.
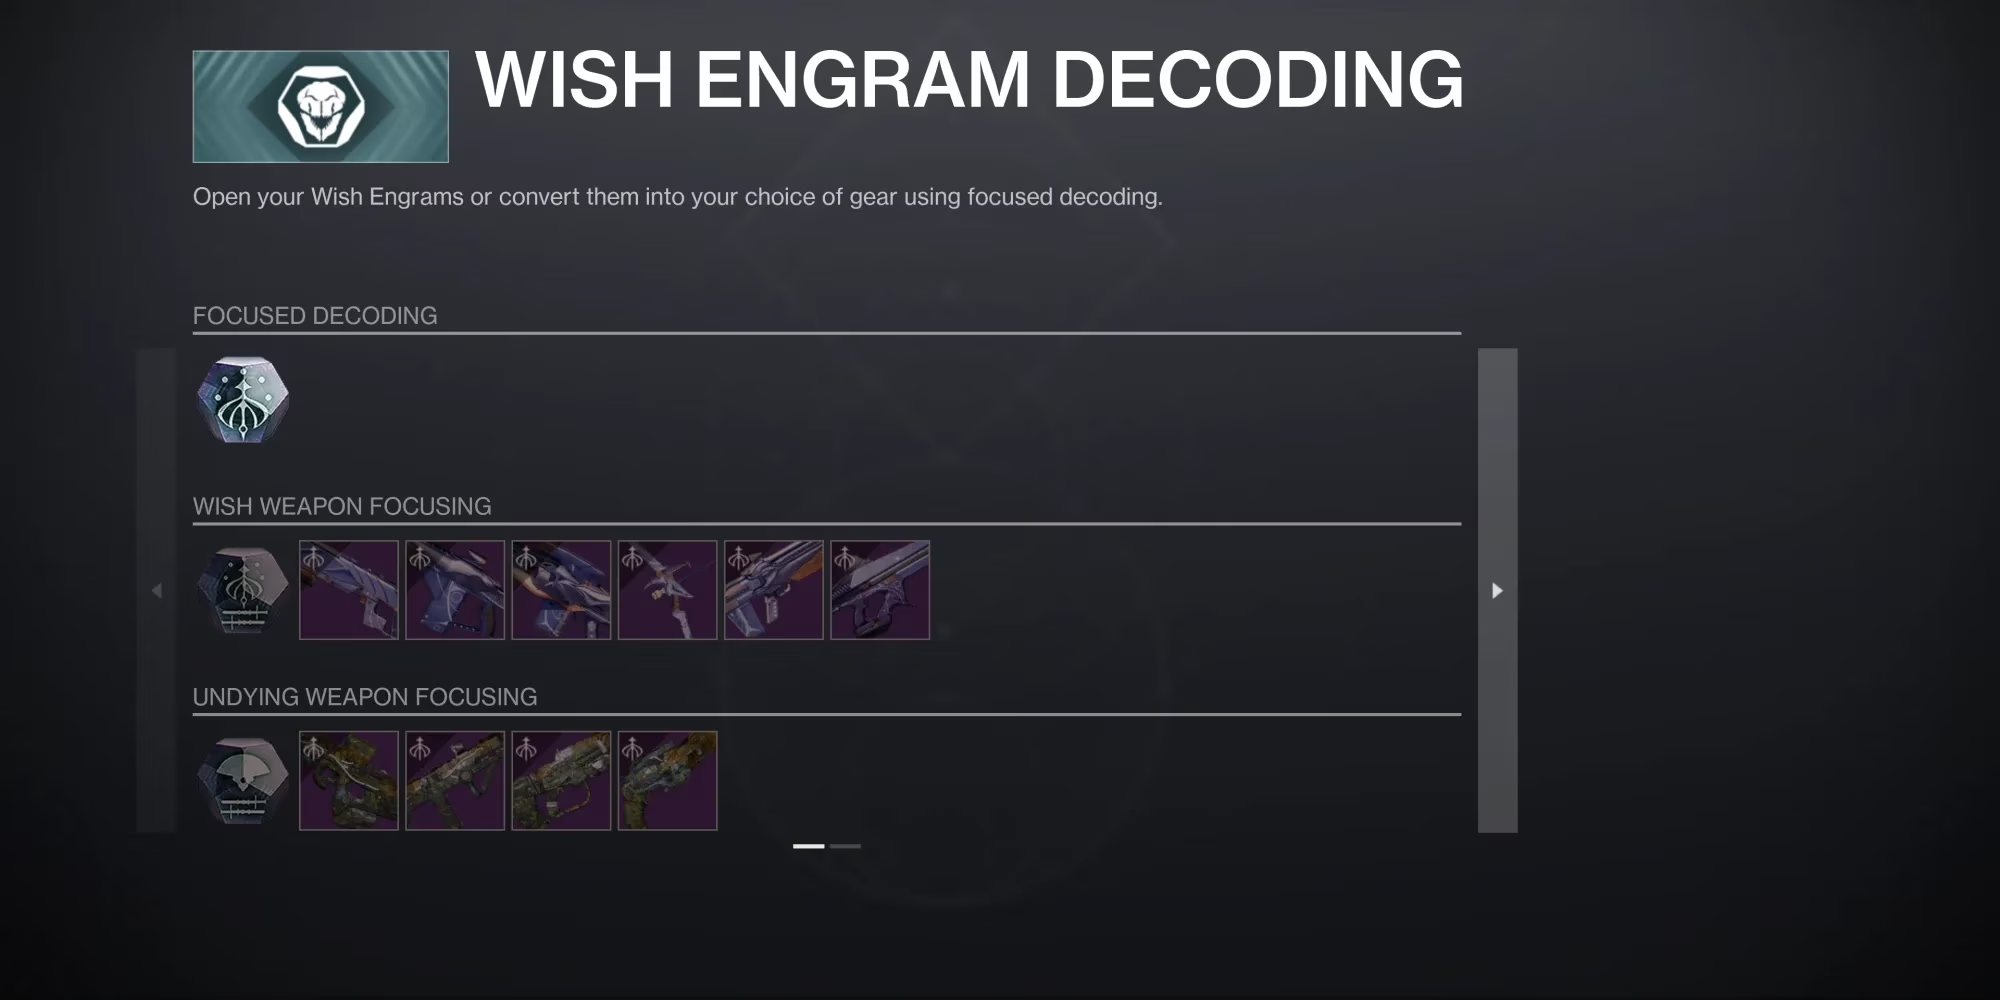
The Wish Engrams collected are the currency for targeted gear acquisition. At Riven's vendor location, these engrams can be focused into specific items, including:
-
Weapons from the Season of the Wish.
-
Reprised weapons from the Season of Undying.
-
High-stat armor rolls.
Focusing options for this season are limited initially. You can unlock more powerful focusing options through Seasonal Challenges. These challenges, which are not time-gated, progressively enhance the quality of focused gear, similar to the upgrade system from Season of the Deep. Guardians can track their progress toward these powerful unlocks in the second tab of the Seasonal Challenges menu.
Mastering Riven's Lair is a multifaceted endeavor. It requires the nimble footwork of a tightrope walker navigating a storm, the tactical coordination of a fireteam dismantling a complex machine, and the resource management of a strategist hoarding precious keys. From the spike-filled chambers that punish hesitation to the volatile Ephemeral Virus that must be wielded like a live wire, the activity is a testament to the Guardian's adaptability. By understanding its rhythms—the predictable encounter flow, the specific boss mechanics, and the efficient path to powerful rewards—players can transform this treacherous wish-dragon's den into a reliable forge for their arsenal in the ongoing war against the Witness.