Destiny 2's Salvation's Edge Raid: Mastering the Substratum Encounter
Master the challenging Destiny 2 Salvation's Edge raid guide, the game's most difficult raid, with essential strategies for the brutal Substratum encounter.
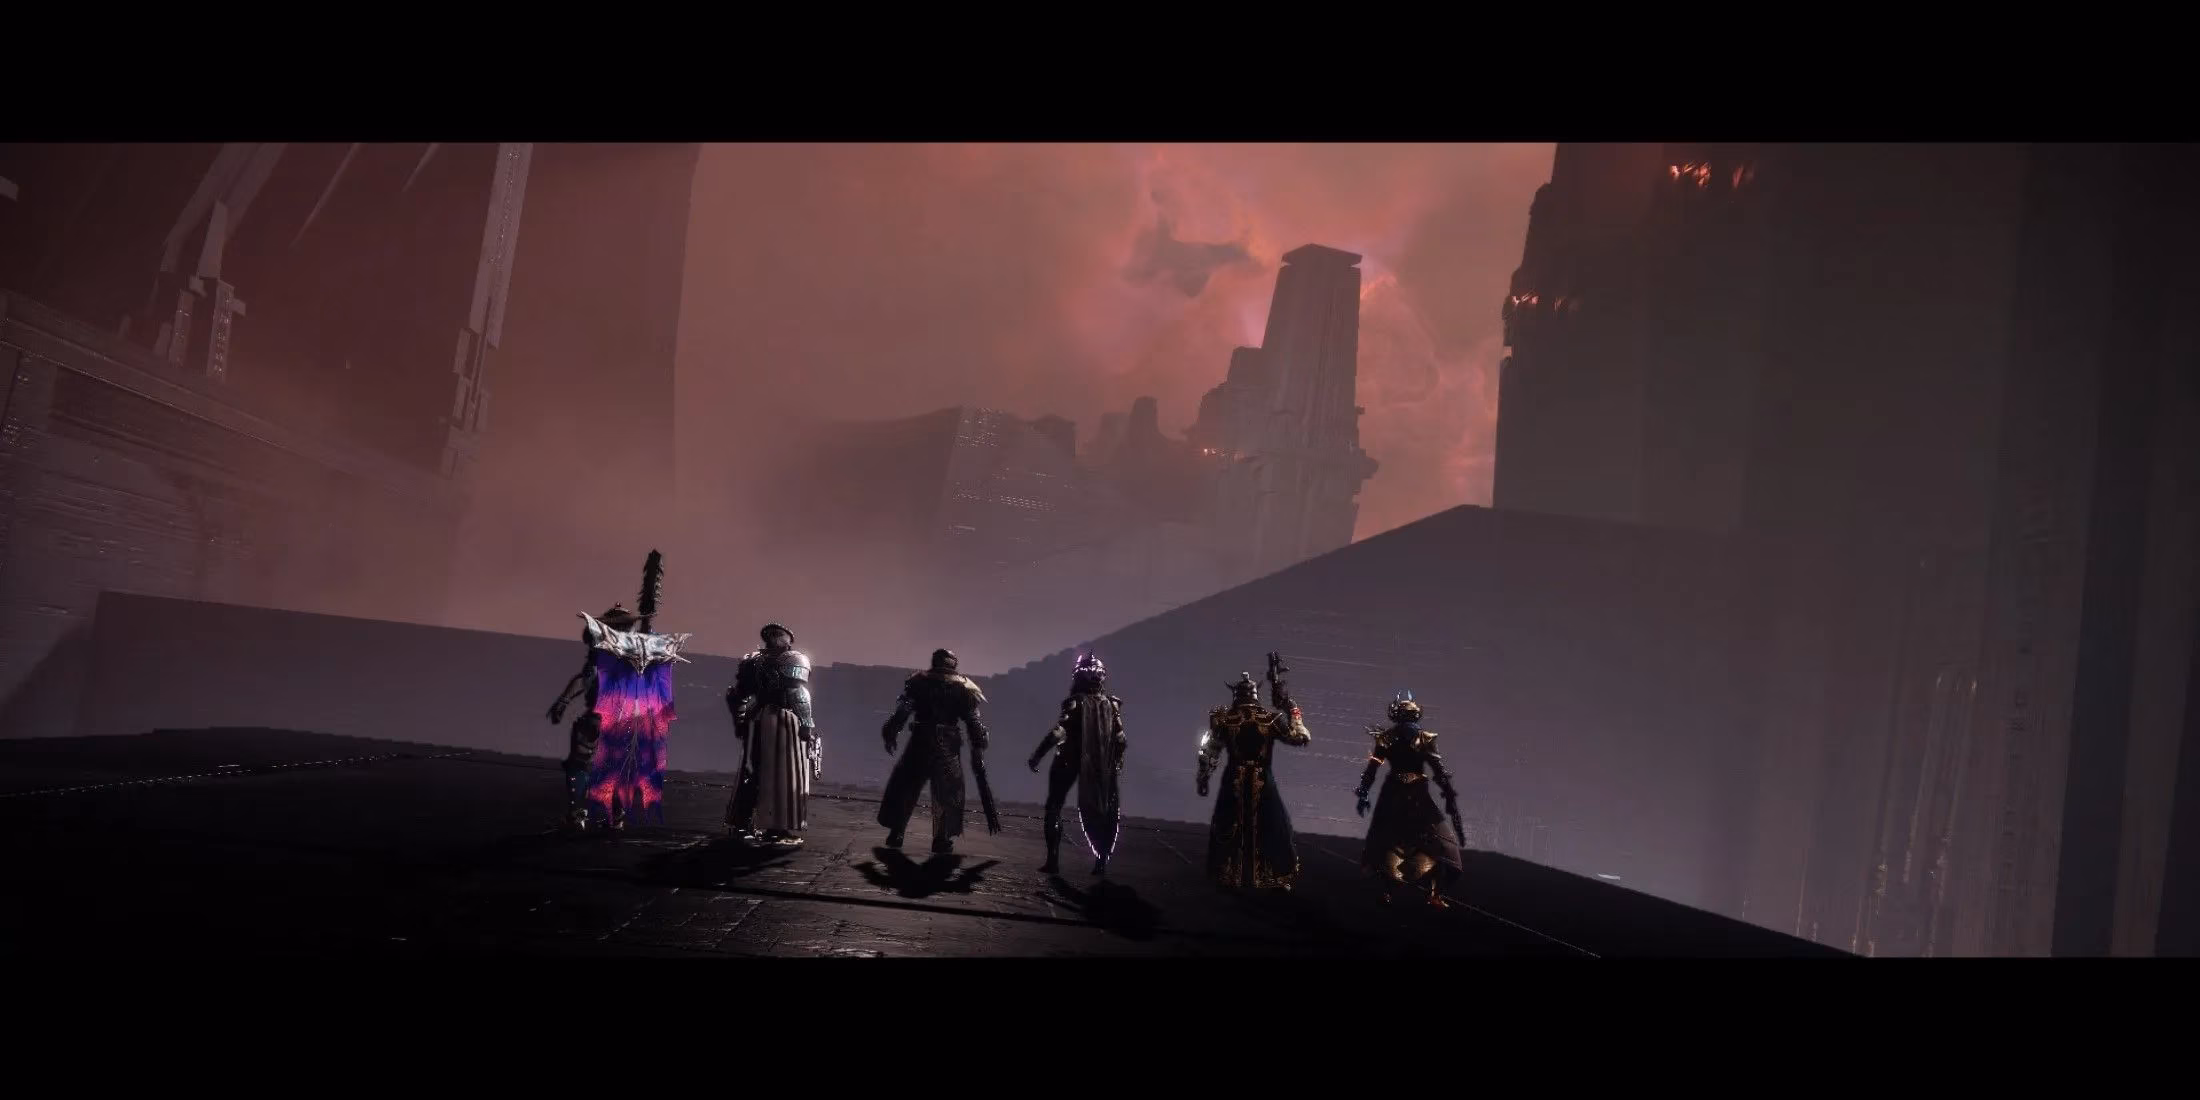
In the ever-evolving world of Destiny 2, the arrival of a new raid is a hallmark of a major expansion. Since the legendary Vault of Glass first challenged Guardians in 2014, these pinnacle six-player activities have defined the game's highest tier of cooperative play, offering not only the greatest rewards but also its most demanding tests of skill and teamwork. The latest challenge, Salvation's Edge, has quickly cemented its reputation as the most difficult raid ever unleashed upon the player base. As a direct confrontation with the enigmatic and formidable entity known as The Witness, it was destined to break the mold. The journey begins with the Substratum encounter, a complex introductory phase that serves as a brutal tutorial for the mechanics that will define the entire raid. Mastering its fundamentals is not a suggestion—it is an absolute requirement for any team hoping to progress.
Preparation is the first key to survival. Before the encounter even begins, teams must equip their most effective add-clear loadouts. While there is no traditional boss to face in this initial phase, the ability to eliminate vast numbers of enemies rapidly is paramount. The encounter commences when the full fireteam assembles in a central chamber. Here, a glowing chest sits, with a small, shimmering pyramid known as Resonance nearby. A single player must pick up this initial Resonance and deposit it into the chest, triggering the start of the trial and setting a critical countdown in motion.
As soon as the encounter activates, two dramatic changes occur. First, a massive, spectral hand of The Witness emerges from the ceiling, a constant reminder of the entity you are challenging. Second, a timer labeled "Final Shape Looming" appears beneath every player's health bar. This is a hard enrage timer for the entire encounter; if it reaches zero, the entire team is wiped instantly. The arena also becomes dotted with dangerous, glowing triangular fields that inflict severe damage, forcing constant vigilance and movement.
The initial phase is a brutal test of combat efficiency. Hordes of Supplicants flood the central room. After they are cleared, doors to three side chambers open. The team must split into three pairs and clear each room swiftly, prioritizing dangerous enemies like Hydras and Overload Champions. A message, "You are beckoned toward the center," signals the time to regroup. Back in the central chamber, a Tormentor spawns and must be eliminated quickly, followed by another wave of Supplicants. This entire combat sequence repeats once more, culminating with the defeat of a second Tormentor. Only then does the encounter's true, namesake mechanic—the Substratum—reveal itself.
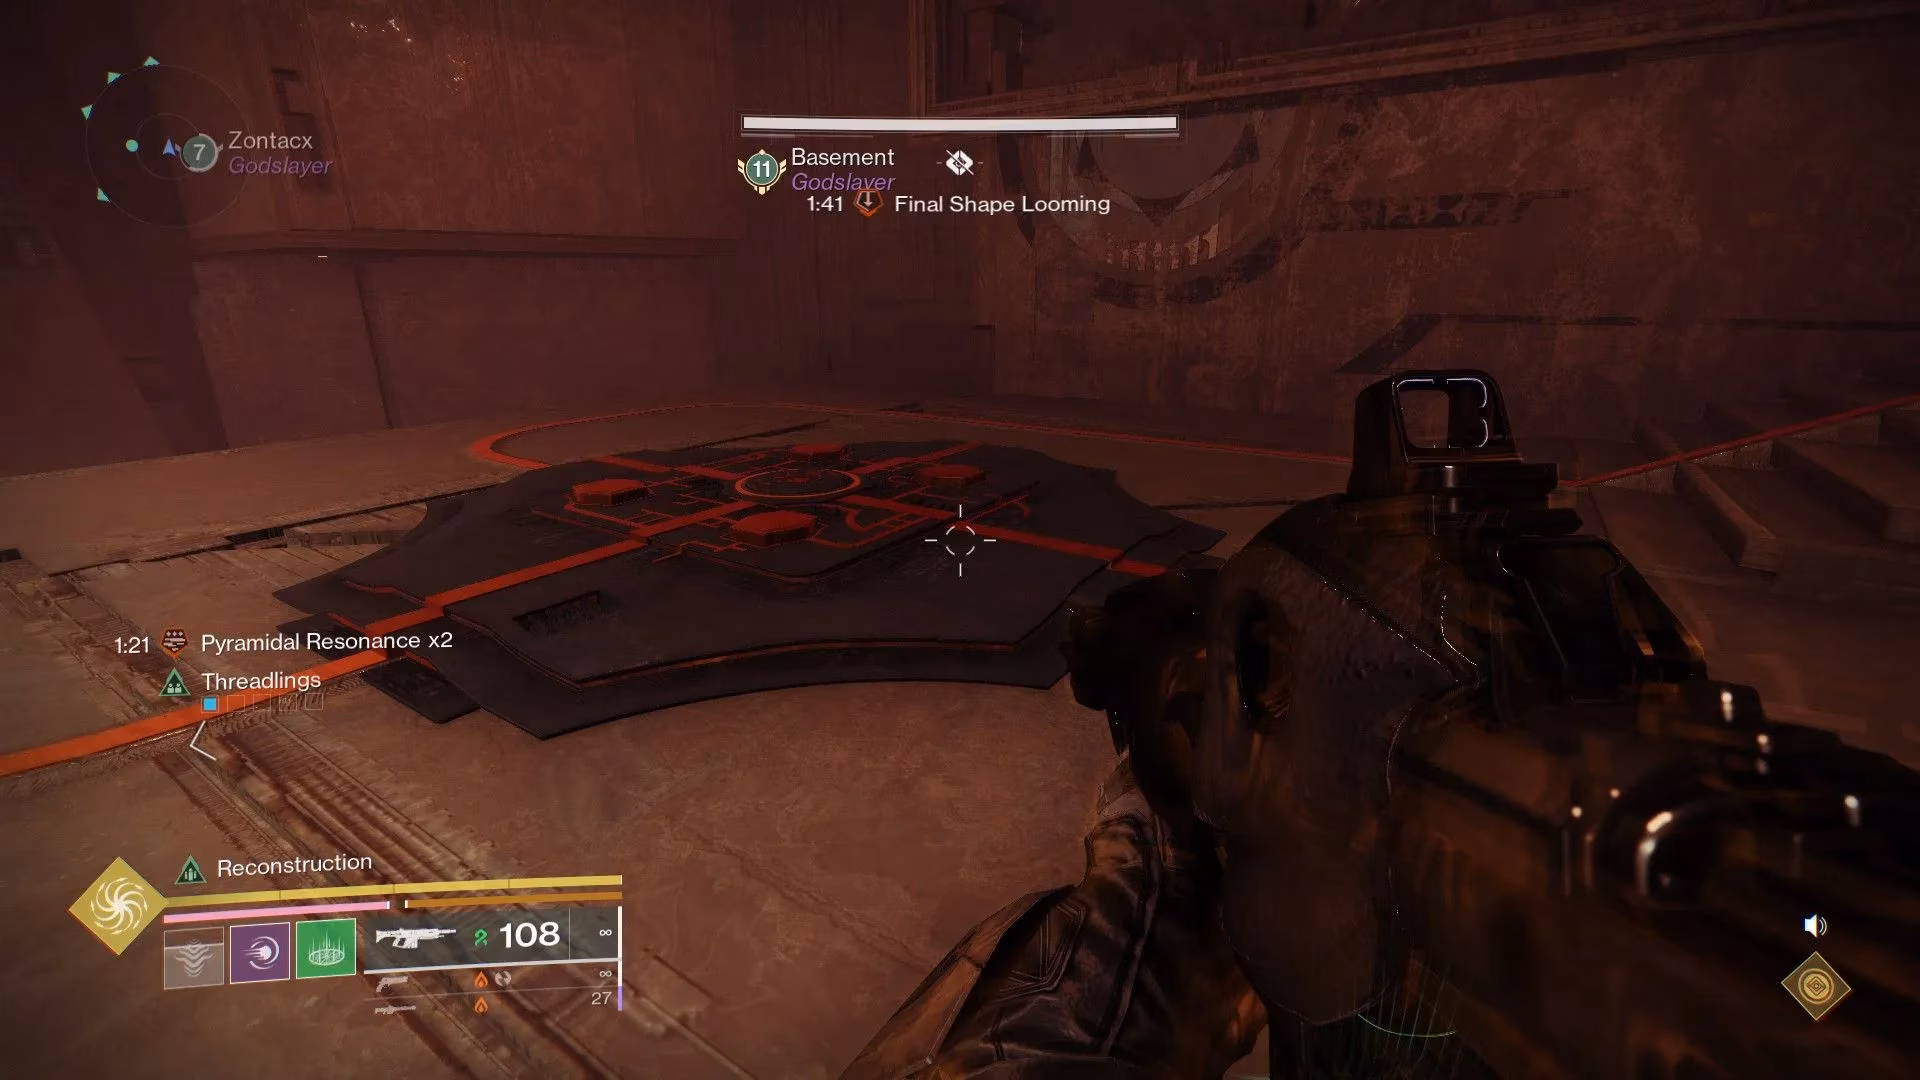
In two of the side rooms, teams will find a complex setup: a glowing plate on the floor and an open totem structure with a glowing core. These elements are connected by bright orange lines of energy that trace paths across the arena. This is the Resonance Transfer system. The floor plate is the "sending plate," and the plate near the totem is the "receiving plate." The process begins when a player steps onto a sending plate and then steps off, causing a beam of light to travel along the orange line to the corresponding receiving plate.
Timing is everything. When the beam arrives at the receiving plate, an orange circle briefly flashes on it. The player stationed there must step onto the plate during this window and then step off to send the light back. The original sender must then catch the return by stepping on their plate when their circle appears. This rhythmic "ping-pong" of light must be maintained. But why go through this elaborate process? The answer lies in survival. While the light is being volleyed, pools of Resonance spawn on the ground nearby. Players must collect these, but with a deadly caveat: holding more than three stacks results in instant death. The goal for each player is to safely gather three stacks.
The margin for error is razor-thin. A mistimed step causes the plates to deactivate and spawns a deadly Subjugator enemy that must be killed to reset the process. This demands intense coordination and communication between each pair of players managing a plate set. Is your team communicating clearly enough to handle the pressure?
Once a pair has collected their Resonance, the next objective is to close their totem. This requires at least one stack of Resonance. As the light beam is traveling toward their receiving plate, the player must shoot the glowing core of the totem and then successfully complete the plate step when the circle appears. A successful closure is marked by the totem shutting and glowing with orange energy, accompanied by the message "The resonant conductor sparks to life" on screen. This must be done for both active totems.
With both totems closed, the entire team regroups in the center for a final stand. A Subjugator and a large group of adds spawn and must be eliminated. Victory is in sight when the original glowing chest reappears. This begins the deposit phase. One by one, each player must approach the chest and deposit their accumulated Resonance. Each deposit adds precious seconds to the looming "Final Shape" timer—the more Resonance deposited, the more time the team earns. This extended time is the only way to survive the subsequent cycles.
And cycles there will be. The entire process—clearing adds, defeating Tormentors, managing the Substratum plates to gather Resonance, and depositing it—must be repeated multiple times. Each cycle is a race against the ever-ticking clock, a test of endurance, precision, and teamwork. The encounter doesn't end with a single successful deposit; it requires sustained excellence. Can your team maintain its composure and execute flawlessly under the relentless pressure of a literal doomsday clock?
Encounter Flow Summary:
-
Initiation: Deposit initial Resonance to start the timer.
-
Add Clear Phase (x2): Clear Supplicants → Split into pairs and clear side rooms → Regroup and kill a Tormentor.
-
Substratum Mechanic:
-
Manage the sending/receiving plate light transfer with perfect timing.
-
Collect Resonance stacks (max 3 per player) during the transfer.
-
Close both totems by shooting them and completing a plate step.
-
-
Deposit Phase: Regroup in center, kill the final Subjugator wave, and deposit all Resonance into the chest to extend the timer.
-
Repeat: Go back to Step 2 and continue the cycle until the encounter is complete.
| Key Role | Primary Responsibility | Critical Tip |
|---|---|---|
| Plate Manager | Timing the steps on sending/receiving plates. | Call out "Stepping On" and "Stepping Off" clearly. Watch for the orange circle visual. |
| Resonance Collector | Gathering Resonance during plate management. | Never pick up a fourth stack. Prioritize grabbing during the light's travel time. |
| Add Clear Specialist | Rapidly eliminating waves of enemies. | Use area-of-effect weapons and abilities. Focus on Overload Champions immediately. |
| Tormentor Slayer | Bursting down the high-health Tormentors. | Coordinate heavy weapon fire and supers. Stun with void suppression if possible. |
Completing the Substratum encounter is more than just a first victory in Salvation's Edge; it is a graduation. The mechanics of Resonance, precise plate interaction, totem closure, and time management under relentless enemy pressure form the foundational language of the entire raid. Teams that fail to learn this language here will find the later encounters incomprehensible. For those who persevere, it is the first, hard-earned step on the path to facing The Witness itself. The question for every Guardian in 2025 remains: Is your fireteam ready to learn?