How I Finally Beat the Infrared Mission in Warzone 2 DMZ
Master the Warzone 2 DMZ Infrared mission with this Koschei Complex guide—jumper cables, car batteries, and Alpha Cluster routes for Tier 4 victory.
Let me tell you, I’ve been through the wringer in Warzone 2 DMZ, but the Redacted Tier 4 Story Mission Infrared? That one nearly had me rage-quitting faster than a squad of six-mans rolling through Ashika. This mission was the final boss of the Koschei Complex back in Season 3, and even in 2026, it still holds up as one of the most punishing PvE gauntlets in the mode. The cocktail of sentry turrets, fuse boxes, laser grids, and bunker navigation is enough to make any operator sweat bullets.
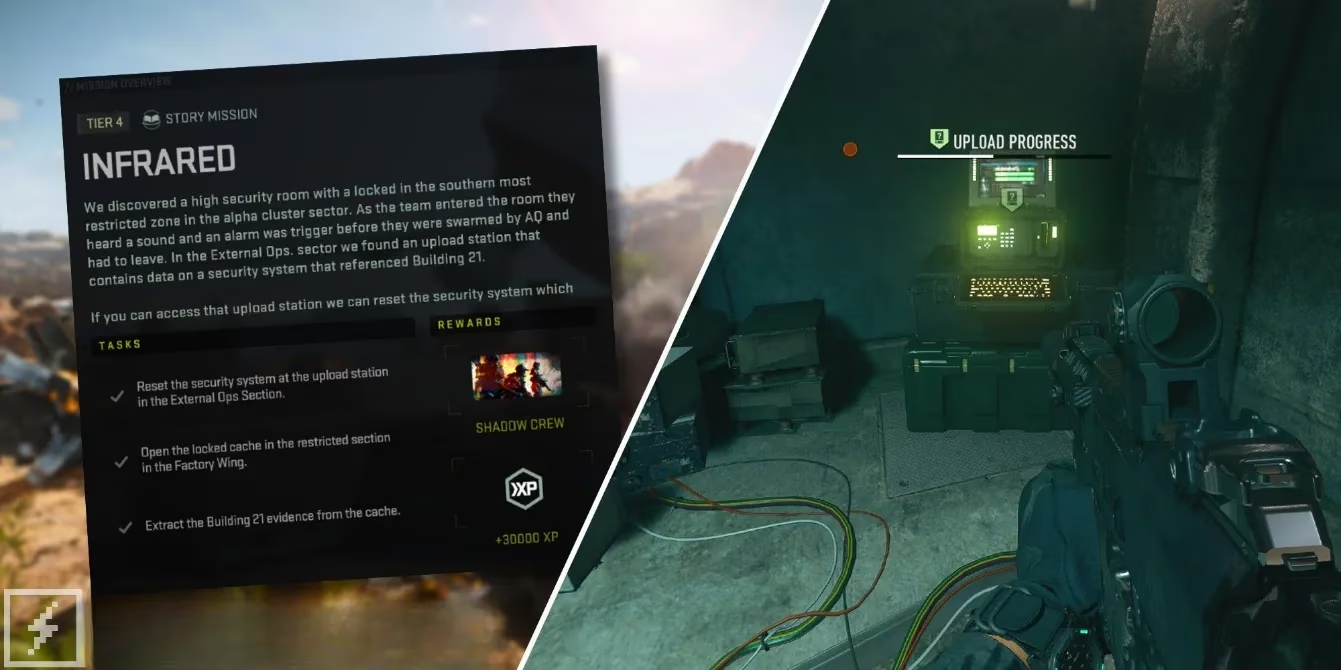
I didn’t just stumble into this one. Oh no, I prepped like I was about to sit a final exam. First thing’s first: before you even think about stepping into the Rohan Oil bunker entrance, grab two sets of Jumper Cables and Car Batteries. These are your golden tickets. Without them, you can’t get through the Chemical Treatment Plant and the Alpha Cluster, and your run is dead in the water.
Getting the Security System Reset in External Ops
I spawned near Rohan Oil, took a deep breath, and dropped into the bunker. The red arrows dotted along the External Ops section are your best friends—follow them, but keep your eyes peeled for AI soldiers and sentry turrets. Those turrets don’t miss, and I learned the hard way that “maybe it won’t see me” is not a valid strategy.
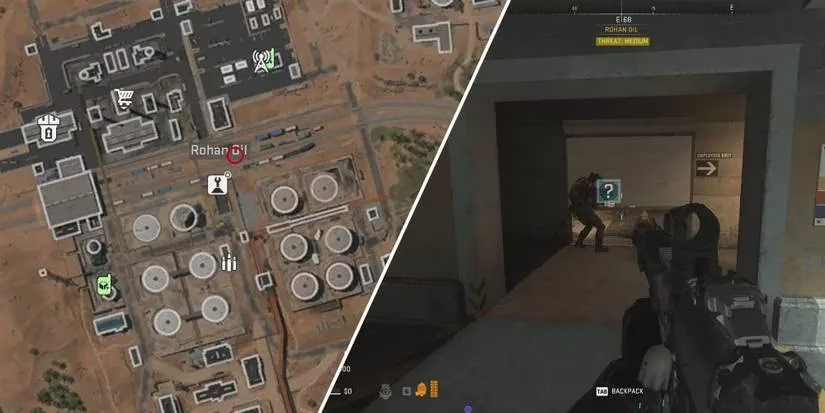
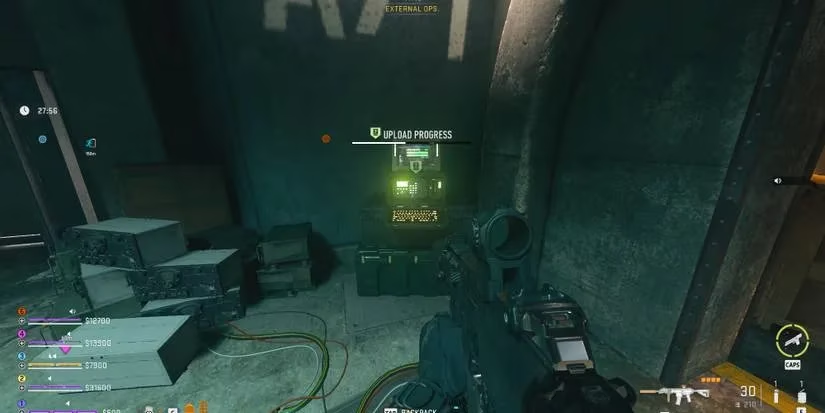
The first objective is simple on paper: reset the security system at the upload station in External Ops. The station sits in the north, in the right-hand corner of that big broadcasting section. I interacted with it, watched the upload bar crawl along, and boom—first objective wrapped up. One down, two to go.
The Long Walk to the Alpha Cluster
Here’s where the mission really starts to bite. The second objective claims you need to open a locked cache in the Factory Wing, but the game is lying through its teeth—the actual cache is in the Alpha Cluster, accessed from the Chemical Treatment Plant. I headed back toward the big bunker door, and sure enough, it wouldn’t budge until I powered the fuse box on the right with a Jumper Cable and Car Battery. Hit the red button next to the door, and I was in.
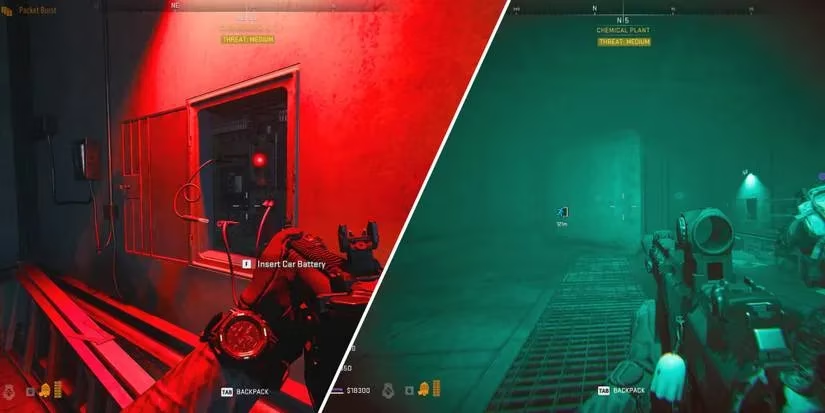
Inside the Chemical Treatment Plant, I made a beeline for the east side. There’s another massive bunker door marked C/2, and it also needs a Jumper Cable and Car Battery. The fuse box is on the left, the button is on the right. Don’t get them twisted. After that, I pushed through the blast door, dodged a sentry turret, took the first right, and entered a big server room. The double doors on the right lead to the restricted section of the Alpha Cluster.
Now, this part is a real kick in the teeth: you need an L2 Restricted Access Key. I earned mine from completing Abandoned Operator and Brothers In Arms, but you can also buy one from a regular or Secure Buy Station. If you’re feeling flush, a Skeleton Key works too. I went in with a Skeleton Key, because after all that setup, I wasn’t about to get cold feet at the door.
Dancing With Lasers and Cracking the Cache
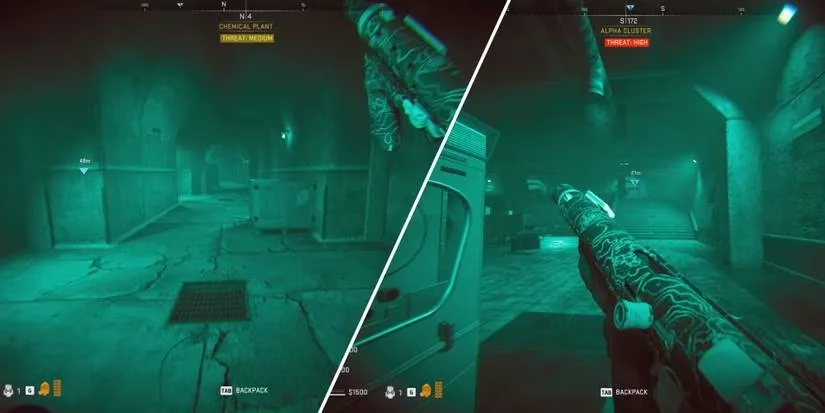
Once I hit the corridor leading to the exfil point, I spotted a room on the right. Before stepping in, I threw on my Night Vision Goggles. Inside, the room is laced with infrared lasers like some kind of heist movie cliché. The cache looks like a Legendary Supply Crate, and it’s visible from the doorway. Here’s the kicker: if you trip even one laser, the cache locks up, and you have to reset the security system at External Ops all over again. I moved through that room slower than a snail on a hot sidewalk, holding my breath the whole way.
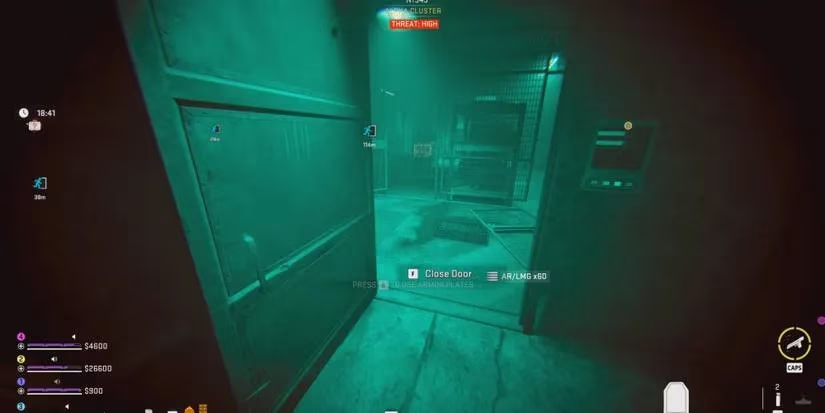
I reached the cache without tripping a single laser, cracked it open, and grabbed the mission item: the DRC Proposal. Second objective done. The final step was almost anticlimactic—just extract with the DRC Proposal from the exfil elevator at the far end of the corridor.
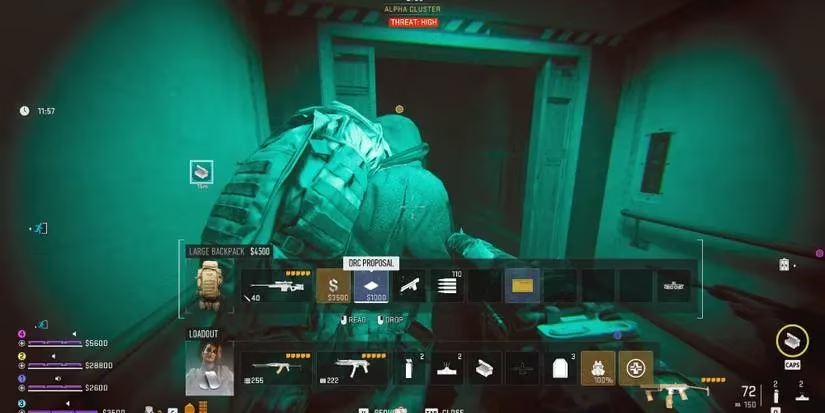
I called the elevator, heart pounding, and got out by the skin of my teeth. Completing Infrared netted me the Shadow Crew calling card, 30,000 XP, and unlocked the fifth and final tier of Redacted faction missions.
Infrared Quick Reference
If you’re about to run this, here’s the cheat sheet I wish I’d had taped to my monitor:
| Objective | Location | Key Item Needed |
|---|---|---|
| Reset security system | External Ops upload station | None (just interact) |
| Open locked cache | Alpha Cluster restricted room | L2 Restricted Access Key or Skeleton Key + Night Vision Goggles |
| Extract evidence | Exfil elevator from cache | DRC Proposal (from cache) |
Pro tips I live by:
-
🪫 Carry two Jumper Cables and Car Batteries. One set for the Chemical Treatment Plant, one for the Alpha Cluster.
-
🔦 Equip Night Vision Goggles before entering the laser room. Trust me.
-
🚨 Don’t trip the lasers. Just don’t. If you do, it’s back to External Ops to reset security again.
-
🔑 If you’re short on L2 Restricted Access Keys, run Abandoned Operator and Brothers In Arms first, or hit a Buy Station with a fat wallet.
Infrared isn’t a walk in the park, but with the right prep and a steady hand, it’s absolutely doable. I walked out with the Shadow Crew calling card and a story I’ll be telling in the DMZ lobby for years. Now get out there and make those lasers look easy.