How to Complete the X Marks the Spot Mission in Warzone DMZ's Koschei Complex
DMZ X Marks the Spot mission: use R4D Detectors, breach Alpha Cluster keypad, extract Koschei Complex Map, claim Barbed Silhouette emblem.
The Crown faction returns in Season 4 of Warzone DMZ, offering a set of demanding challenges for those who own Modern Warfare II. Among these, the Tier 2 Story Mission "X Marks the Spot" stands out as a particularly intricate task that tests a player's ability to navigate the labyrinthine Koschei Complex and solve a cryptic puzzle. Setting it apart from simpler fetch quests, this mission requires a head for exploration and a steady trigger finger, promising exclusive rewards that make the effort worthwhile.
To complete this mission, an operator must achieve two core objectives: unlock a keypad-secured room within the Alpha Cluster using an R4D Detector, and then extract the Koschei Complex Map found inside. Upon fulfilling both requirements, the Barbed Silhouette emblem and 15,000 XP are granted, making it a highly sought-after milestone for dedicated DMZ grinders.
Unlocking the Keypad Door in the Alpha Cluster
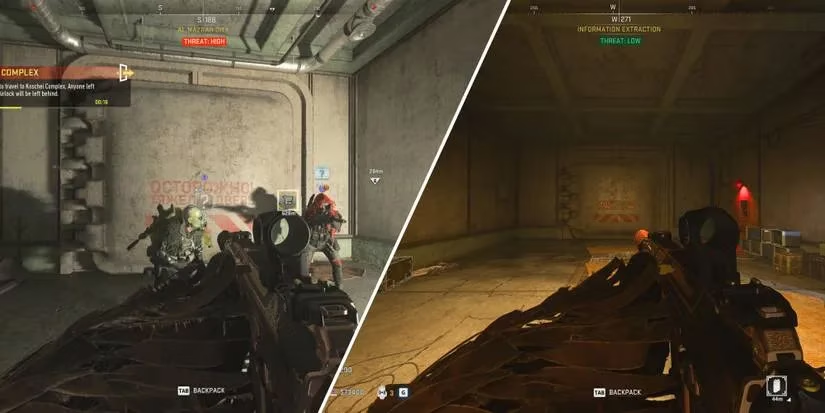
The first objective demands a multi-step journey deep into the bunker. An operator begins by entering the Koschei Complex through any of the four Al Mazrah bunker entrances, then progresses toward the Chemical Treatment Plant. The route is familiar to anyone who has tackled the Bedrock or Spetnaz Exposed missions, yet the tension remains high. After reaching the plant's blast door, the team must breach it—those coming from Rohan Oil or Al Mazrah City will need a set of Jumper Cables and a Car Battery to supply power.
Once inside the Chemical Treatment Plant, the search narrows to finding an R4D Detector. This device occupies the tactical slot and is an absolute necessity for deciphering the locked room's code. However, only two detectors spawn during each deployment, and both are located inside the small huts on the east and west sides of the plant. The scarcity of the item often leads to fierce competition, especially in larger lobbies. Why does the game limit such a critical tool? It forces squads to either move quickly and secure one early or prepare for a tense standoff with other players who have the same goal.
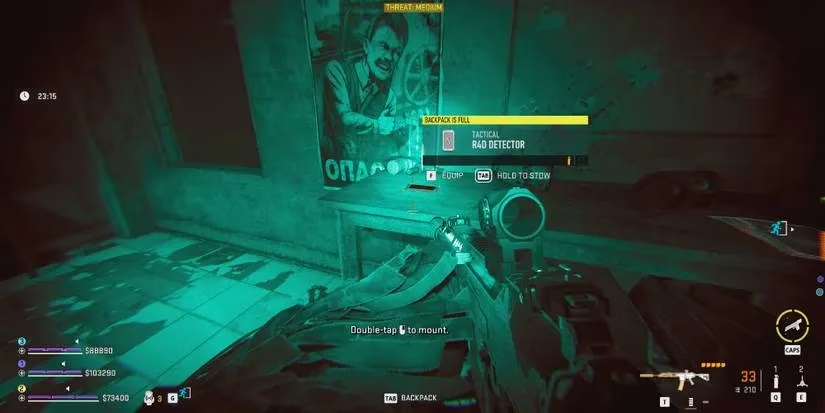
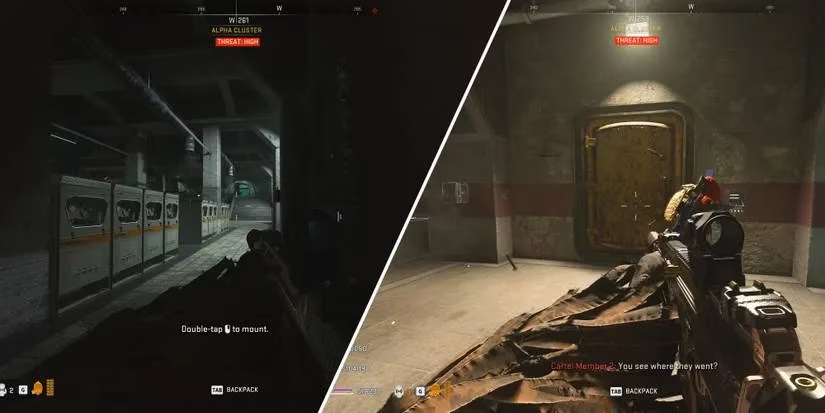
With the R4D Detector in hand, the operator heads to the south side of the Chemical Treatment Plant to locate the Alpha Cluster entrances. The blast doors here are just as stubborn as the previous set, demanding another Car Battery and Jumper Cables to power the fusebox between them. Bringing these items from Al Mazrah is strongly recommended; the complex rarely provides them when most needed. As the doors groan open, Sentry Turrets in the corridors immediately threaten anyone who rushes forward. Clearing them systematically is not just strategic—it's essential for survival.
Inside the Alpha Cluster, the operator moves to the right side, navigating past more turrets and Cartel soldiers. Along this path, a series of green doors lead to the L2 Restricted Zone, but the mission's target is a distinctive yellow blast door marked by a keypad on the wall. This room is not merely a storage closet; it also harbors one of the parts for the elusive Heated Madness weapon blueprint, gifting observant players an extra incentive to explore.
Deciphering the Code
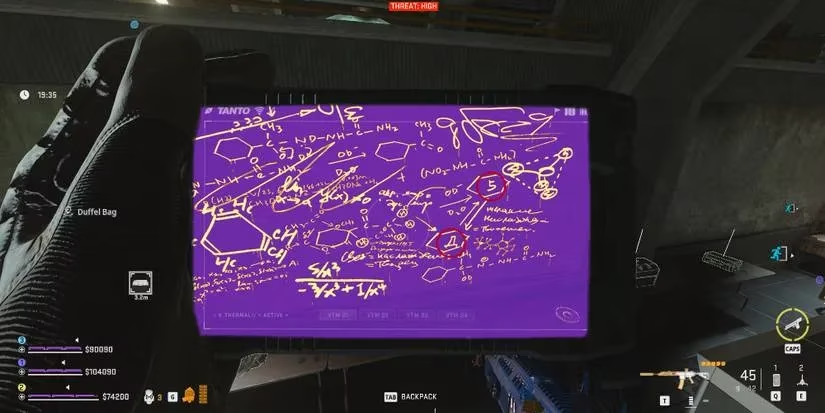
The keypad does not accept brute force guesses. Instead, it requires a three-digit code revealed only through the R4D Detector. By aiming the detector at the space just above the keypad, three glowing letters appear. Each letter corresponds to a number, but the translation key is scattered across the Alpha Cluster on seemingly blank chalkboards. How can invisible ink be read? Only the R4D Detector's optical filter exposes the hidden mathematical formulas.
Seven chalkboards are distributed throughout the cluster, yet only three hold the relevant equations. The operator must sweep each one with the detector until a formula emerges—something like "A = 4" or "K = 7." These pairings tie the letters above the door to their numeric equivalents. Once all three letters are decoded, the operator returns to the yellow door, inputs the numbers in the exact order shown by the detector, and watches the lock disengage. The first objective is then complete.
Extracting the Koschei Complex Map
The second objective is refreshingly straightforward after the cerebral puzzle. Inside the room that has just been unlocked, the Koschei Complex Map sits on a table directly in front of the entrance. The operator simply collects the map—no additional riddles, no sudden ambushes—and prepares to extract. The relief is palpable, but complacency is dangerous; the sound of gunfire from the outer cluster can signal that other squads have arrived.
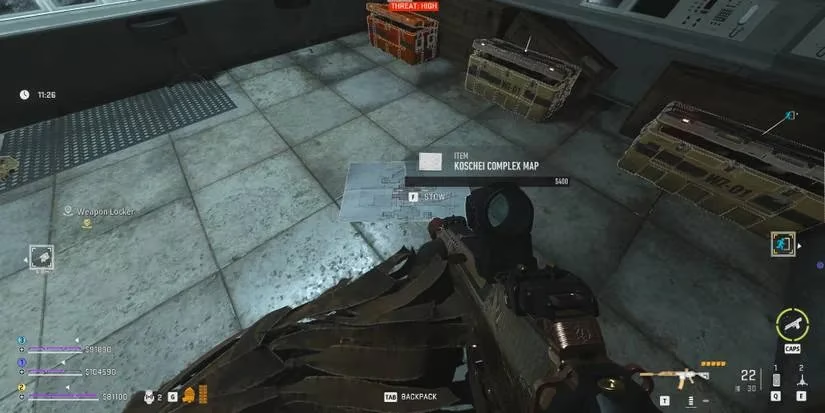
Fortunately, an exfil point exists within the Alpha Cluster itself. The operator can call in the elevator immediately after securing the map, hop inside once the doors slide open, and ascend to safety. Exfilling with the map in hand crosses the final item off the mission's checklist, wrapping up the Tier 2 Crown storyline and awarding the well-earned emblem.
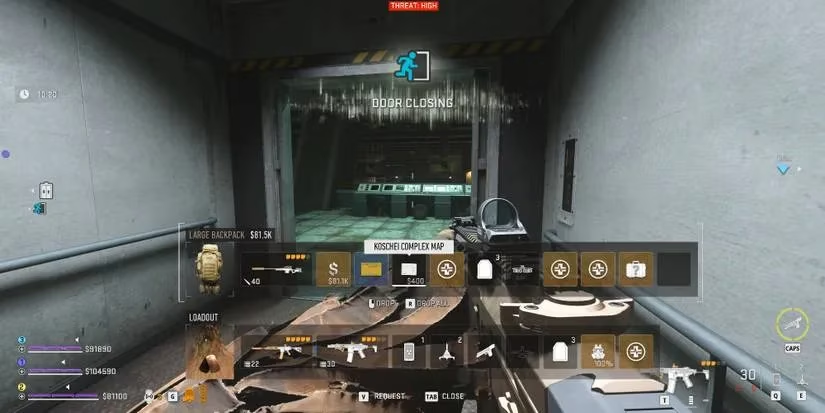
Summary of Requirements
| Objective | Key Action | Necessary Items |
|---|---|---|
| 1 | Unlock the yellow keypad door in the Alpha Cluster | R4D Detector, Car Battery, Jumper Cables |
| 2 | Extract the Koschei Complex Map | Map from the unlocked room |
For those seeking to streamline the process, bringing two Car Batteries and two Jumper Cables from Al Mazrah eliminates the frustrating search inside the complex. Additionally, marking the chalkboard locations on a tac-map after the first discovery can save precious minutes during future attempts. With careful preparation and a cool head, “X Marks the Spot” transitions from a daunting slog into a satisfying display of tactical mastery.