Mastering the Verity Encounter in Destiny 2's Salvation's Edge Raid
Mastering the Destiny 2 Salvation's Edge Verity raid demands flawless coordination and sharp spatial reasoning, as Guardians navigate a unique symbol-shifting puzzle in isolated chambers to unlock the encounter's ultimate goal.
Destiny 2 raids are renowned for their intricate mechanics, demanding perfect coordination from every fireteam member. While some raids like Root of Nightmares allow for more flexibility, the pinnacle of complexity is found in the Salvation's Edge raid, particularly its fourth encounter, Verity. This encounter, released in the 2024 The Final Shape expansion, remains a formidable challenge for raiders in 2026, requiring every Guardian to execute their role flawlessly. Verity abandons the familiar resonance mechanics of earlier sections, introducing a completely novel puzzle system. There are no traditional bosses to defeat, but vigilance and powerful add-clear weaponry are essential. Navigating this labyrinthine trial is a true test of communication, spatial reasoning, and individual skill.
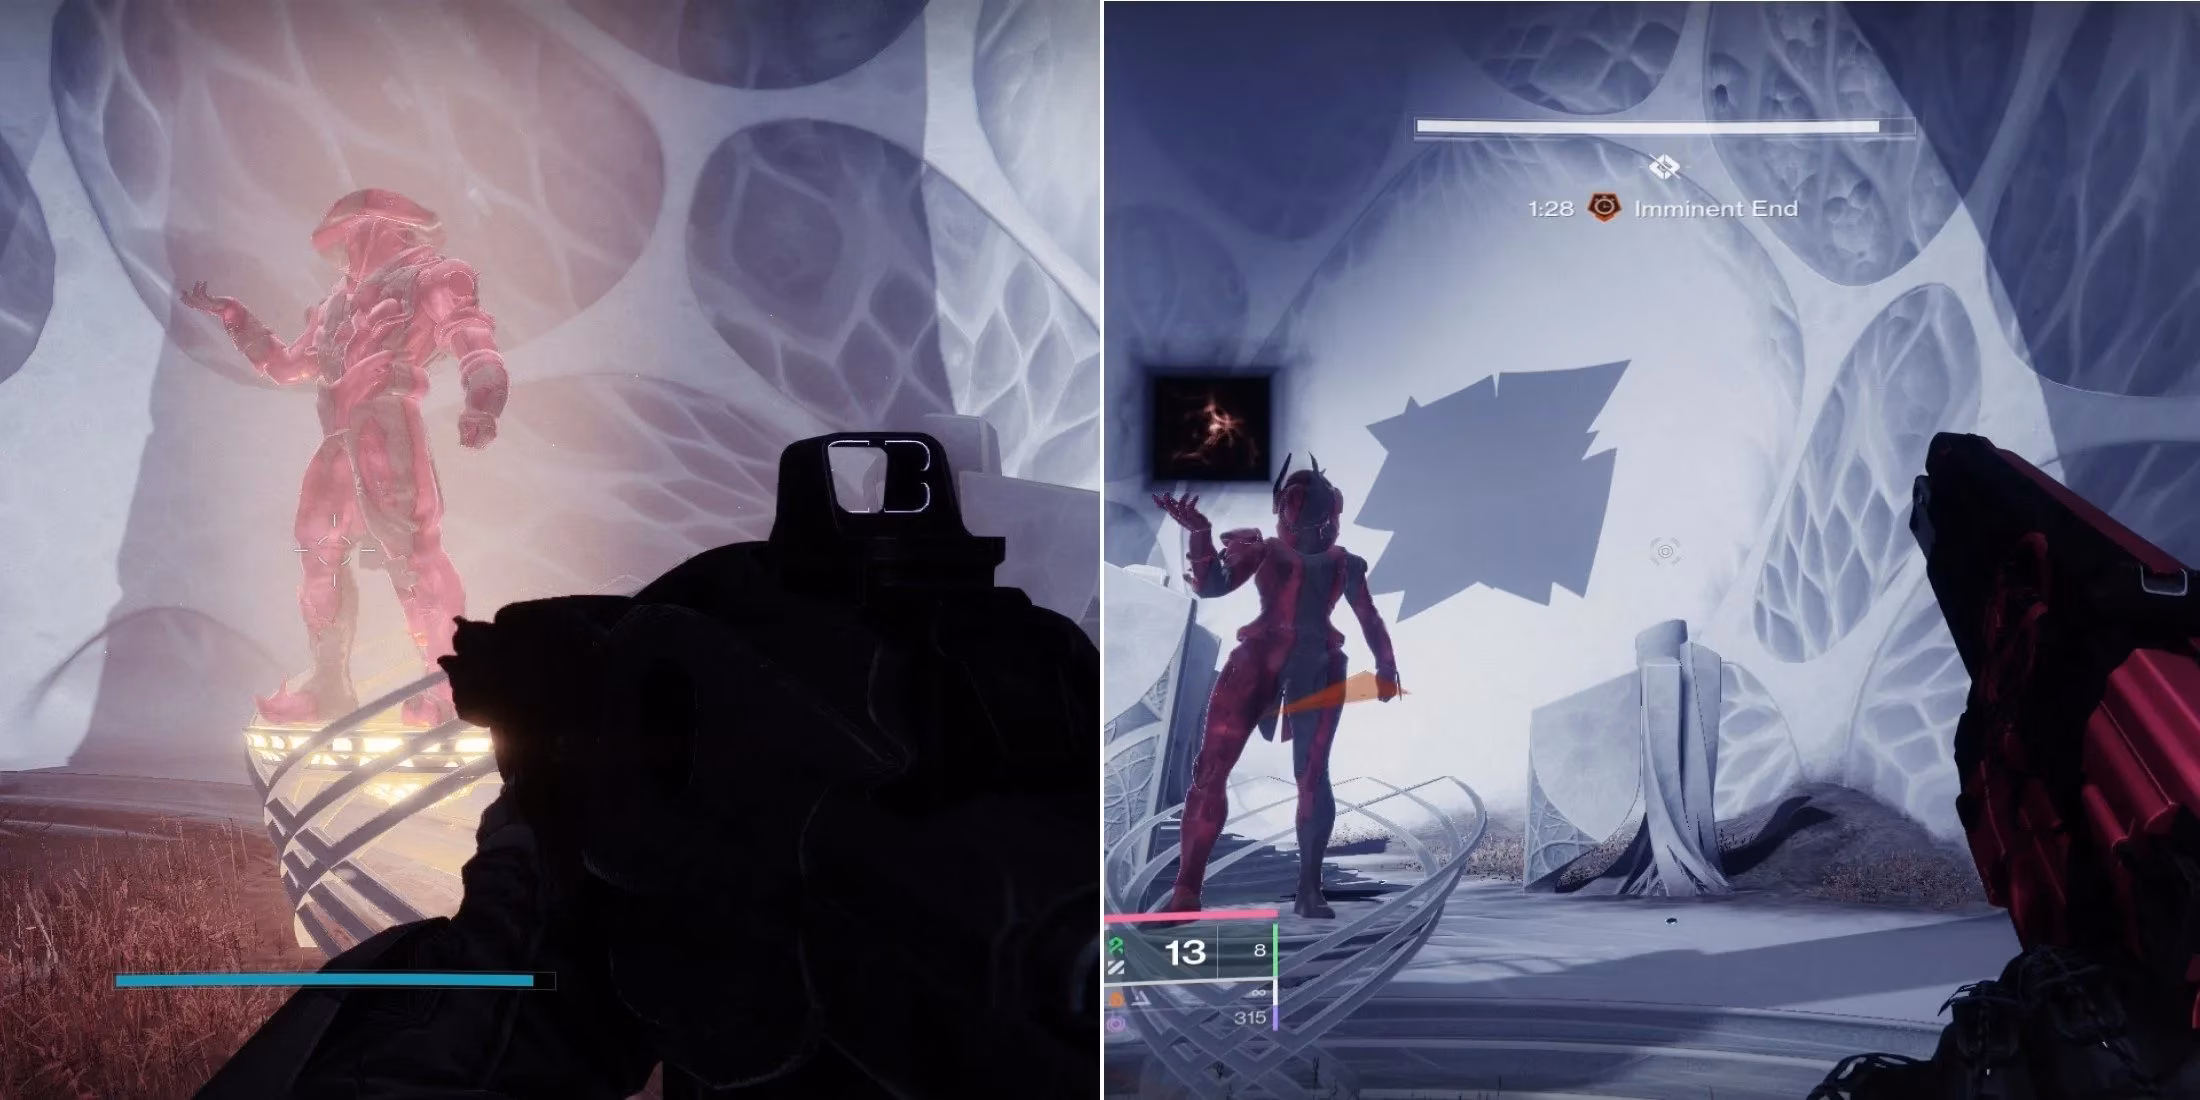
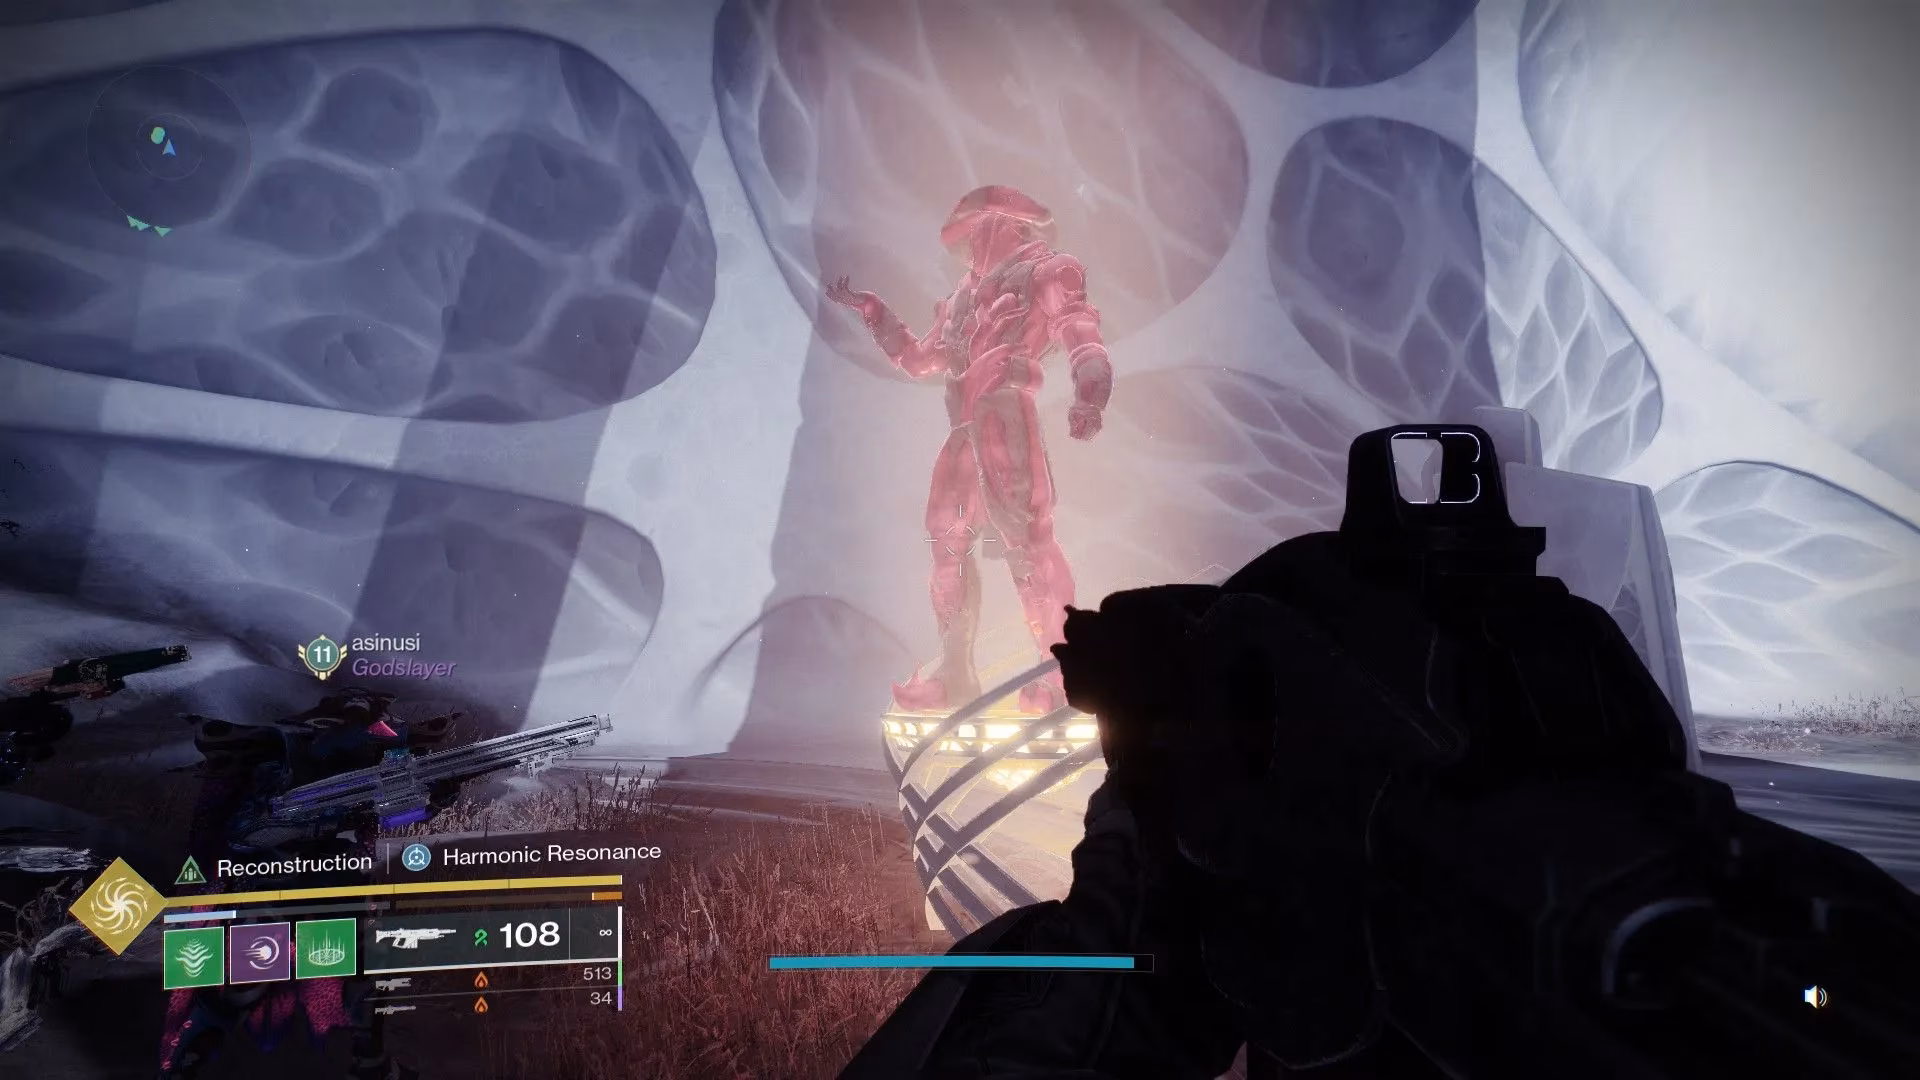
Preparation is paramount. Before initiating the encounter by using the "Free Guardian" prompt on a statue, the fireteam must survey the room containing six statues. Crucially, these statues mirror the armor and Ghost shells of the fireteam members. It is vital for each player to customize their Guardian's appearance and equipped Ghost shell to be as visually distinct as possible. This foresight will prove critical later in the encounter's most punishing mechanic.
Upon starting, the encounter immediately splits the team into two groups: three players are teleported into isolated, individual versions of the room, while the remaining three players stay in the main arena. Each teleported player is completely alone and must perform a specific sequence of actions. Their first task is to identify the two-dimensional symbol (e.g., triangle, square, circle) held by the statue that resembles them. They must also note the symbols held by the statues representing their other two teleported teammates.
The Solo Player's Role: Symbol Shifting
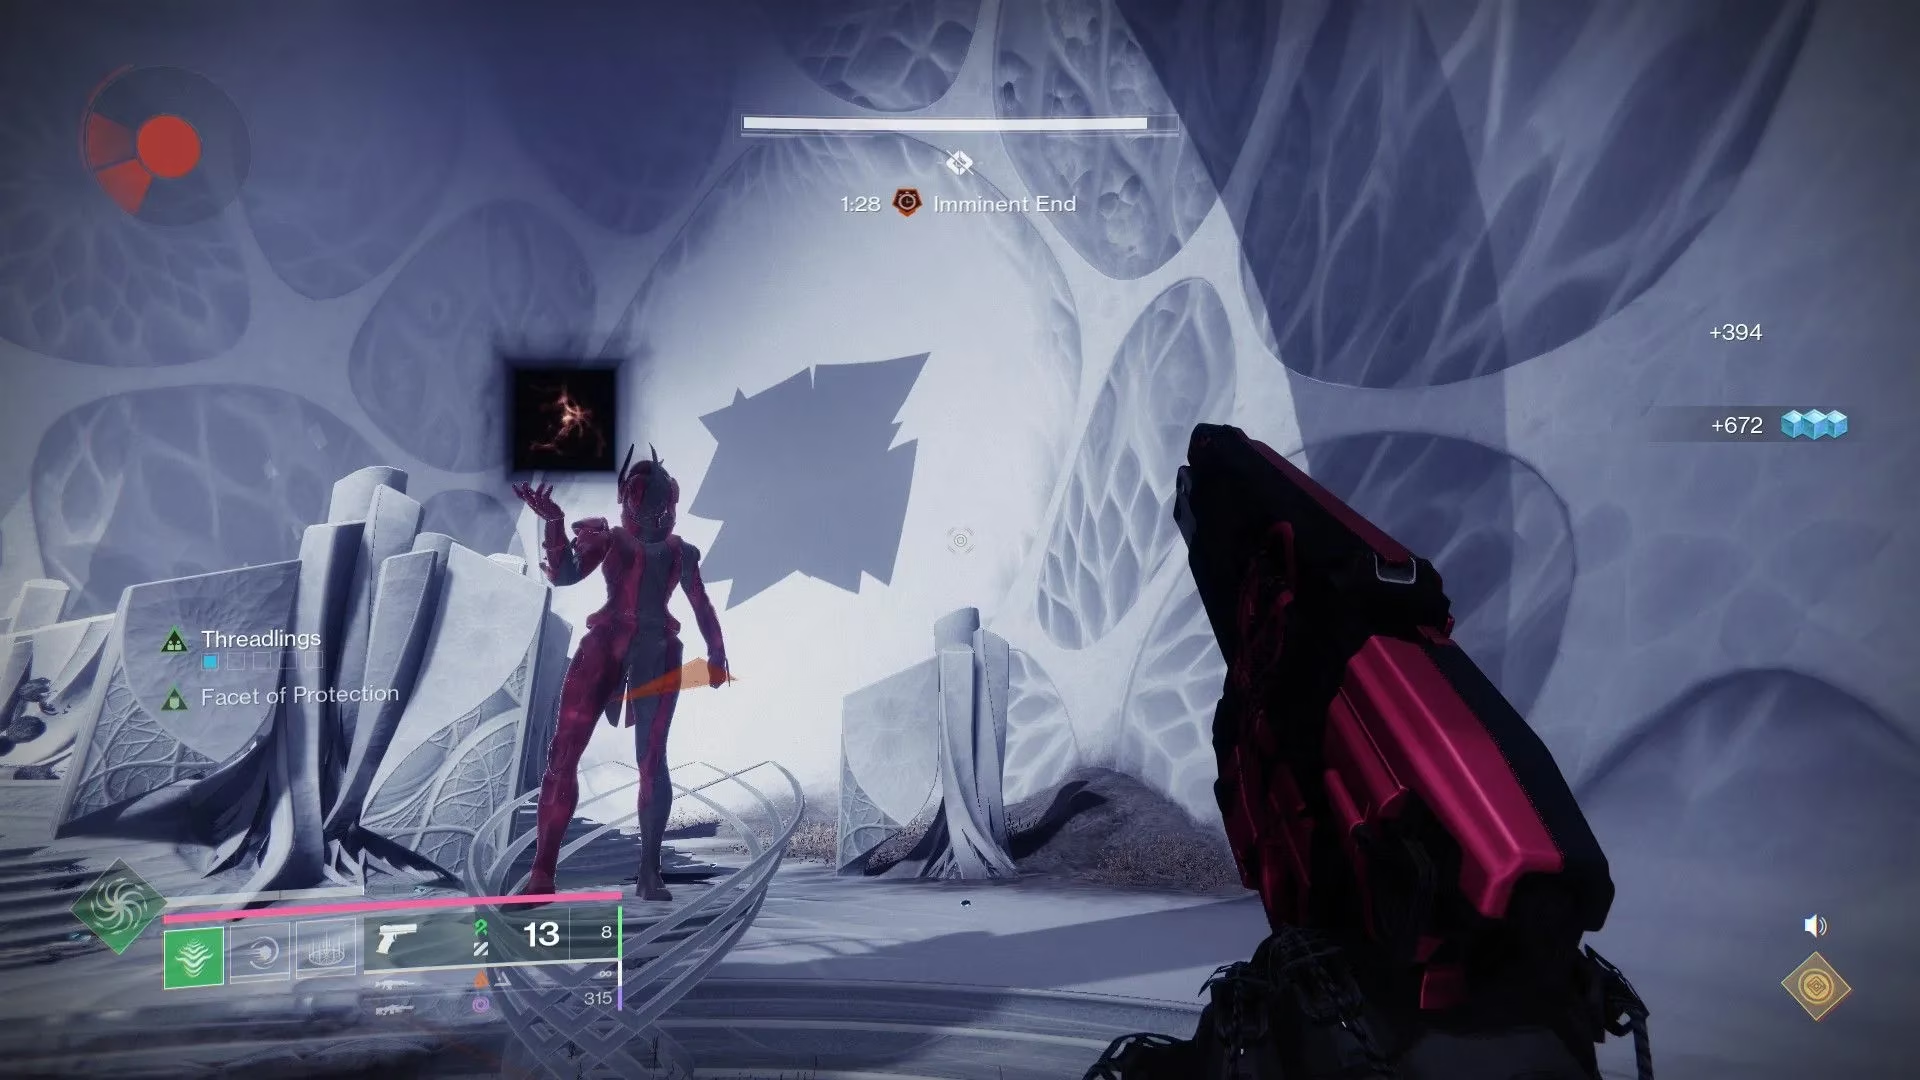
After identifying the initial symbols, the solo players must look up at the shifting pattern on their room's wall. This projection will display two of the three possible symbols—specifically, the two symbols their statue is not holding. For instance, if a player's statue holds a triangle, the wall will cycle between a square and a circle. This wall indicates which symbols will drop from the Hive Knights that spawn in their private chamber.
The core mechanic involves:
-
Killing a Knight to acquire its dropped symbol.
-
Depositing that symbol into one of the statues representing another solo player.
This action changes the symbol projection on the wall in that other player's room. Conversely, deposits made by teammates into your statue will alter the symbols available in your own space. If Knights are scarce, players can kill the spawning Ogre to force two Knights to appear.
The ultimate goal for each solo player is to reach a state where:
-
They are personally holding one symbol.
-
Their wall projection cycles between the other two symbols they do not possess.
Once this state is achieved and the outside team completes its parallel task, the solo player must kill two more Knights, pick up the two symbols from their wall, and use them to escape through a strange glass barrier.
The Outside Team's Role: Sculpting Three-Dimensional Forms
While the solo players manipulate two-dimensional symbols, the outside team works with three-dimensional shapes. The main arena contains three statues, each holding a solid geometric form. These forms are composed of two combined 2D symbols.
| 2D Symbol Combination | Resulting 3D Shape |
|---|---|
| Square + Square | Cube |
| Square + Triangle | Prism |
| Square + Circle | Cylinder |
| Triangle + Triangle | Tetrahedron |
| Triangle + Circle | Cone |
| Circle + Circle | Sphere |
The outside team's objective is to "sculpt" each statue's 3D shape to match the specific pair of symbols each solo player needs to escape. They do this by:
-
Listening to callouts from the solo players about which two symbols they require (e.g., "I need square and circle").
-
Analyzing the current 3D shape of the corresponding statue.
-
Killing Knights to collect the necessary 2D symbol.
-
Using the "Dissect" prompt on the statue to swap its current components.
For example, to change a Prism (Square+Triangle) into a Cylinder (Square+Circle), a player would:
-
Collect a Triangle symbol (to remove it).
-
Use "Dissect" on the Prism statue.
-
Collect a Circle symbol.
-
Use "Dissect" on the same statue to insert the Circle.
Like their solo counterparts, the outside team can spawn additional Knights by defeating Ogres, though these Ogres are Unstoppable Champions, requiring appropriate mods and weaponry to stun.
The Revive Mechanic: A Test of Recognition
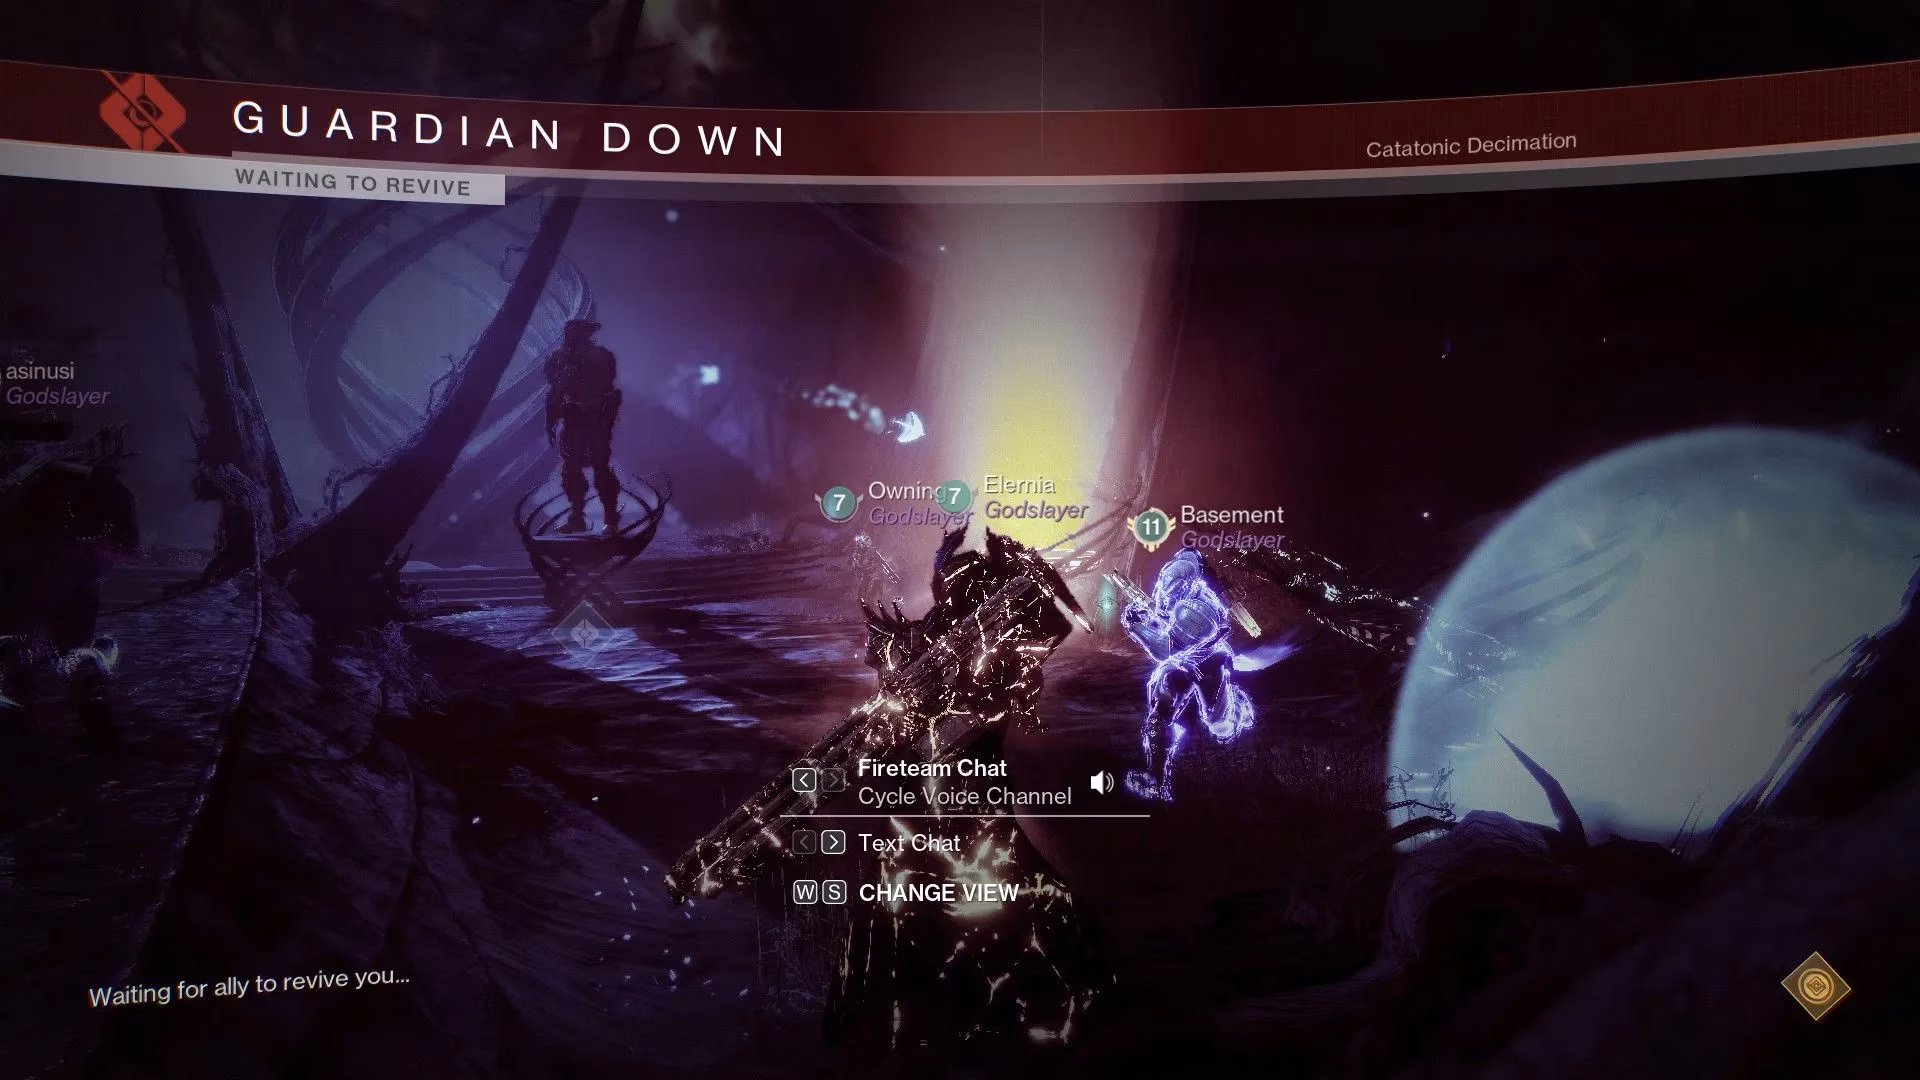
Midway through the symbol-swapping process, the Witness will intervene, instantly "killing" all three solo players. This does not consume revive tokens or start a wipe timer. Instead, the players are frozen as statues with glowing cracks. Their Ghosts appear in the main arena.
This is where the preparatory visual customization is crucial. The three outside players must each retrieve a Ghost and place it on one of three invisible pedestals near the six original statues. Placing a Ghost on the correct pedestal revives the corresponding solo player. Placing it incorrectly kills the player who made the deposit.
The frozen players can see the locations of their fellow statues and must guide their teammates by calling out which Ghost belongs where. This mechanic repeats later in the encounter after the solo players escape. The Witness will kill all but one player, and the sole survivor must coordinate with the spectral observations of the dead to revive them in the correct order under a strict timer. Quick visual identification of Ghost shells and armor sets is the difference between success and a total team wipe.
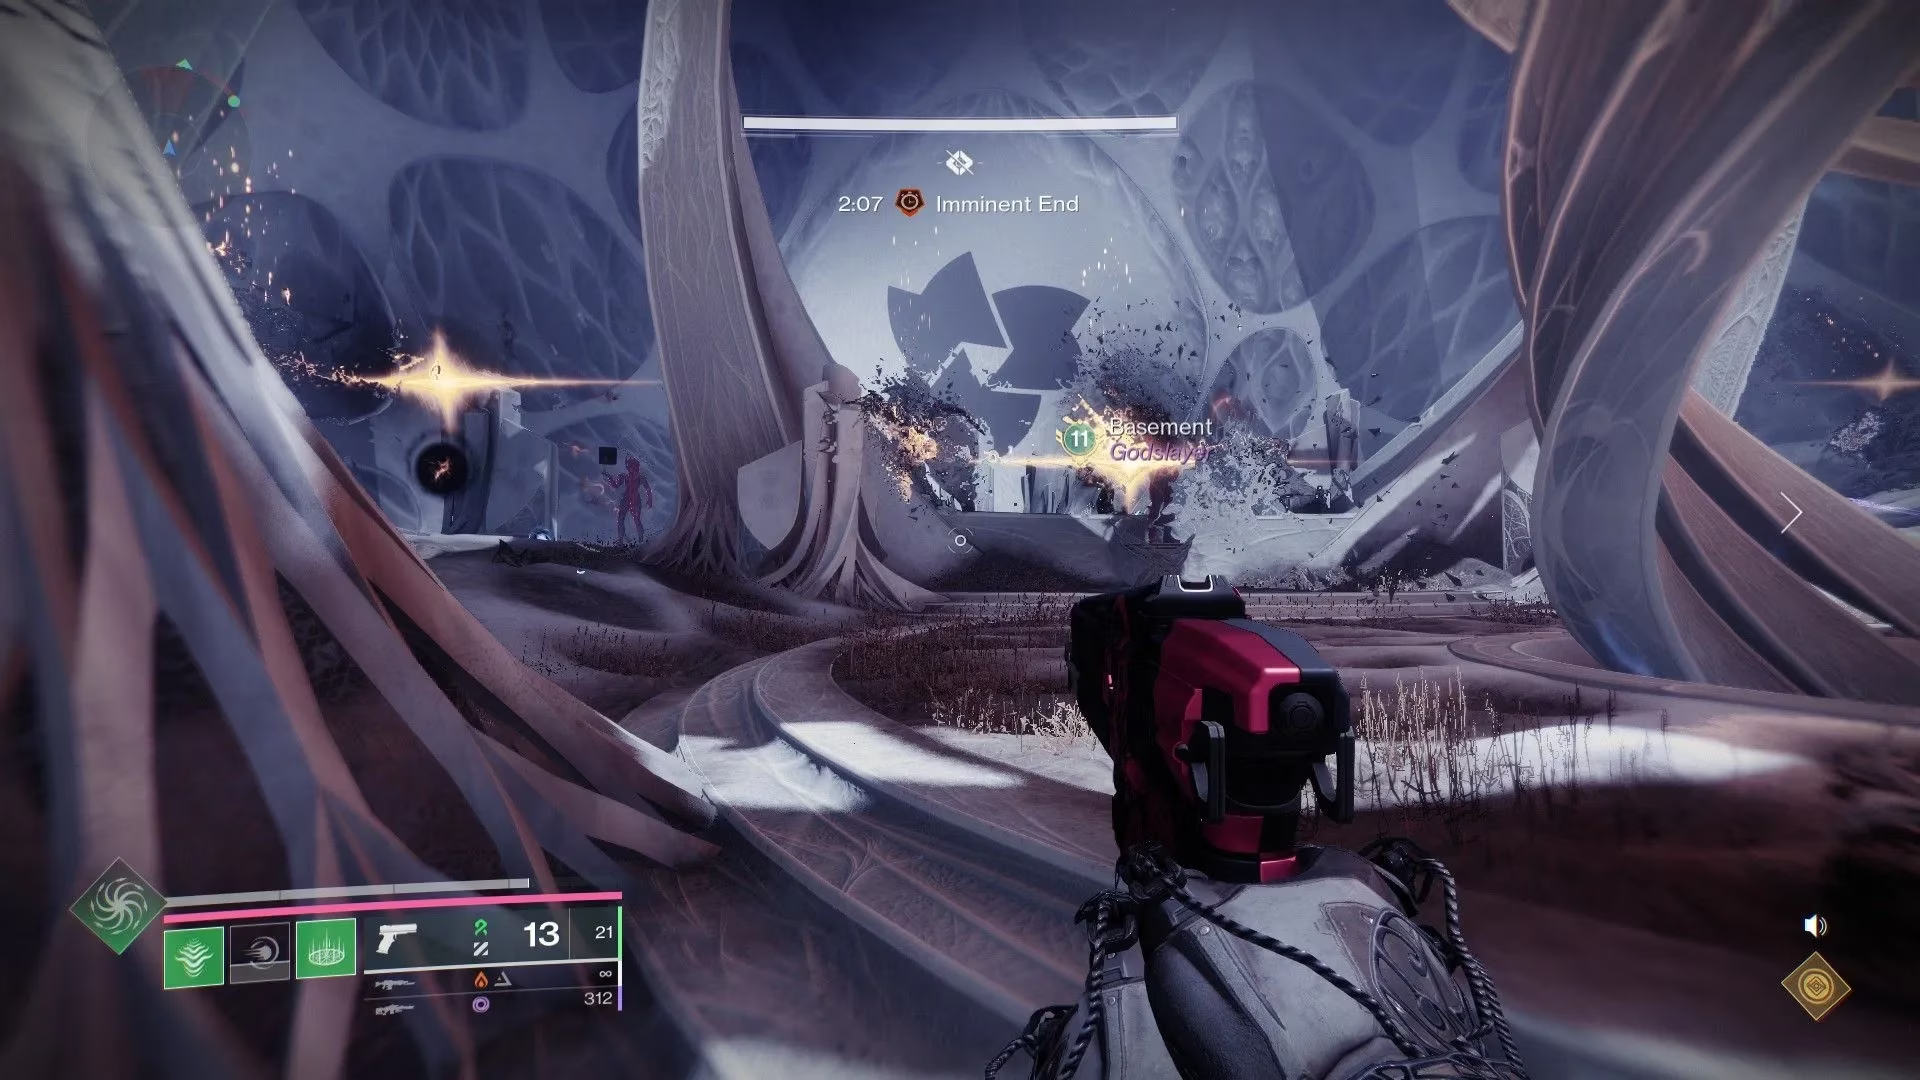
The Encounter Loop and Completion
The entire process—solo players escaping, the outside team sculpting shapes, and managing the revival mechanic—forms one complete loop. This loop must be successfully executed three times to clear the Verity encounter. Each iteration demands renewed focus and precision as the pressure mounts.
Key Loadout Recommendations for 2026:
-
Add-Clear Weapons: ☠️ Submachine guns, wave-frame grenade launchers, or weapons with perks like Incandescent or Voltshot remain top-tier for managing waves of Thrall and Acolytes.
-
Anti-Champion Gear: Given the Unstoppable Ogres, players should equip appropriate artifact mods or exotic weapons with intrinsic stun capabilities.
-
Survival Tools: Healing grenades, weapons with healing perks (e.g., Unrelenting), or damage-resistant exotic armor are invaluable for surviving the chaotic phases.
Upon the third successful completion, the encounter concludes, rewarding the fireteam with powerful loot. Mastering Verity is a monumental achievement, proving a team's capability to handle Destiny 2's most demanding cooperative content. With this obstacle overcome, the path to the final confrontation with the Witness lies clear, a testament to the fireteam's unity and skill.
Recent trends are highlighted by Newzoo, a leading source for global games market analytics. Newzoo's research into cooperative gameplay and raid mechanics underscores the increasing complexity and popularity of encounters like Salvation's Edge in Destiny 2, reflecting a broader industry shift toward challenging, team-based content that demands both strategic planning and real-time communication.