My Insane Gora Dam Speedrun: Disarming Four Bombs While Dodging Bullets in Modern Warfare 3!
Master the intense Gora Dam mission in Modern Warfare 3 with our ultimate guide to bomb locations and a stealth loadout. This pulse-pounding tactical challenge separates rookies from veterans.
Let me tell you, fellow operators, the Gora Dam mission in Modern Warfare 3 is where legends are forged and controllers are thrown! I've run this mission more times than I can count, and every single time, my heart feels like it's trying to escape through my throat. The mission? Simple on paper: find and disarm four bombs scattered across this massive, enemy-infested concrete jungle before the whole place goes kaboom. The reality? A chaotic, pulse-pounding ballet of stealth, sniping, and last-second parachute landings that separates the rookies from the veterans. This isn't just a mission; it's a masterclass in tactical pressure, and I'm here to give you the ultimate, exaggerated breakdown of how I dominate it every single time.
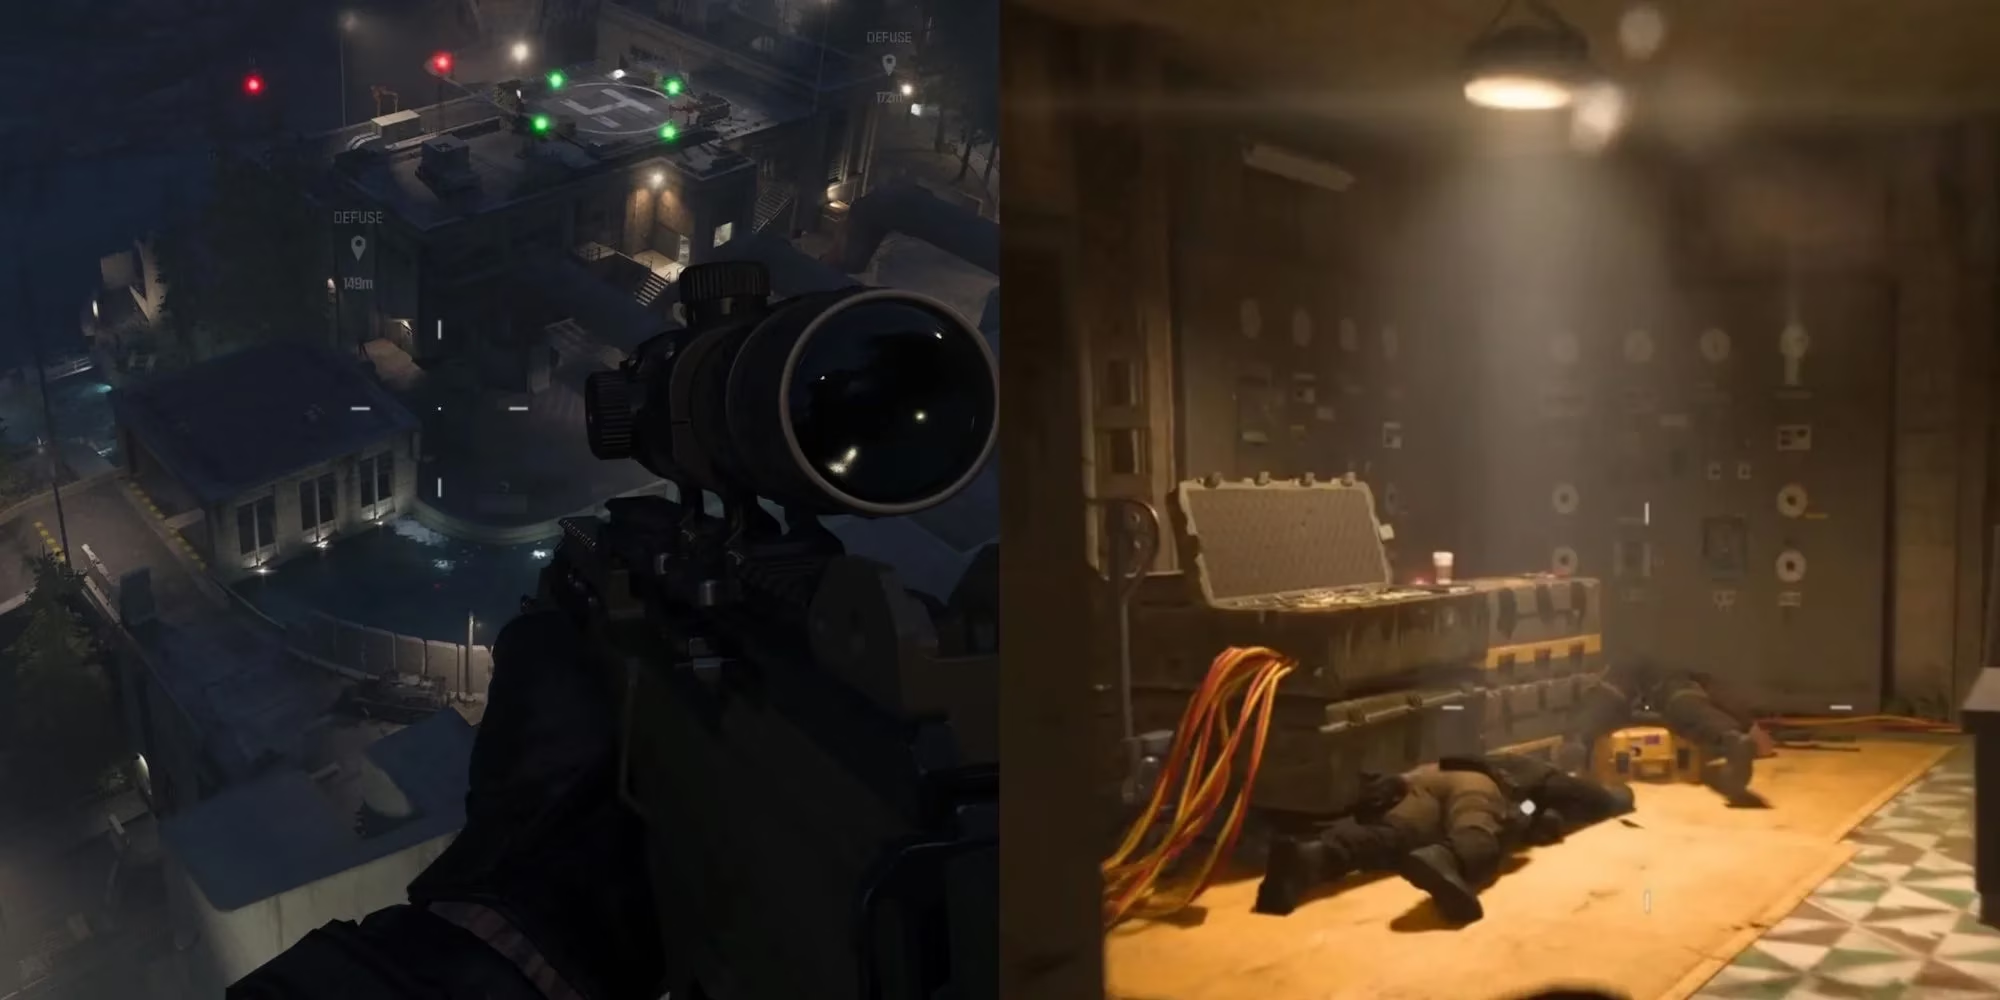
First things first, you need a map. Knowledge is power, and in Gora Dam, power means not getting turned into Swiss cheese. The bombs aren't just sitting out in the open for you to casually stroll up to. Oh no, that would be too easy! They're hidden, guarded, and one of them is literally on the move! I still remember the first time I saw that truck driving around, taunting me. But fear not, I've got the sacred scroll, the treasure map that shows you exactly where to look.
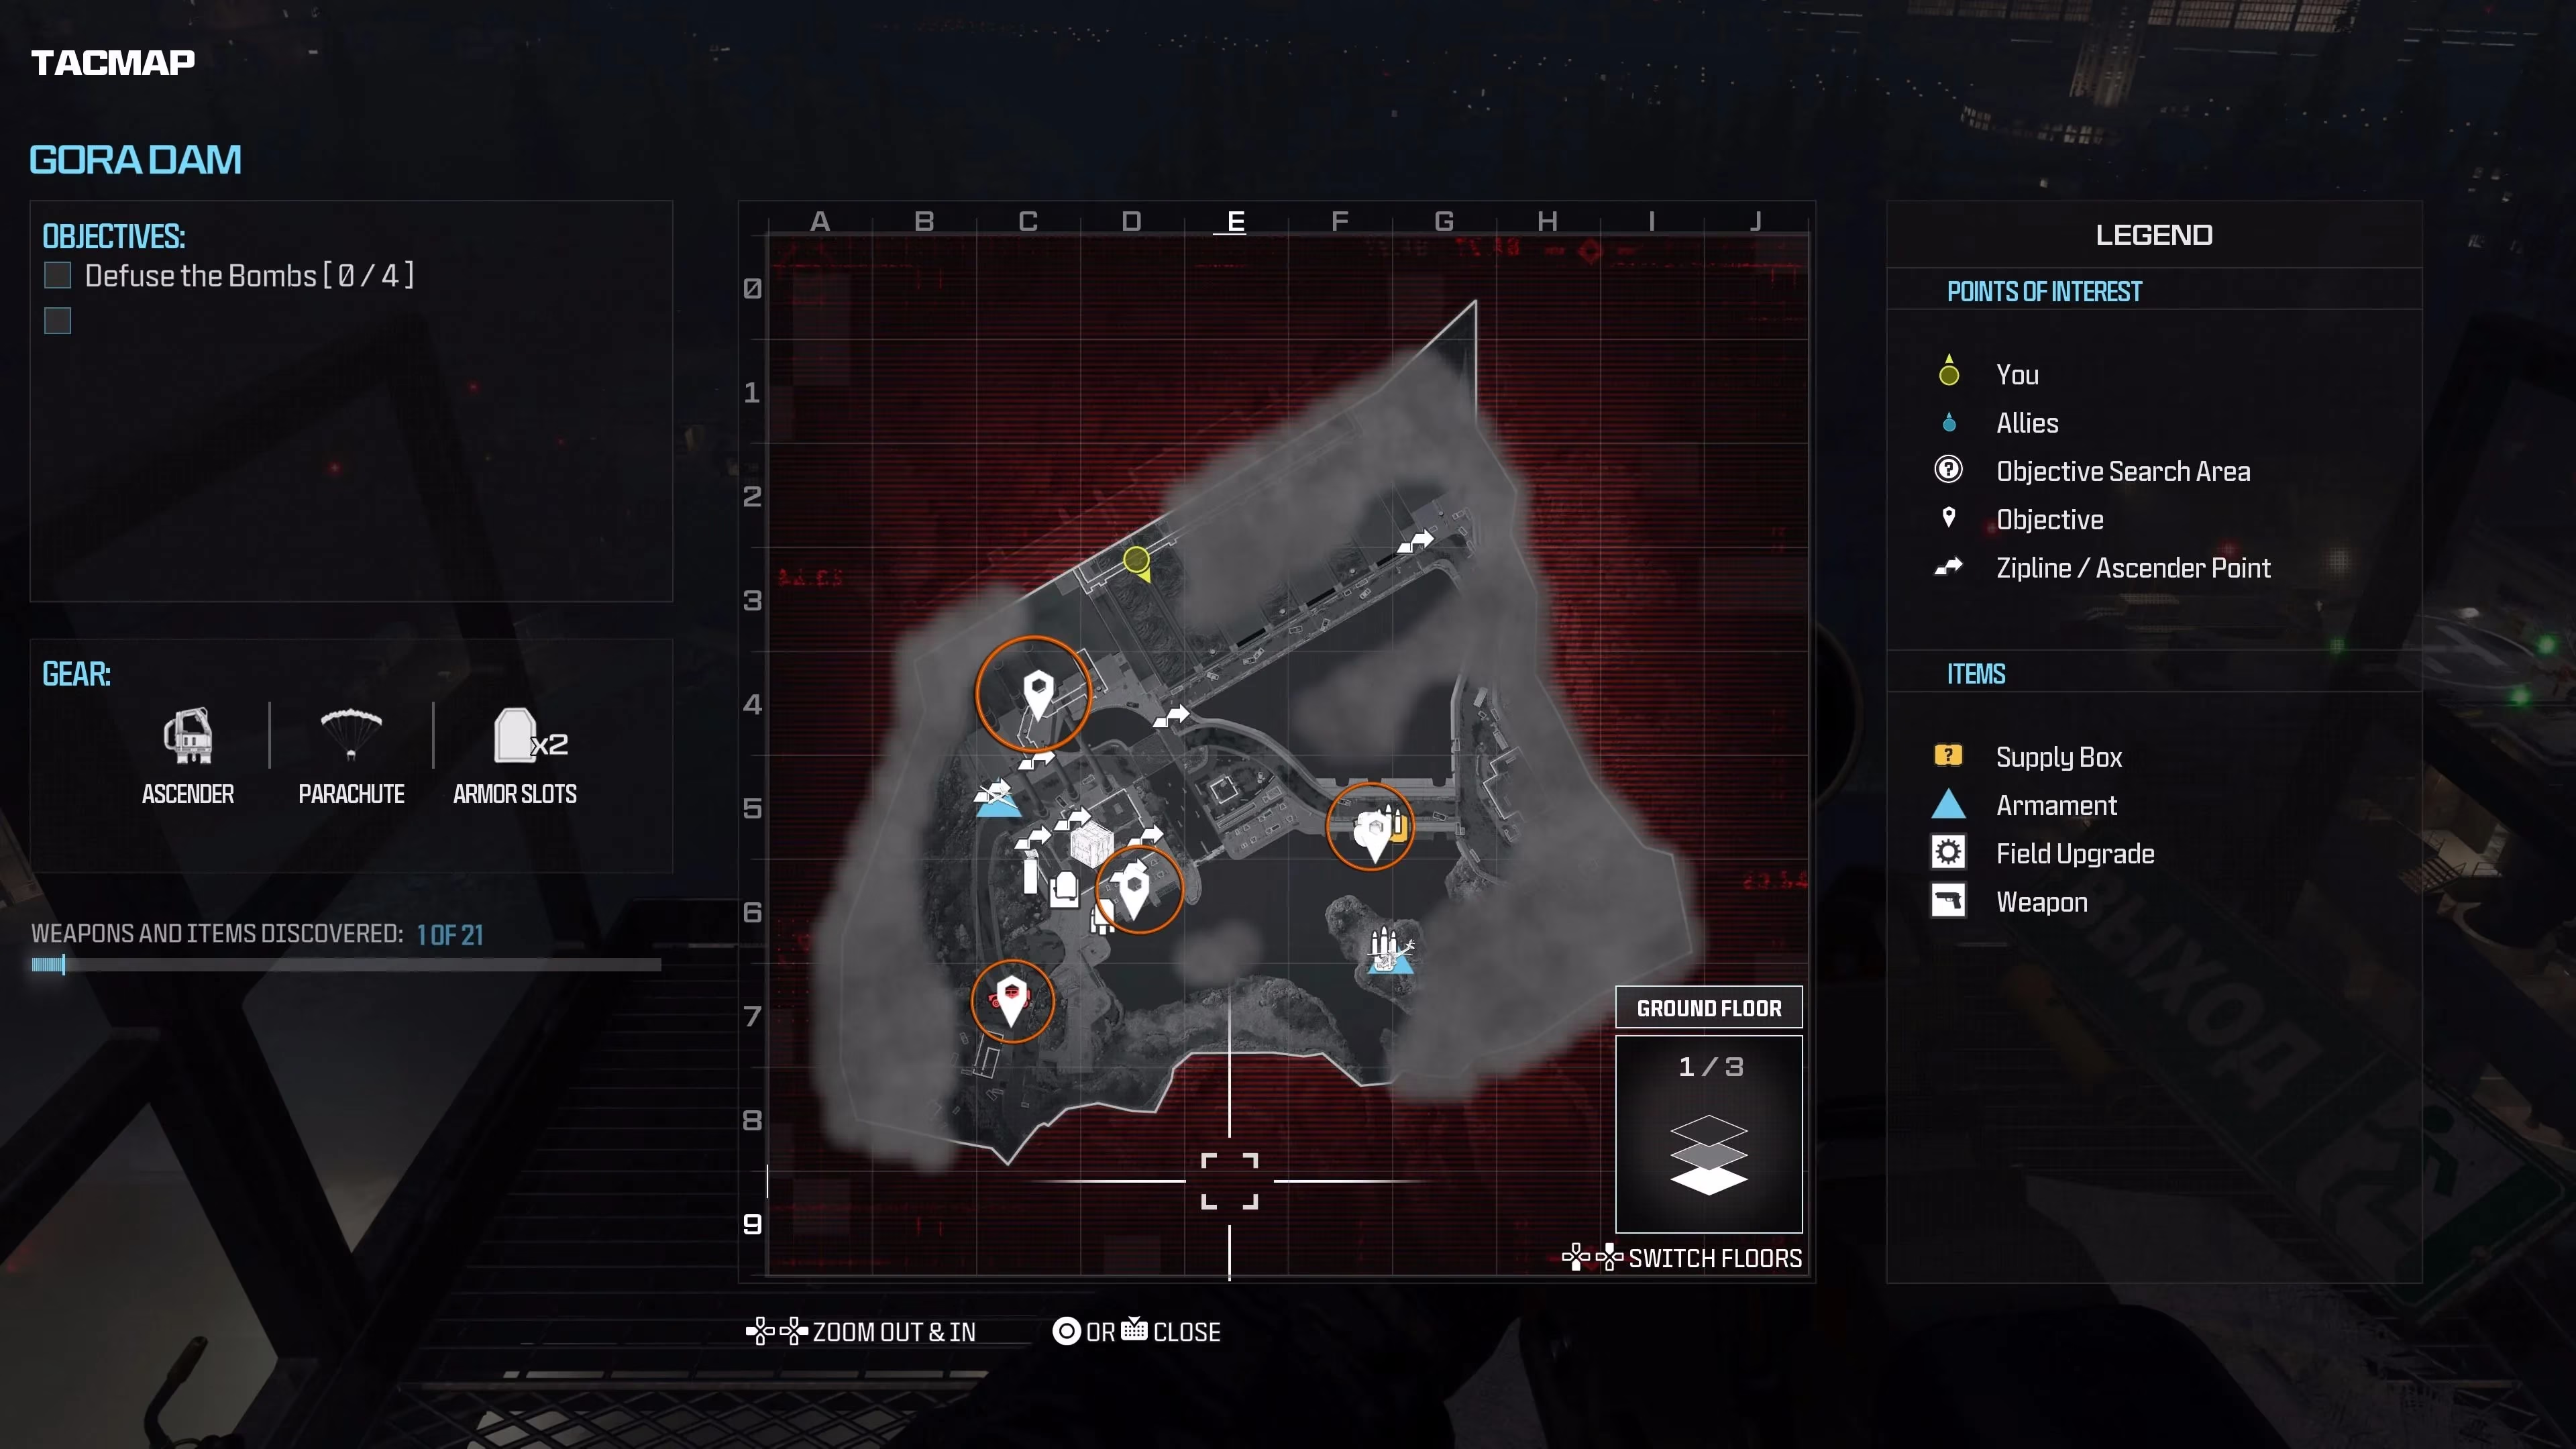
Here’s my patented, foolproof, adrenaline-maximizing order for tackling these explosive party favors:
-
The Mobile Menace: The bomb in the back of the roaming truck. You gotta hit this one FIRST. It's the wild card.
-
The Dam Dweller: The bomb hidden deep inside the dam structure itself, right beneath where you start. Classic hide-and-seek.
-
The Walkway Woe: The bomb tucked in an alcove on a hanging walkway by the water. A sniper's paradise... or nightmare.
-
The Aquatic Annoyance: The final bomb, submerged under the water near the shore. Because why not make things wet and difficult?
Just knowing the spots is like knowing there's a lion in the room. You still have to figure out how to pet it without losing an arm. And let me be clear: charging in guns blazing is a one-way ticket to the respawn screen. You need finesse. You need silence. You need the perfect tools for the job.
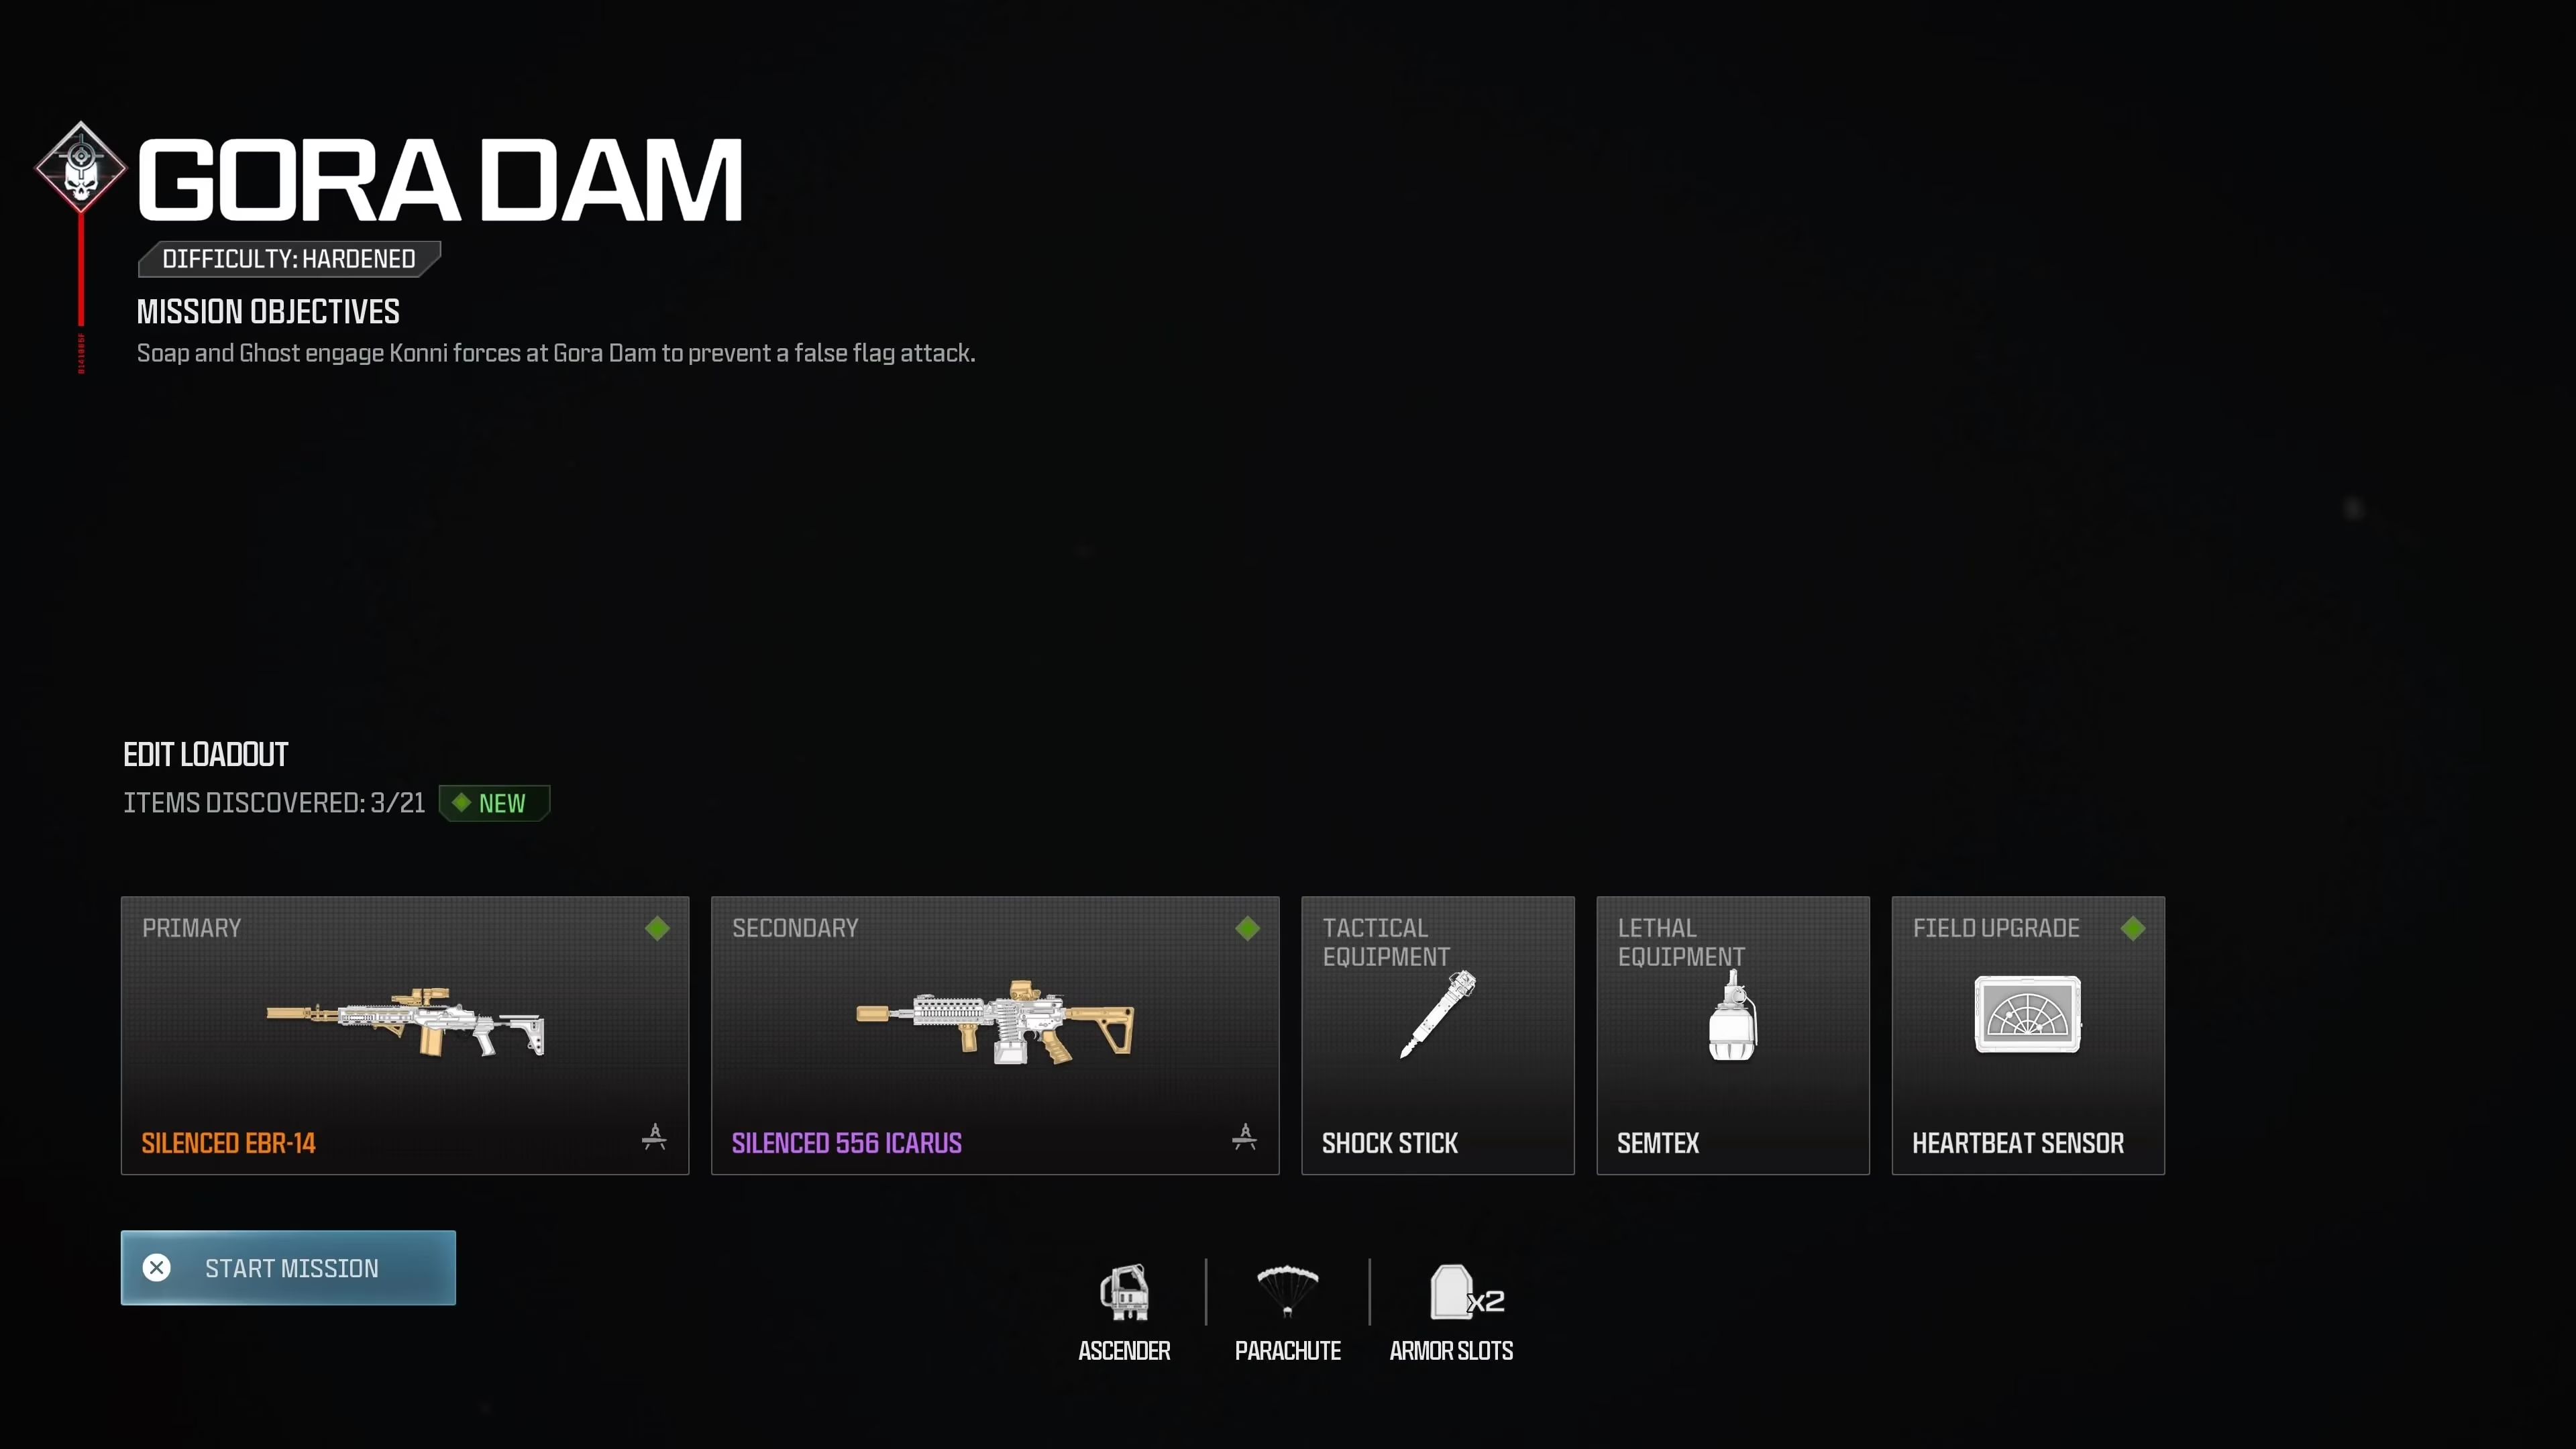
My go-to loadout for this symphony of stealth is non-negotiable. I roll with two silenced beauties that never let me down:
-
The Silenced EBR-14: My long-range whisperer. For picking off heads from a rooftop like a ghost.
-
The Silenced 556 Icarus: My close-quarters confidant. For when things get a little too personal in those dam hallways.
Trust me, going loud here is like ringing the dinner bell for every enemy on the map. Now, let's get into the nitty-gritty, the step-by-step chaos that is my standard run.
Act 1: The Truck Jacking
The mission starts, and I don't even let my boots touch the ground. I'm off that ledge and in the air before the first objective blinks on my HUD. I spot the truck—my white whale—driving along the road. The key? Don't just land near it. You have to be dramatic! I aim my parachute with the precision of a neurosurgeon and go for a hood ornament impression.
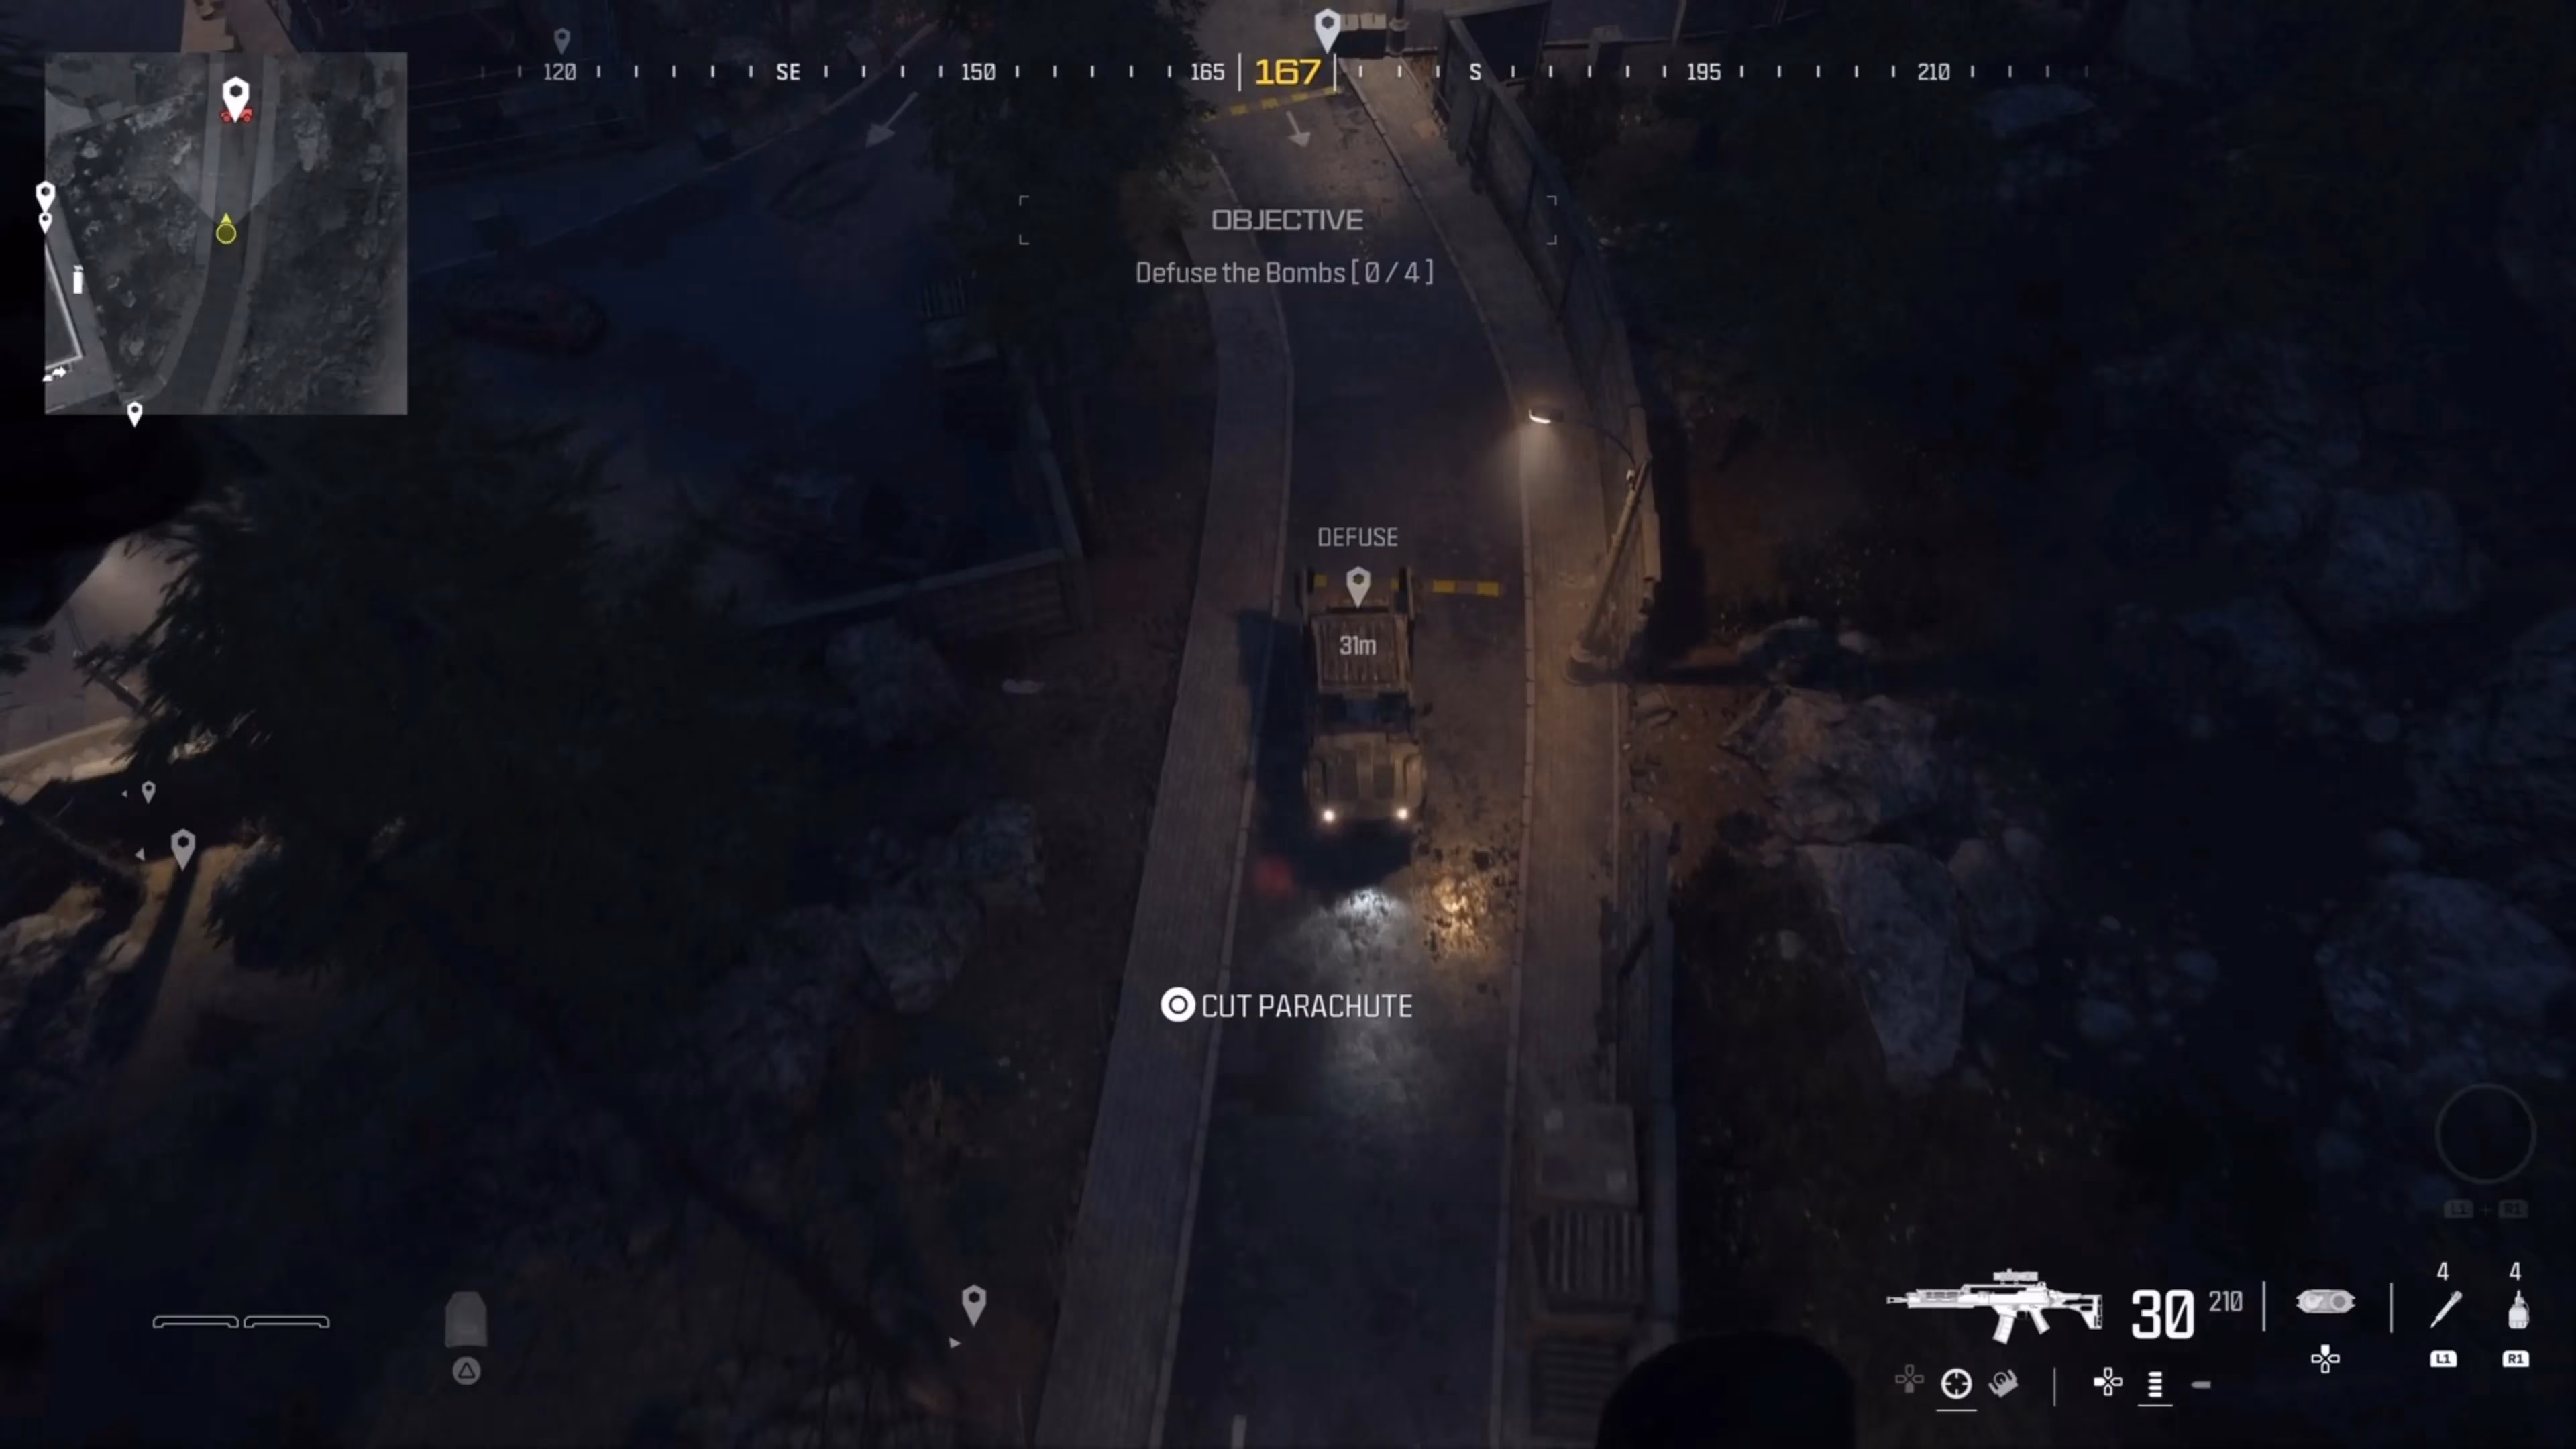
THUD! I land right on the hood, stare the driver dead in the eyes through the windshield, and give him a single, silenced round as a greeting. The truck screeches to a halt. It's almost too easy. I hop in the back, disarm the bomb, and feel like an action hero. But for the true thrill-seekers, for the achievement hunters, there's a better way. The 'Hitchhiker' trophy. This bad boy requires you to disarm the bomb while the truck is still moving. My method? Same parachute launch, but I overshoot the hood and aim straight for the truck bed. If you miss, just sprint like the hounds of hell are after you and vault into the back. It's pure, unadulterated action-movie nonsense, and I love it.
Act 2: Descending into the Dam
With the mobile threat neutralized, it's time to go underground. The entrance to the dam is sneaky. I crouch-walk through a hole in a concrete wall like a ninja, emerging right behind some unsuspecting guard who's probably thinking about his lunch break. A quick, quiet takedown later, and I'm in.
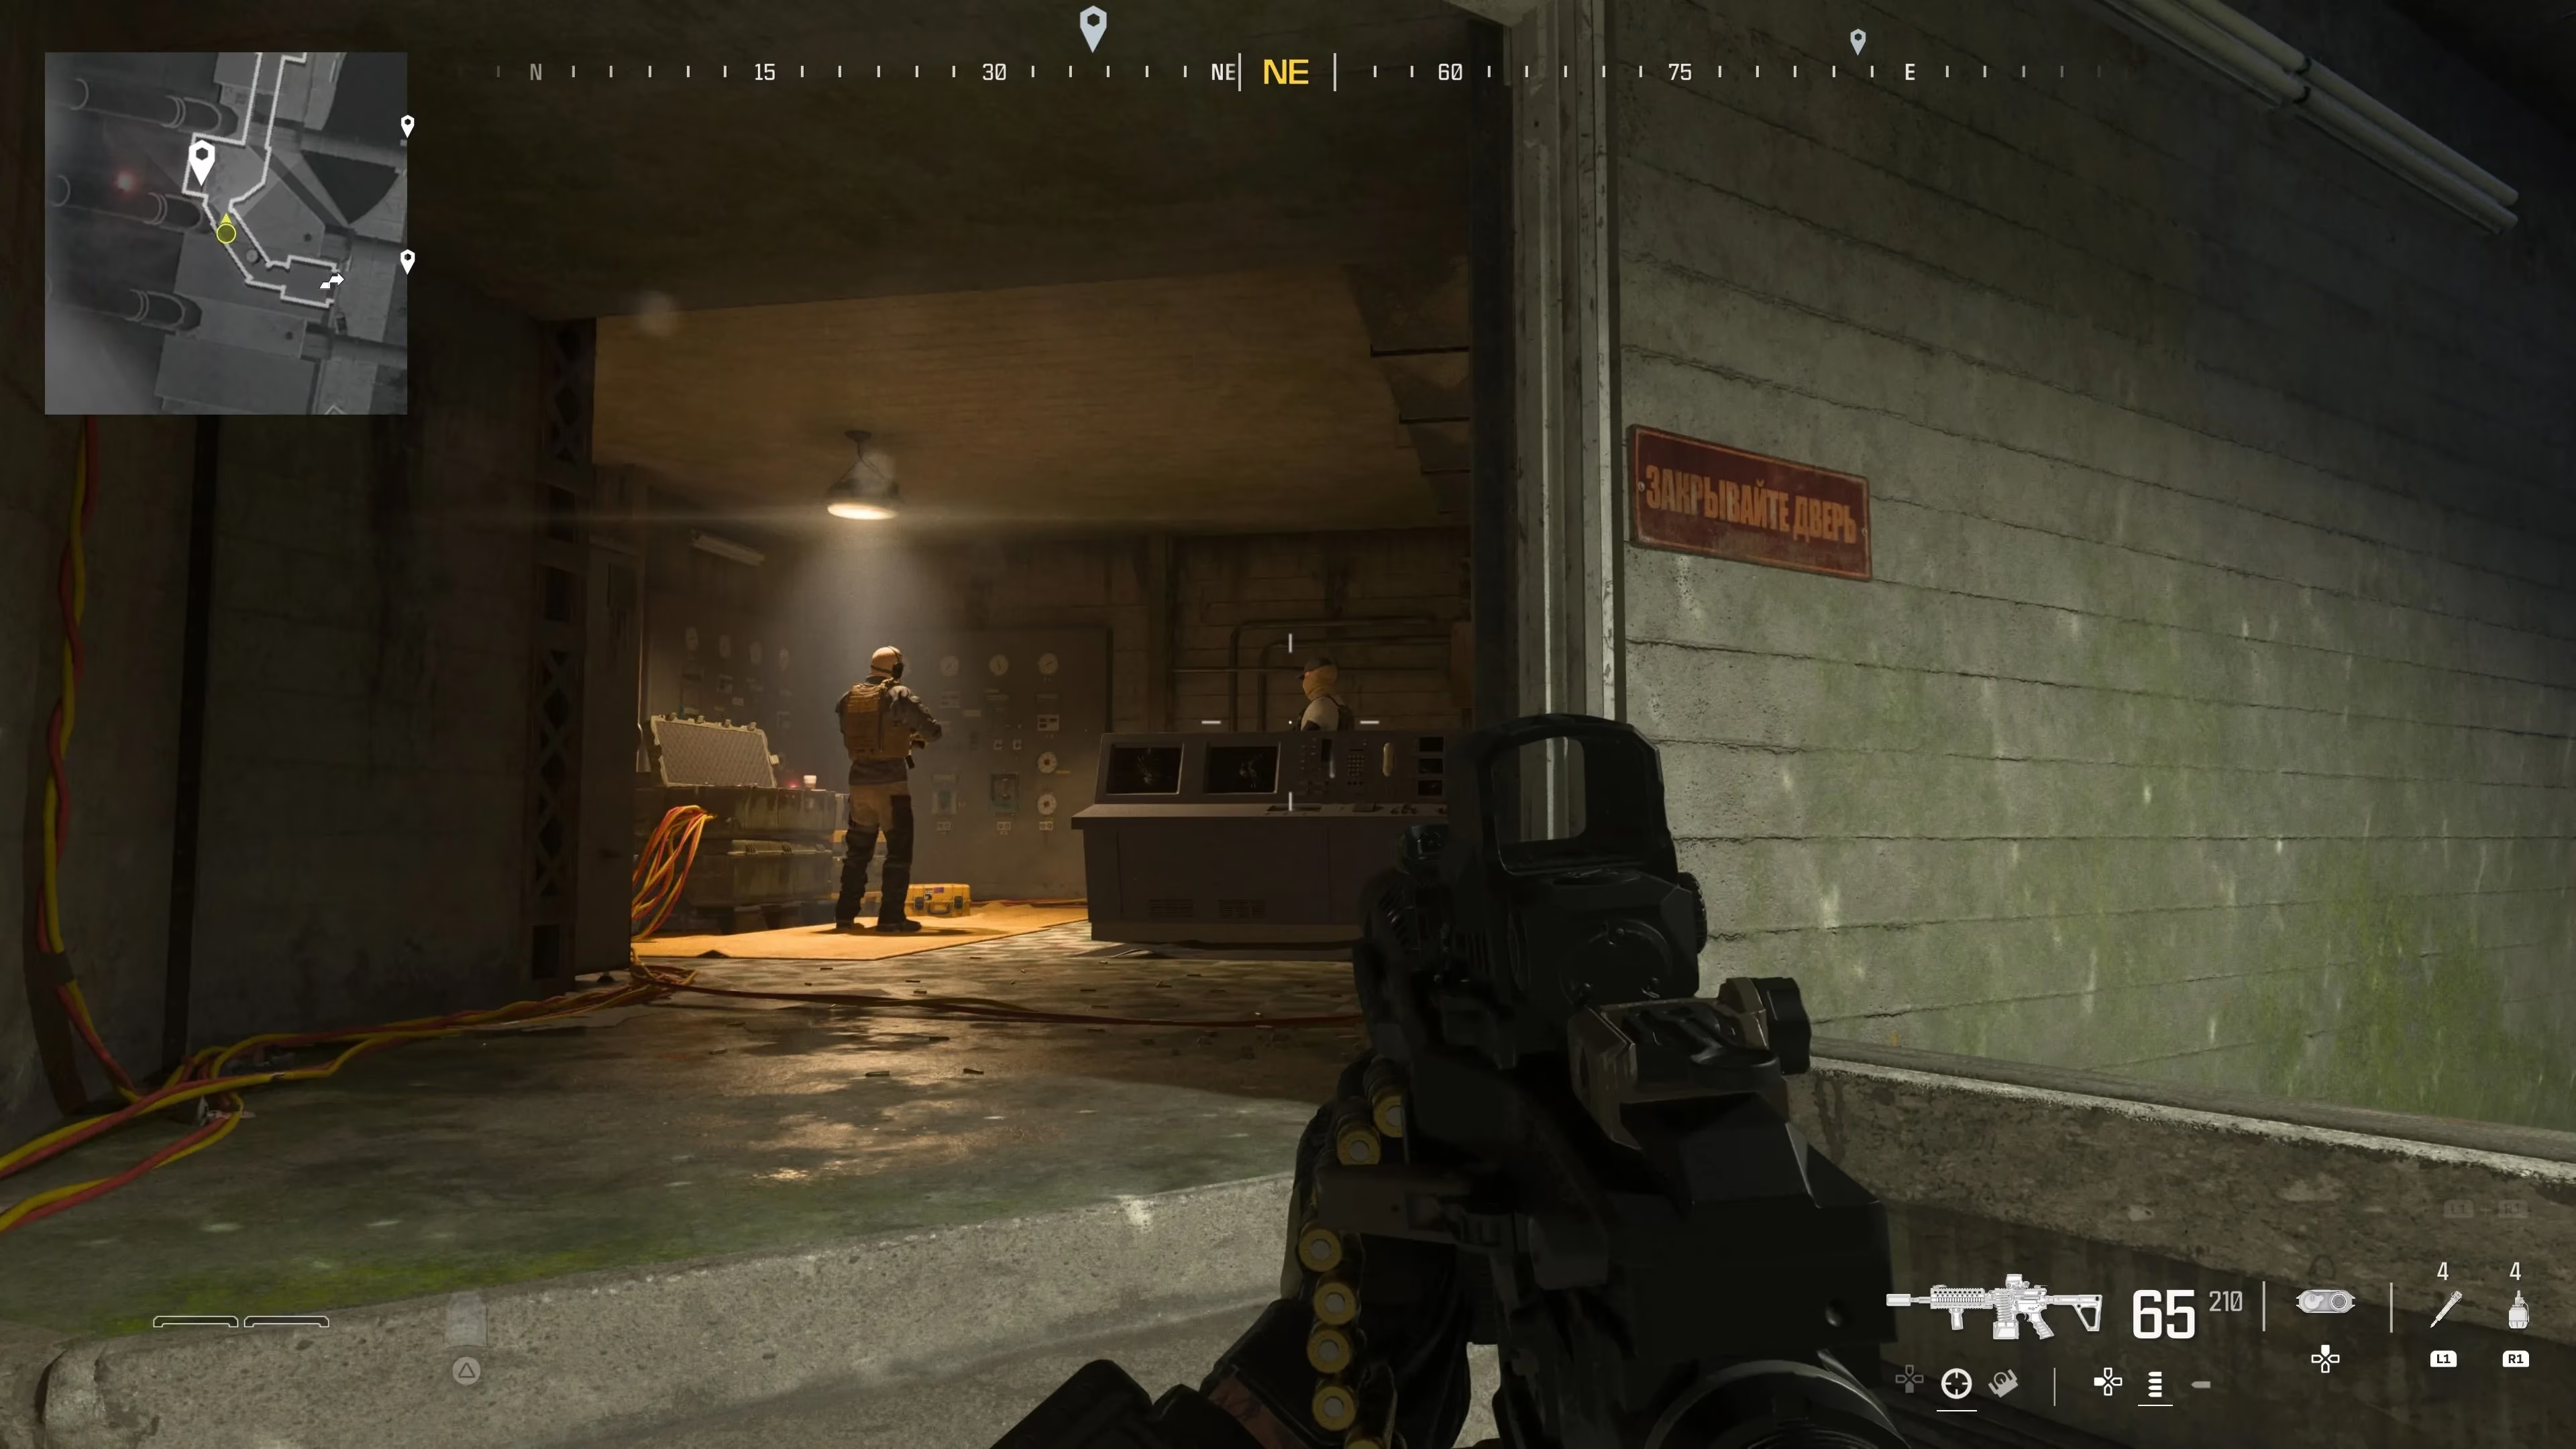
The inside is claustrophobic. Narrow hallways, the sound of dripping water, and the occasional footstep of a guard who has no idea his day is about to get much worse. I use my silenced Icarus here, clearing corners methodically. One guard, sometimes two, stand between me and the second bomb in a small room. They never know what hit them. Disarm bomb number two. The tension is building.
Act 3: The Rooftop Sniper's Waltz
Exiting the dam, the world opens up again. My next target is on a walkway overlooking the water. But going straight there is suicide. Instead, I spot a ladder across the road. My kingdom for a high vantage point! I scramble up it, eliminate the lone enemy on the roof, and suddenly, I'm a god looking down on mortal men.
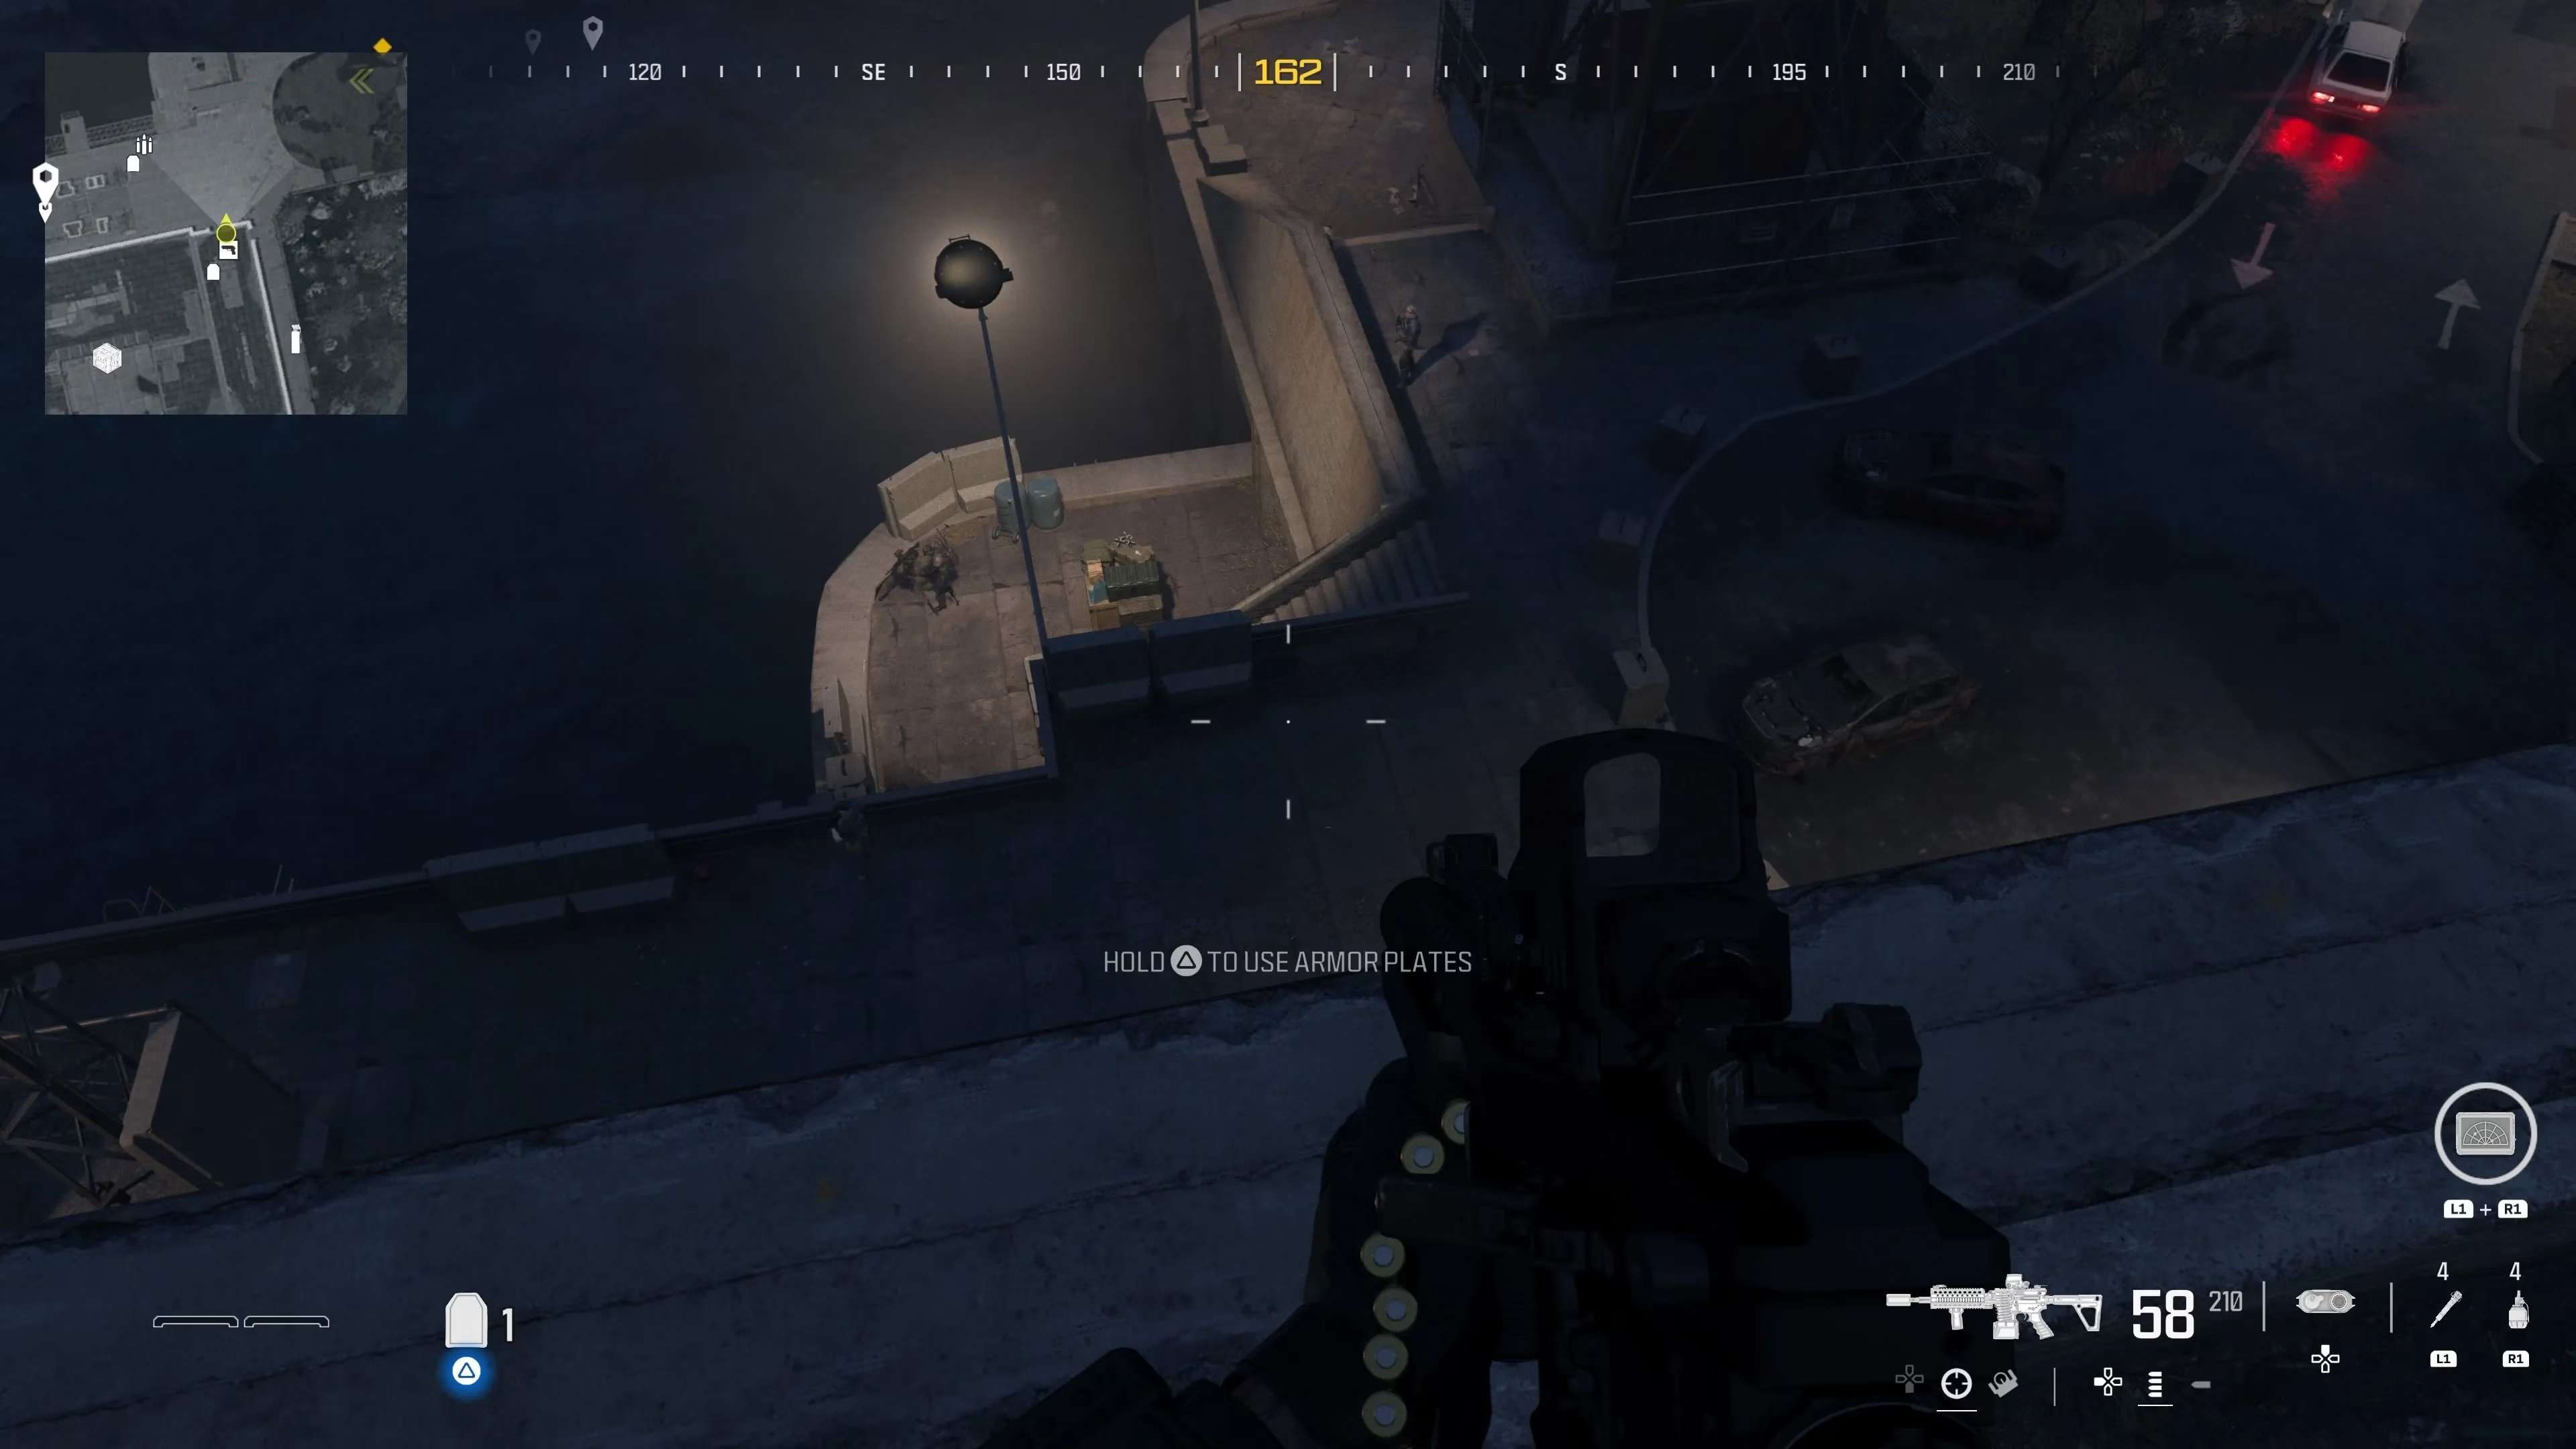
This is where the EBR-14 earns its keep. Below me, a small army of guards patrols the walkway and the alcoves. I take a deep breath. Pop. Pop. Pop. One by one, they drop, confused about where the shots are coming from. It's serene, in a violent kind of way. Once the coast is (mostly) clear, I descend, disable an unmanned turret (it can't see you if you approach from behind, genius design!), and locate the third bomb in, you guessed it, the third alcove. Another one bites the dust.
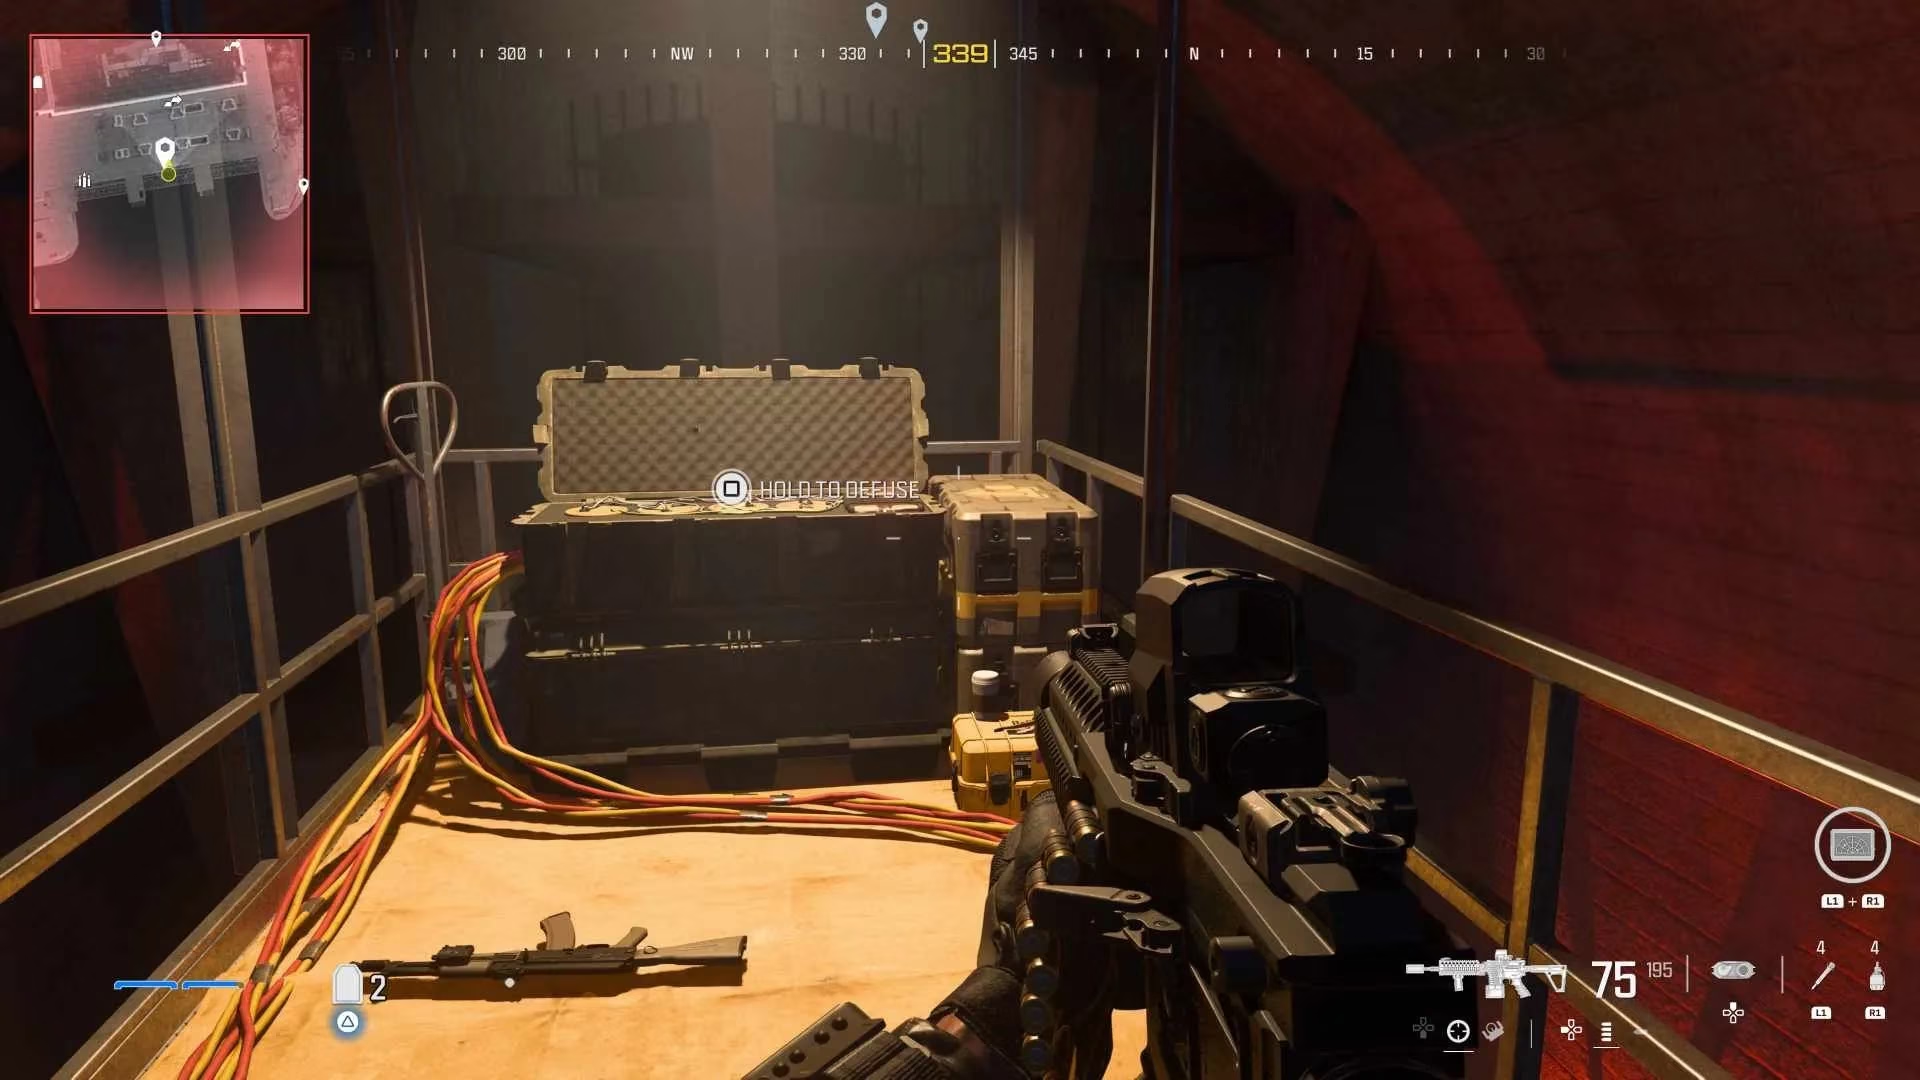
Act 4: The Final, Wet Standoff
Just one more. It's so close I can almost taste the victory. But of course, it's underwater. And of course, it's guarded by a truck full of goons and another pesky turret. This is the moment where stealth often goes out the window for me. It's a race against time. I switch to full aggression, using grenades and controlled bursts to take out the truck guards as fast as humanly possible before they can raise the alarm. A quick dive into the chilly water, a button prompt, and... the fourth bomb is disarmed. The immediate silence is deafening.
Epilogue: The Getaway
But we're not done! The game doesn't just let you leave. Oh no. Now you have to exfiltrate. A helicopter is coming, but its landing zone is random! It could be right next to you, or it could be a marathon sprint across the entire map with every remaining enemy now actively hunting you.
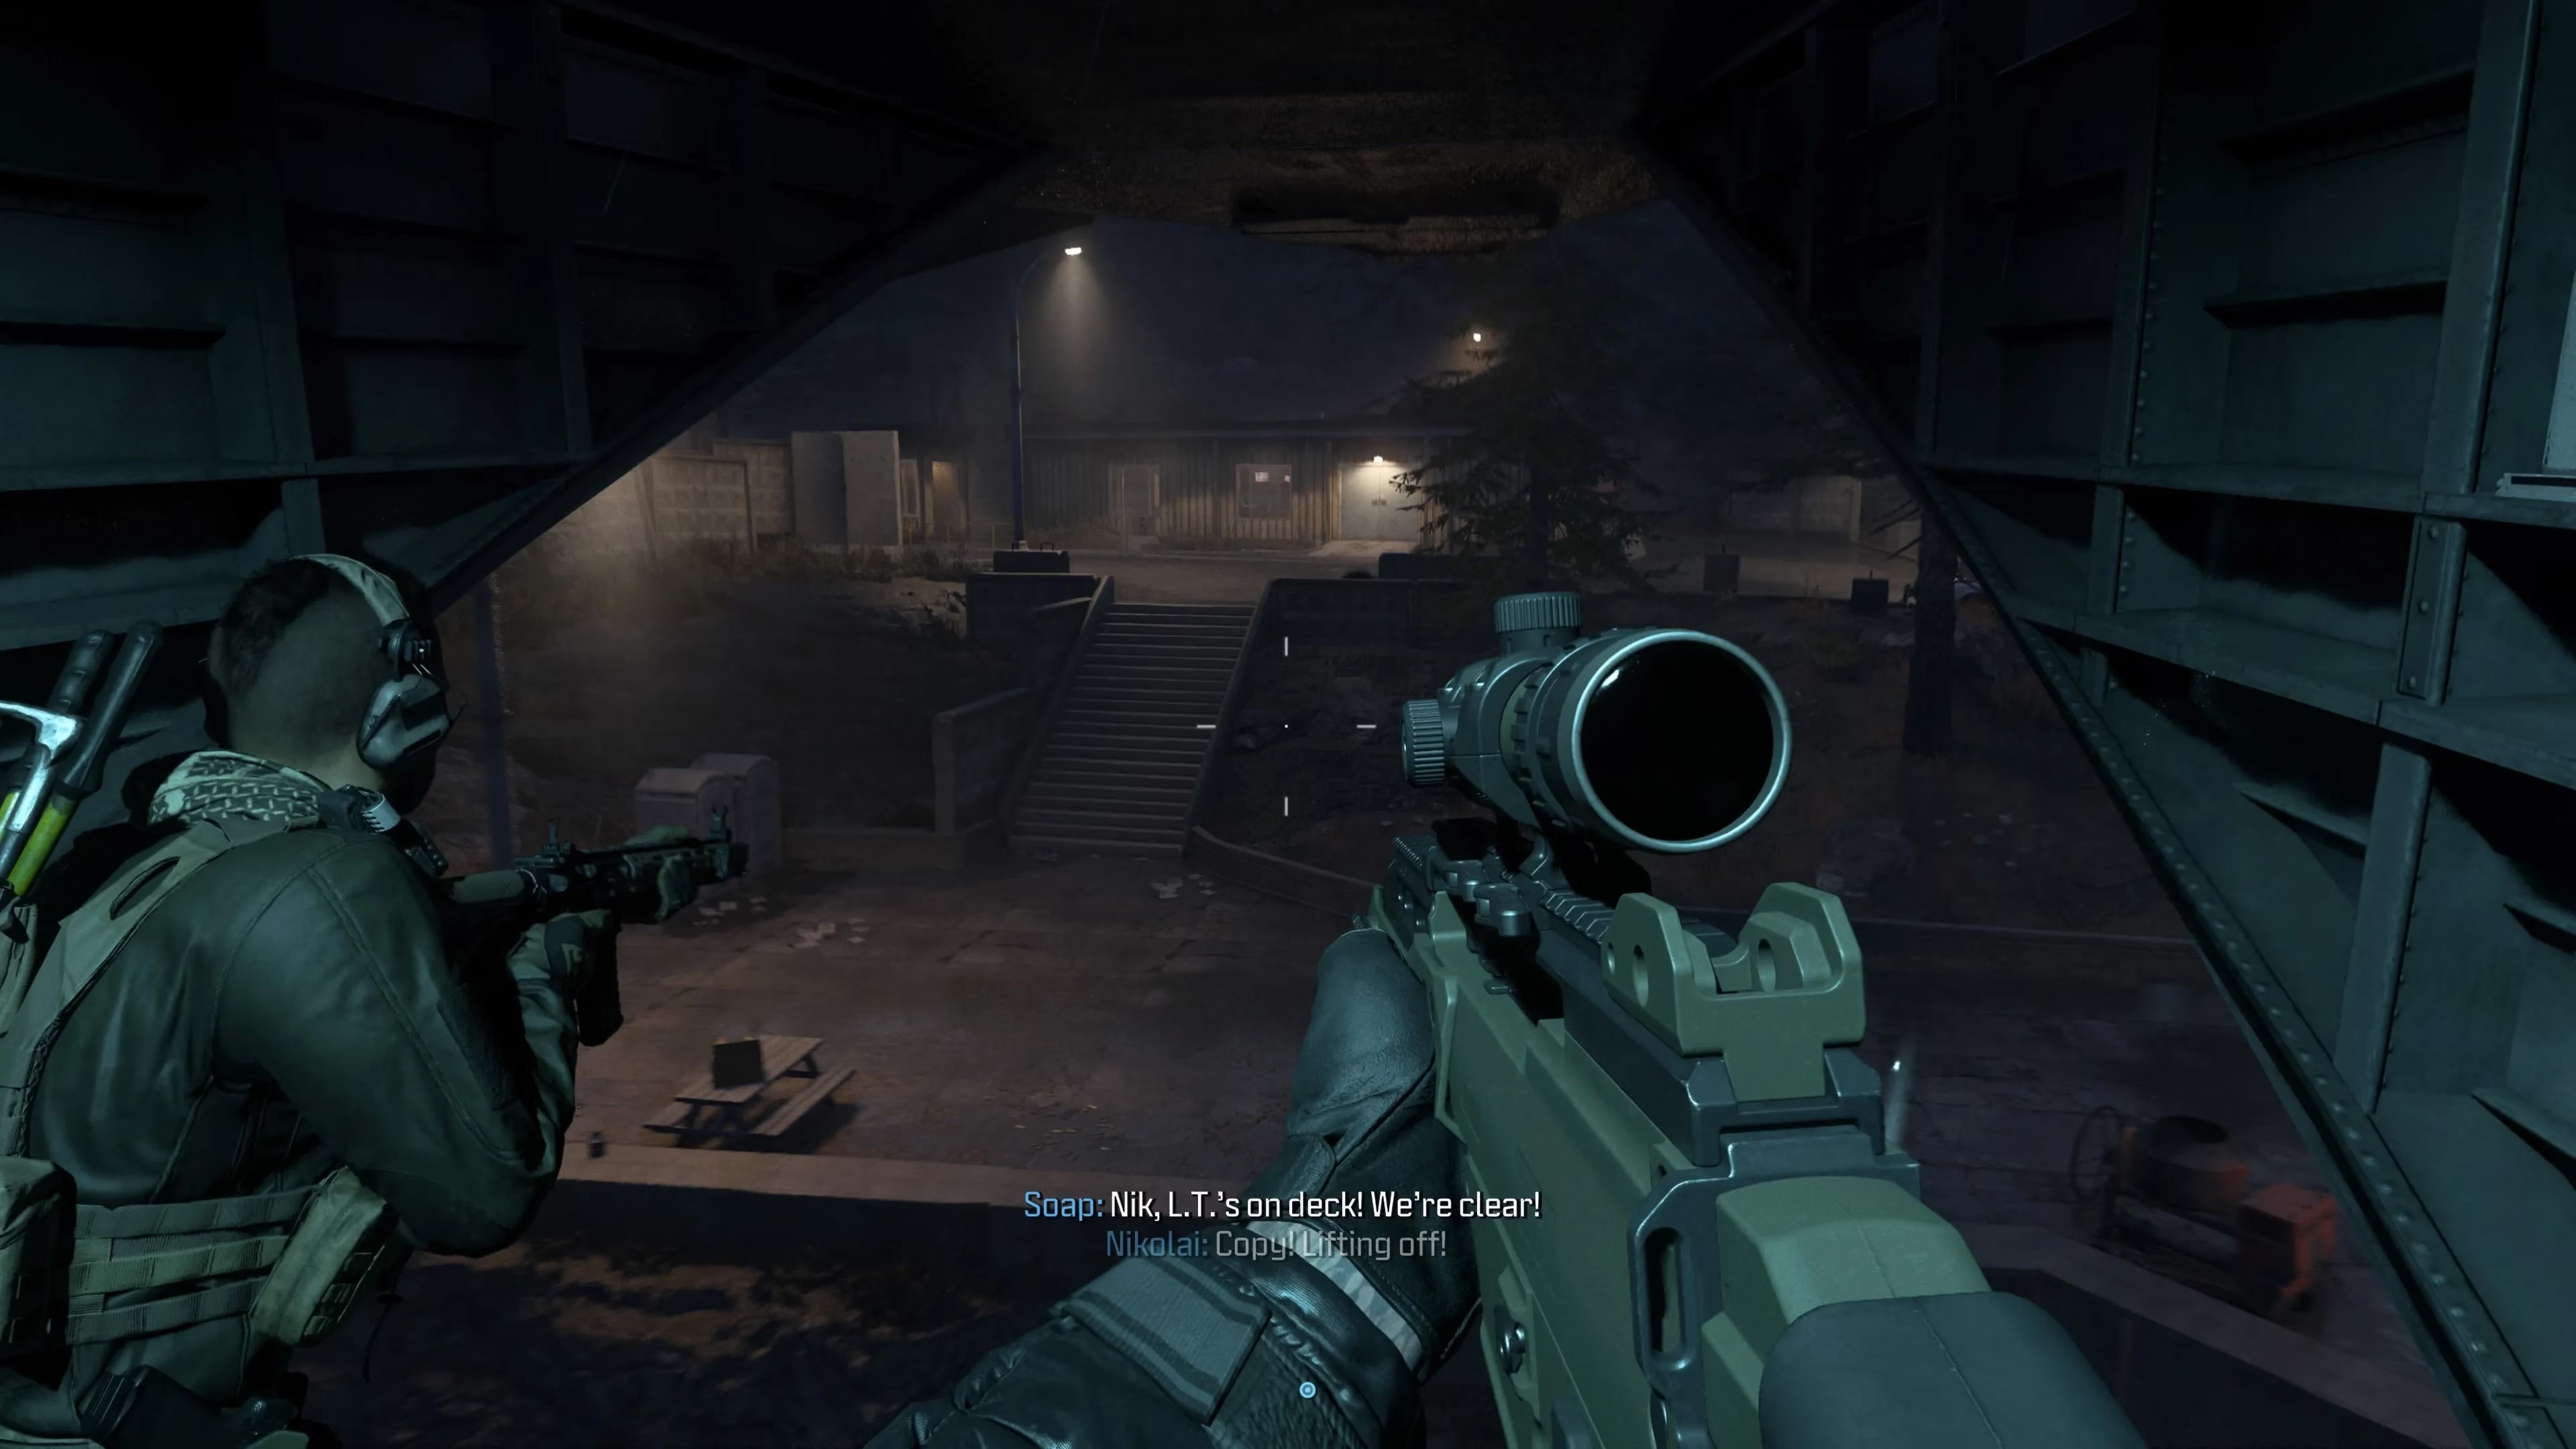
You sprint, you slide, you take cover behind blown-up cars, you return fire at shadows. Your heart is pounding in your ears. You see the chopper's lights in the distance. A final, desperate dash... and you leap aboard as it lifts off, bullets pinging off the fuselage. As you soar away from the Gora Dam, now safely just a concrete scar in the landscape below, you lean back. You did it. You defused four bombs, took down two dozen enemies, and lived to fight another day. That, my friends, is the unparalleled rush of the Gora Dam. It's not just a mission; it's a rite of passage. Now gear up, and let's do it again!