Solo Flawless Warlord's Ruin: My 2026 Guide to Conquering Destiny 2's Toughest Dungeon
Master the brutal Warlord's Ruin dungeon solo with this essential 2026 guide, unlocking powerful subclass builds and weapon loadouts for guaranteed triumph against its relentless bosses.
Alright, fellow Guardians, gather 'round. It's 2026, and even with all the new content, Warlord's Ruin remains a brutal, beautiful beast of a dungeon—especially for us solo players. I've spent countless hours in that Taken-infested castle, learning every secret, every deadly trick. Think of it like a three-dimensional game of chess against a master opponent who cheats. This isn't just a guide; it's the survival manual I wish I'd had. Let's turn that forgotten Ahamkara's wish into your triumph.
🛡️ The Solo Mindset: Loadouts That Don't Quit
First things first: this isn't Ghosts of the Deep. The bosses here are like ancient, angry glaciers—massive health pools (roughly 14 million HP each) and relentless aggression. Burst damage and survivability aren't just recommendations; they're the law. Forget the meta for a second; think about what will keep you alive when you're alone, surrounded, and the screen is flashing red.
🧙♂️ Subclass & Exotic Synergy
Your build is your lifeline. Here’s what I’ve found works best, refined over years of runs:
Hunter: You need versatility. I run two loadouts, swapping like a surgeon changing tools mid-operation.
-
For Add-Clear & Survival:
Assassin's Cowlwith a melee-focused build (Arcstrider or Strand). It’s an invisibility and healing machine. -
For Boss DPS: Swap to Gunslinger with
Celestial Nighthawk. A single Golden Gun shot hitting like a supernova is your best friend. If you hate swapping,Gyrfalcon's Hauberkon Nightstalker provides solid neutral game.
Warlock: You have the easiest path to survivability, in my opinion.
- Dawnblade with
Sunbracersis my top pick. The combo ofHeat RisesandPhoenix Divegives you x2 Restoration. Pair it with Ember of Empryean to extend that Restoration like stretching taffy in zero gravity—it just keeps going. For a safer, more controlled pace, Shadebinder withOsmiomancy Glovesturns the battlefield into a frozen parking lot withBleak Watcherturrets.
Titan: Go Berserker. No question. Banner of War is your anchor.
- Pair it with
Synthocepsfor massive melee damage and survivability, orWormgod Caressfor even more ridiculous punch power. Just remember, yourFrenzied Bladewon't cut it for the final boss DPS, so have a heavy hitter ready.
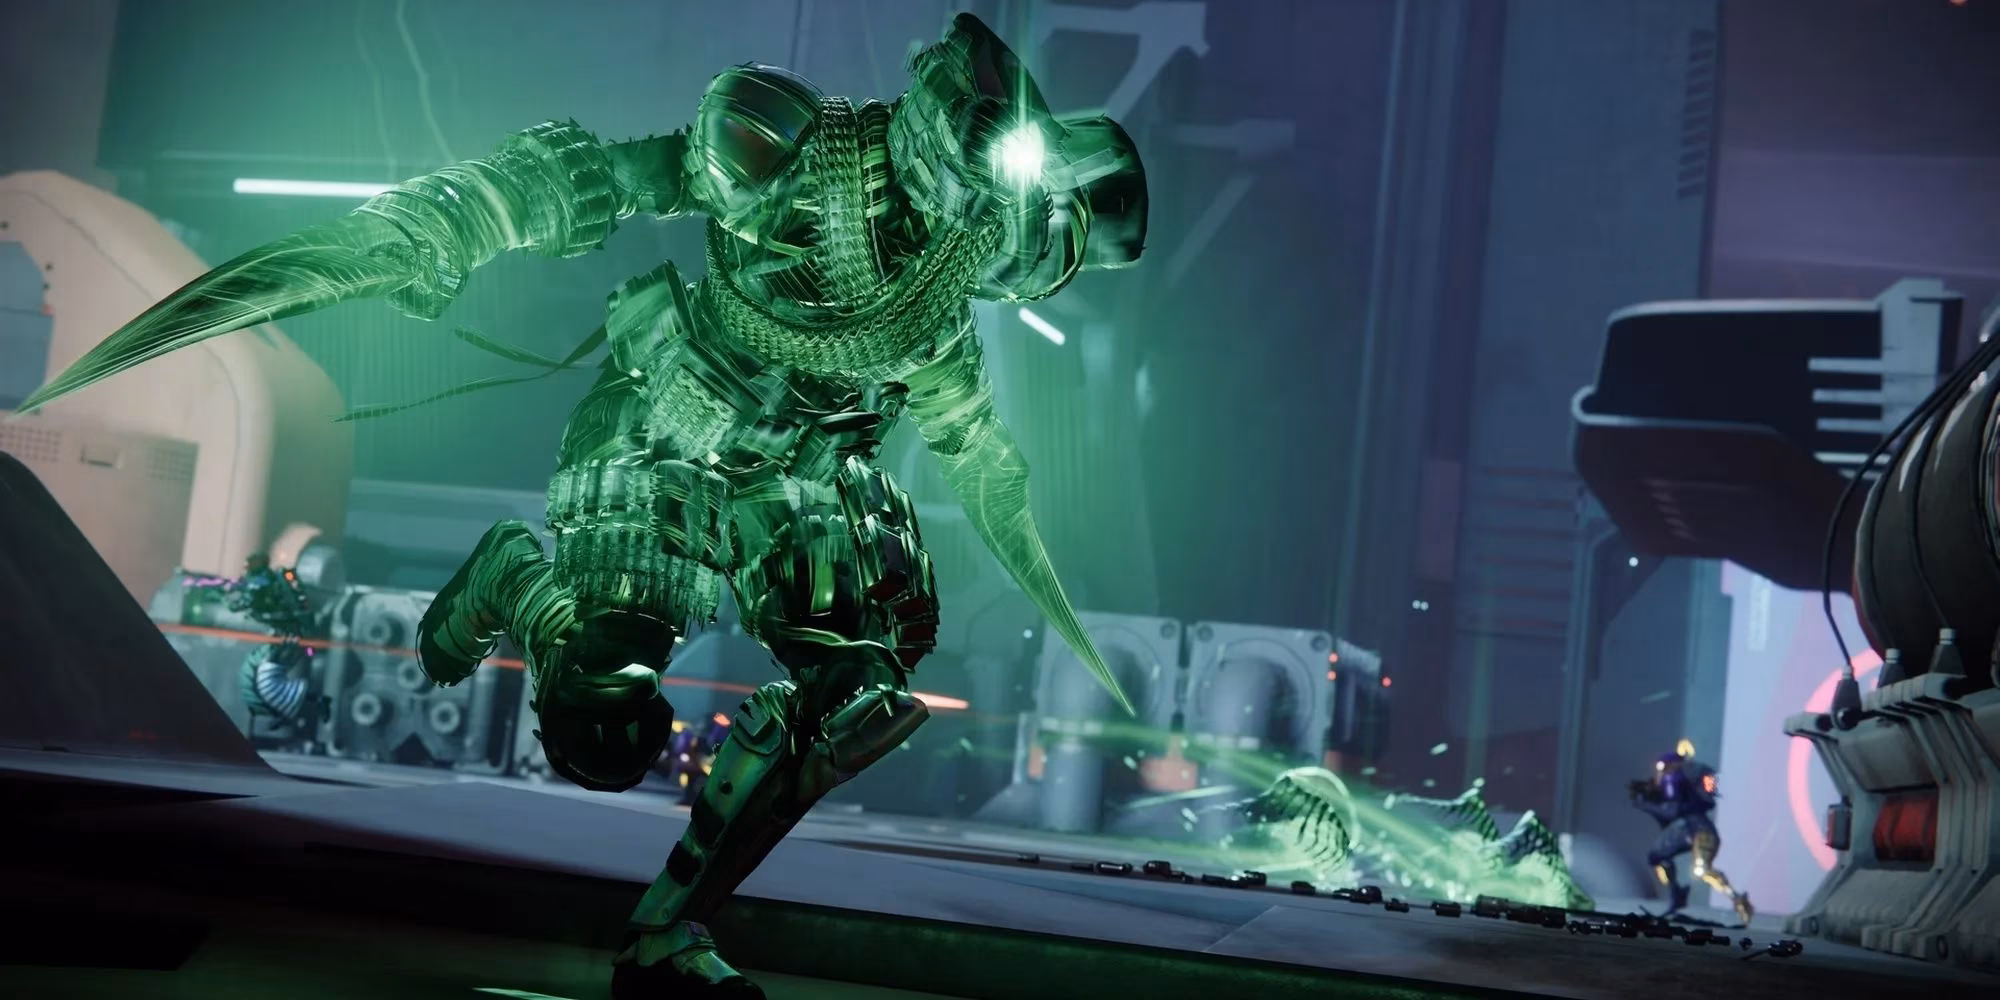
My Berserker setup, ready to plant a Banner of War and hold the line.
🔫 Weapon Loadout: The Holy Trinity
Your weapons need to handle everything: swarms of adds, pesky mechanics, and chunky bosses. This is my tried-and-true setup.
| Kinetic Slot | Energy Slot | Heavy Slot |
|---|---|---|
| Scatter Signal (Fusion) | 🌞 Sunshot (Exotic Hand Cannon) | 🐉 Dragon's Breath (Exotic RL) |
| or The Supremacy (Sniper) | or Forbearance (GL) | or Apex Predator (RL) |
Why this works:
-
Sunshot is the MVP for solo play. It's like throwing a lit match into a fireworks factory for add-clear, two-taps the Blighted Eyes (you'll see a lot of these), and its explosions help with ammo economy via Heavy Ammo Finder mods.
-
Scatter Signal with Unraveling Rounds is a boss-melter and great for the eyes. If you're not using Sunshot, The Supremacy with Enhanced Kinetic Tremors can clear multiple eyes in two shots.
-
Dragon's Breath is, frankly, absurd for solo DPS. Fire, switch to your special for damage, and let the ignition reload it for you. It feels like having a second, fire-breathing teammate.

Dragon's Breath: Your personal dragon for when you need to make a point.
🏰 The Journey: A Step-by-Step Survival Guide
The Climb & Traps
You start on a snowy mountain. Follow the flags like breadcrumbs. You'll eventually see a chest that seems too good to be true. IT IS. It’s a trap! It'll smoke with Dark Ether—a dead giveaway. Opening it spawns Screebs that will end your run faster than you can say "flawless." Remember this trick; it's a recurring theme.
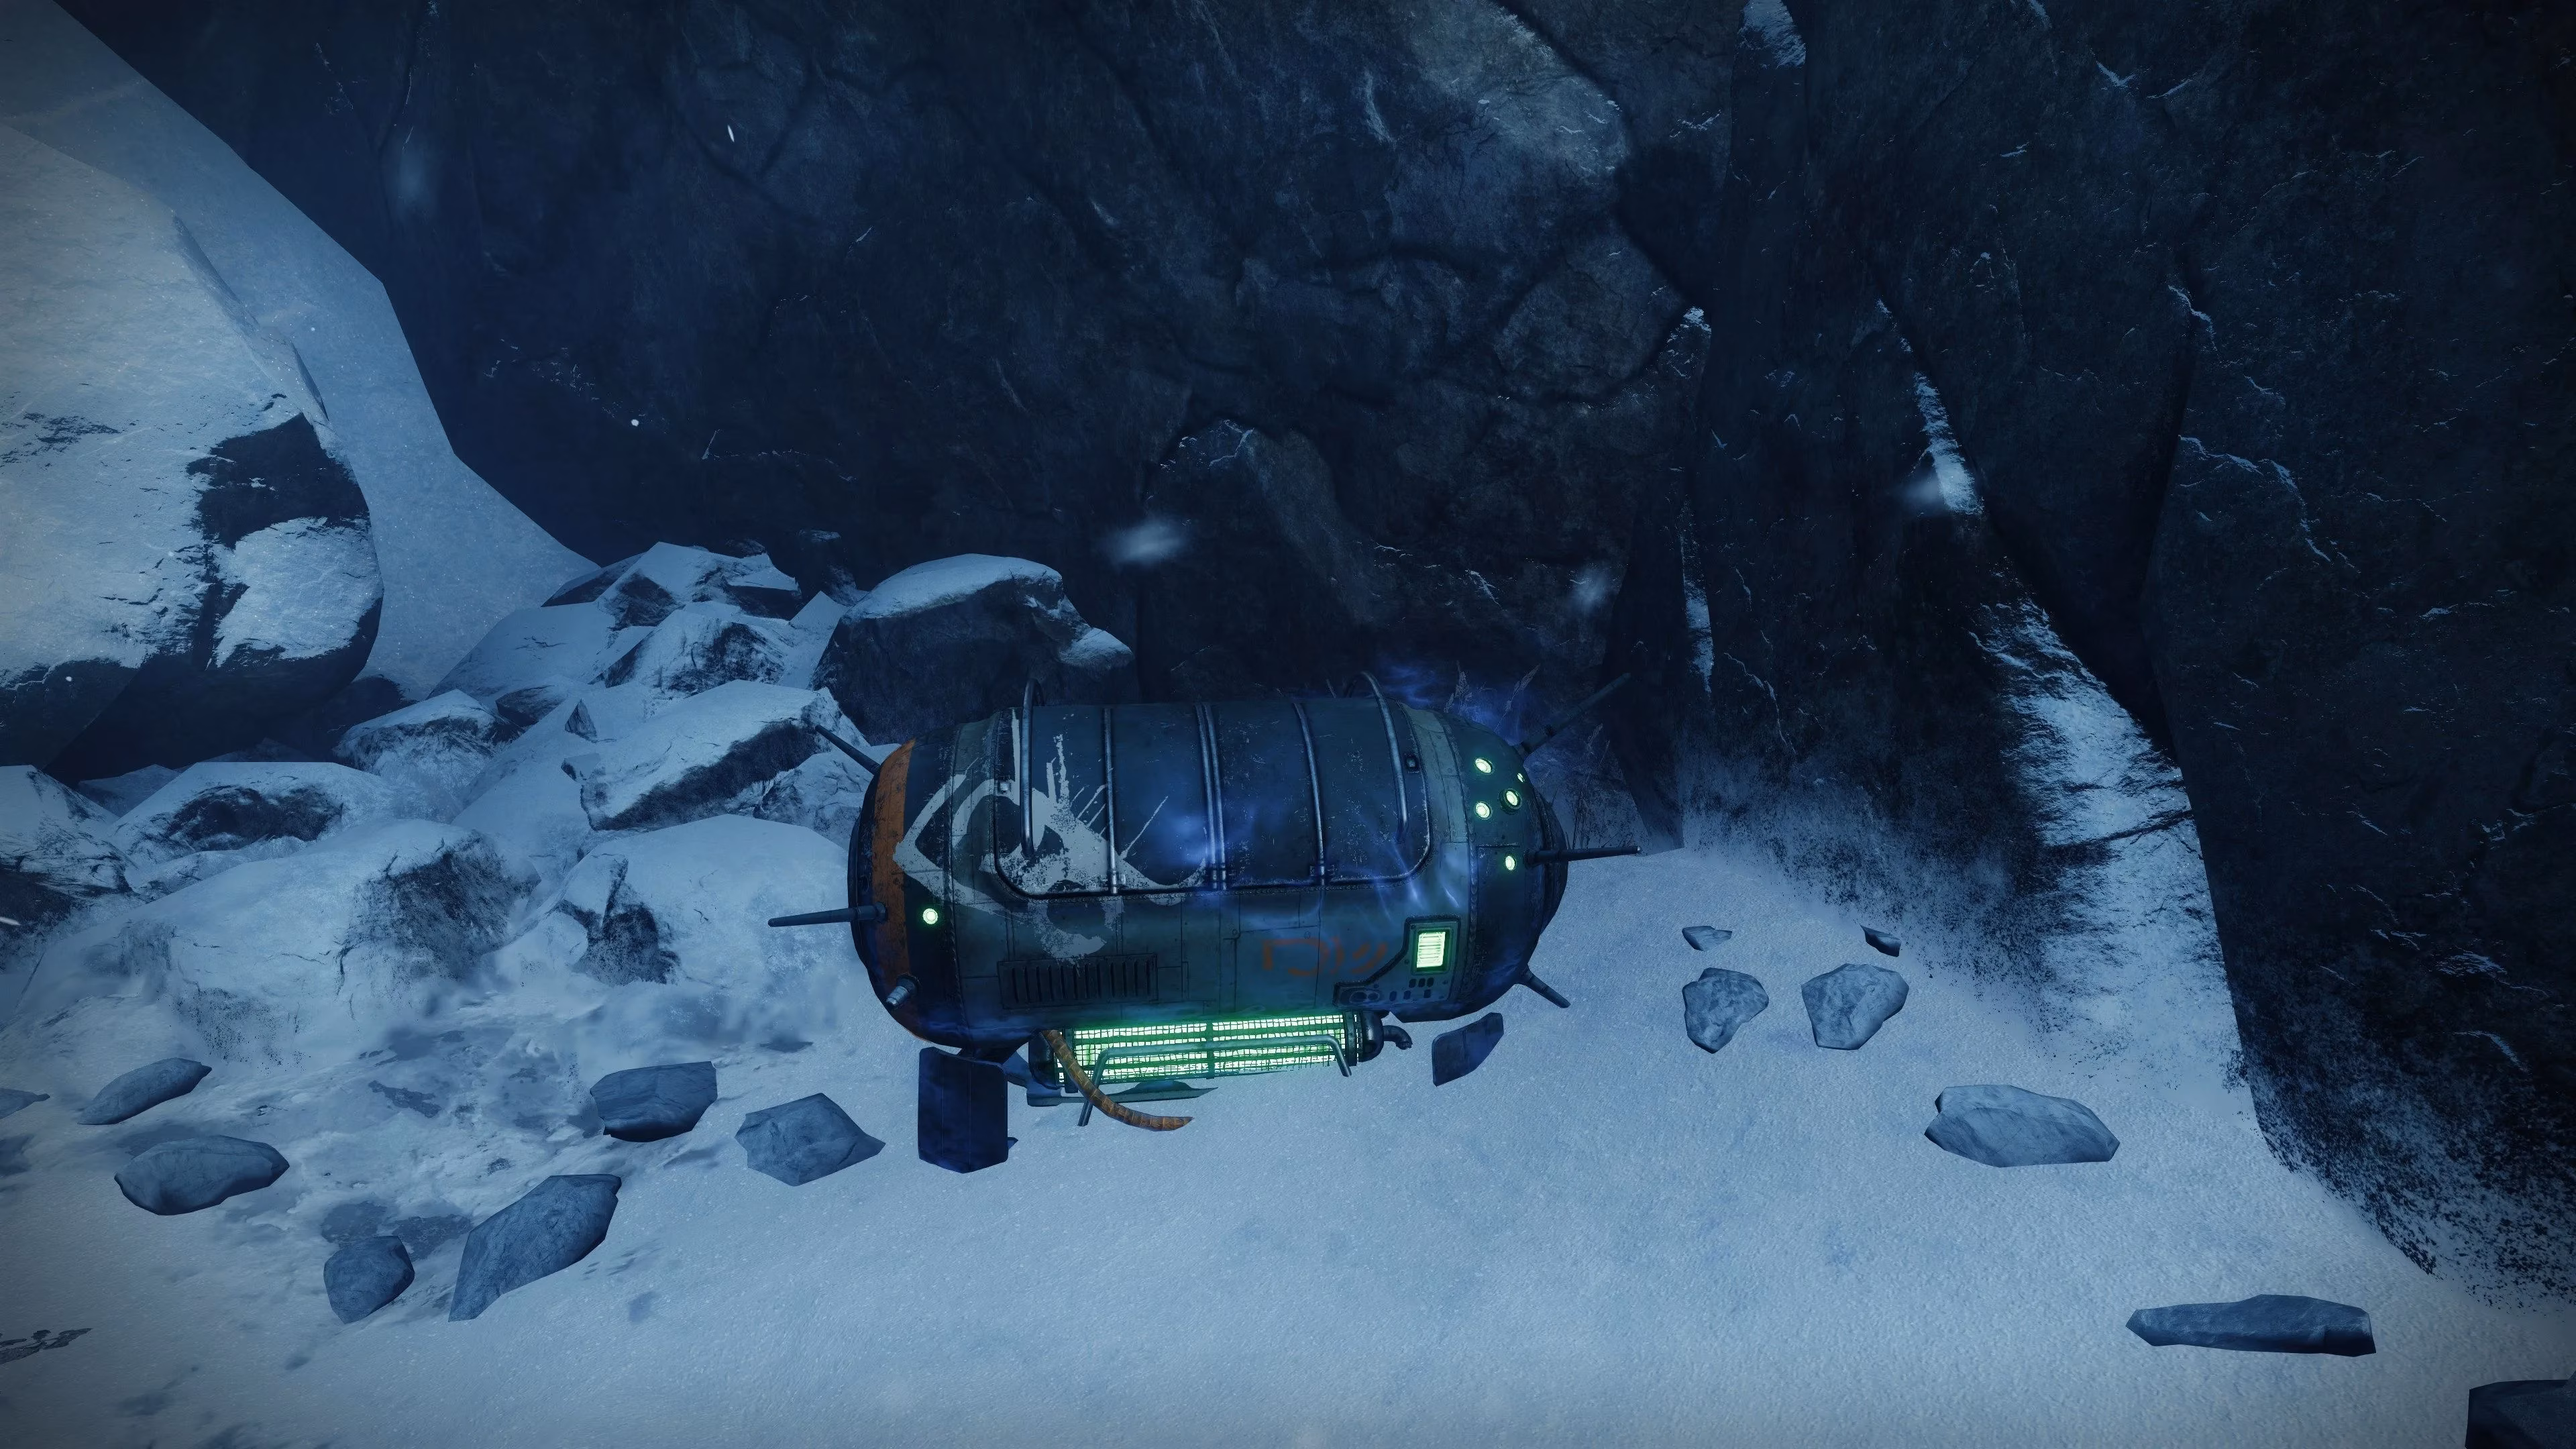
This chest is about as friendly as a porcupine in a balloon factory. Don't touch it.
Encounter 1: Rathil, First Broken Knight of Fikrul
This is your warm-up. Rathil's mechanic revolves around Taken Totems.
-
Start the fight: Get close to Rathil. He'll spawn adds and then summon a totem, giving you the "Imminent Wish" 30-second timer.
-
The Cage: Soon after, you'll be teleported into a cage. You have 10 seconds to destroy the three Blighted Eyes on your cage to escape.
-
Cleanse Totems: The remaining time on "Imminent Wish" is your window to cleanse totems by standing near them for 8 seconds. Each cleansed totem adds time to the DPS phase. It's a frantic scramble against the clock.
-
DPS Phase: When the timer hits zero, you get "Naeem's Wish Empowerment." Unleash everything. Rathil has no special tricks here, just a big health bar.
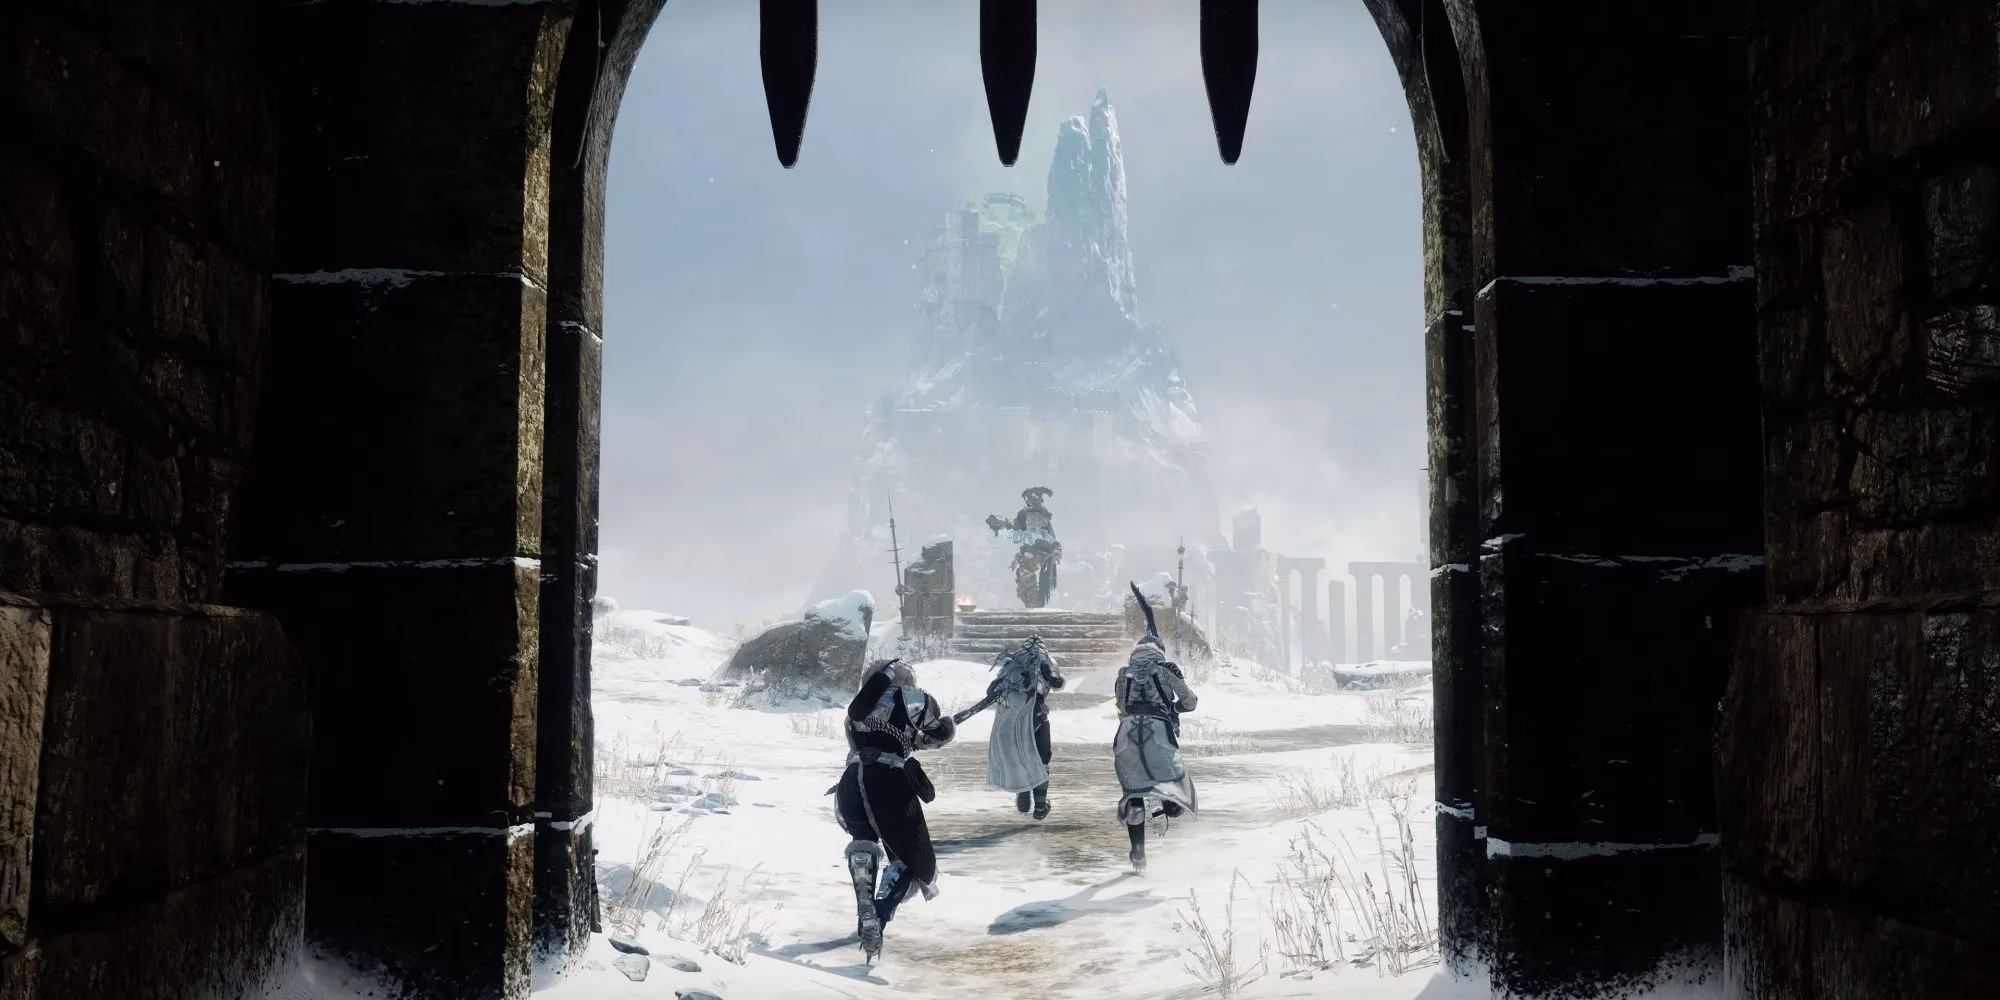
The mad dash to DPS. Make every second count.
The Jail Puzzle
After beating Rathil, you get thrown in jail. Don't panic. Look for a skeleton with tally marks in a cell. These marks tell you how many of the six wall cogs must turn clockwise (the rest go counter-clockwise). Find and shoot all six cogs to match the pattern, then shoot the latch outside your cell. Freedom!
Encounter 2: The Locus of Wailing Grief (The Hard Part)
This Ogre is the solo player's wall. Survivability is non-negotiable.
-
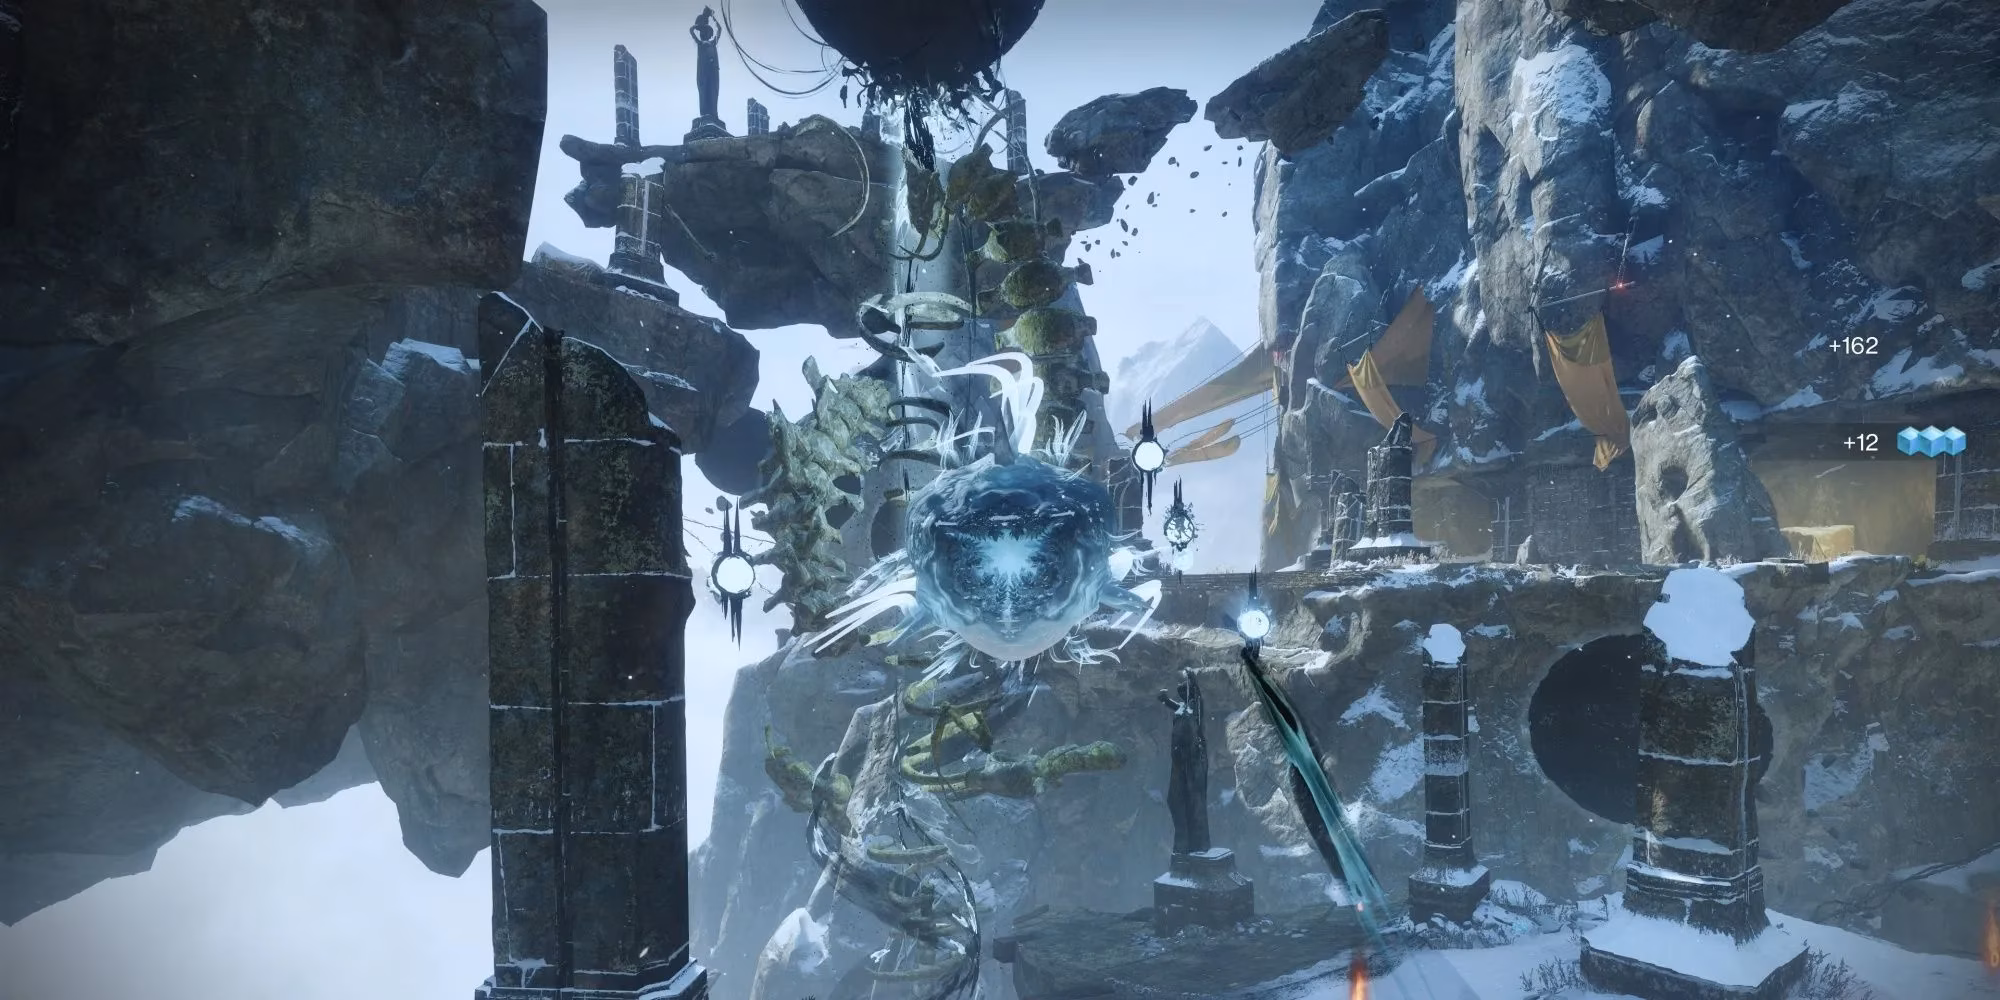
Start: Destroy the central Blight. Dodge the eye beam.
-
Eyes & Knights: Clear adds, then destroy all six Blighted Eyes. This spawns two Broken Knights.
-
The Blizzard: When a Knight spawns a totem, a deadly blizzard starts. You'll gain Biting Winds stacks. At x10, you freeze and die. Stand near the wall torches to cleanse the stacks.
-
The Strategy: Kill a Knight after it spawns a totem to create two close together. Stand between them to cleanse both efficiently, then run to a torch. Rinse and repeat. Each cleansed totem spawns a Solar Orb.
-
Light the Pillars: Escort the Solar Orbs to the four unlit pillars in the courtyard. Wait until you've broken five of the six eyes first for safety.
-
DPS Phase: Each lit pillar is a 15-second DPS zone. The boss will march toward them. Rotate between pillars as they extinguish. There's no cover, so use a defensive Super if you have one.
Escorting this orb feels slower than watching paint dry in a blizzard. Be patient and safe.
The Final Ascent & Hidden Chests
Before the final boss, explore! There are two hidden chests.
-
Chest #1 (Kingsbane Rampart): Right after the Ogre, in a room full of Fallen chests. The real one will NOT glow with Dark Ether.
-
Chest #2 (Vengeful Peak): After the ambush, jump up to the castle ruins. Face the large Taken Blight and jump to the left passageway. Run to the end and turn left.

The first hidden chest, hiding in plain sight among the fakes.
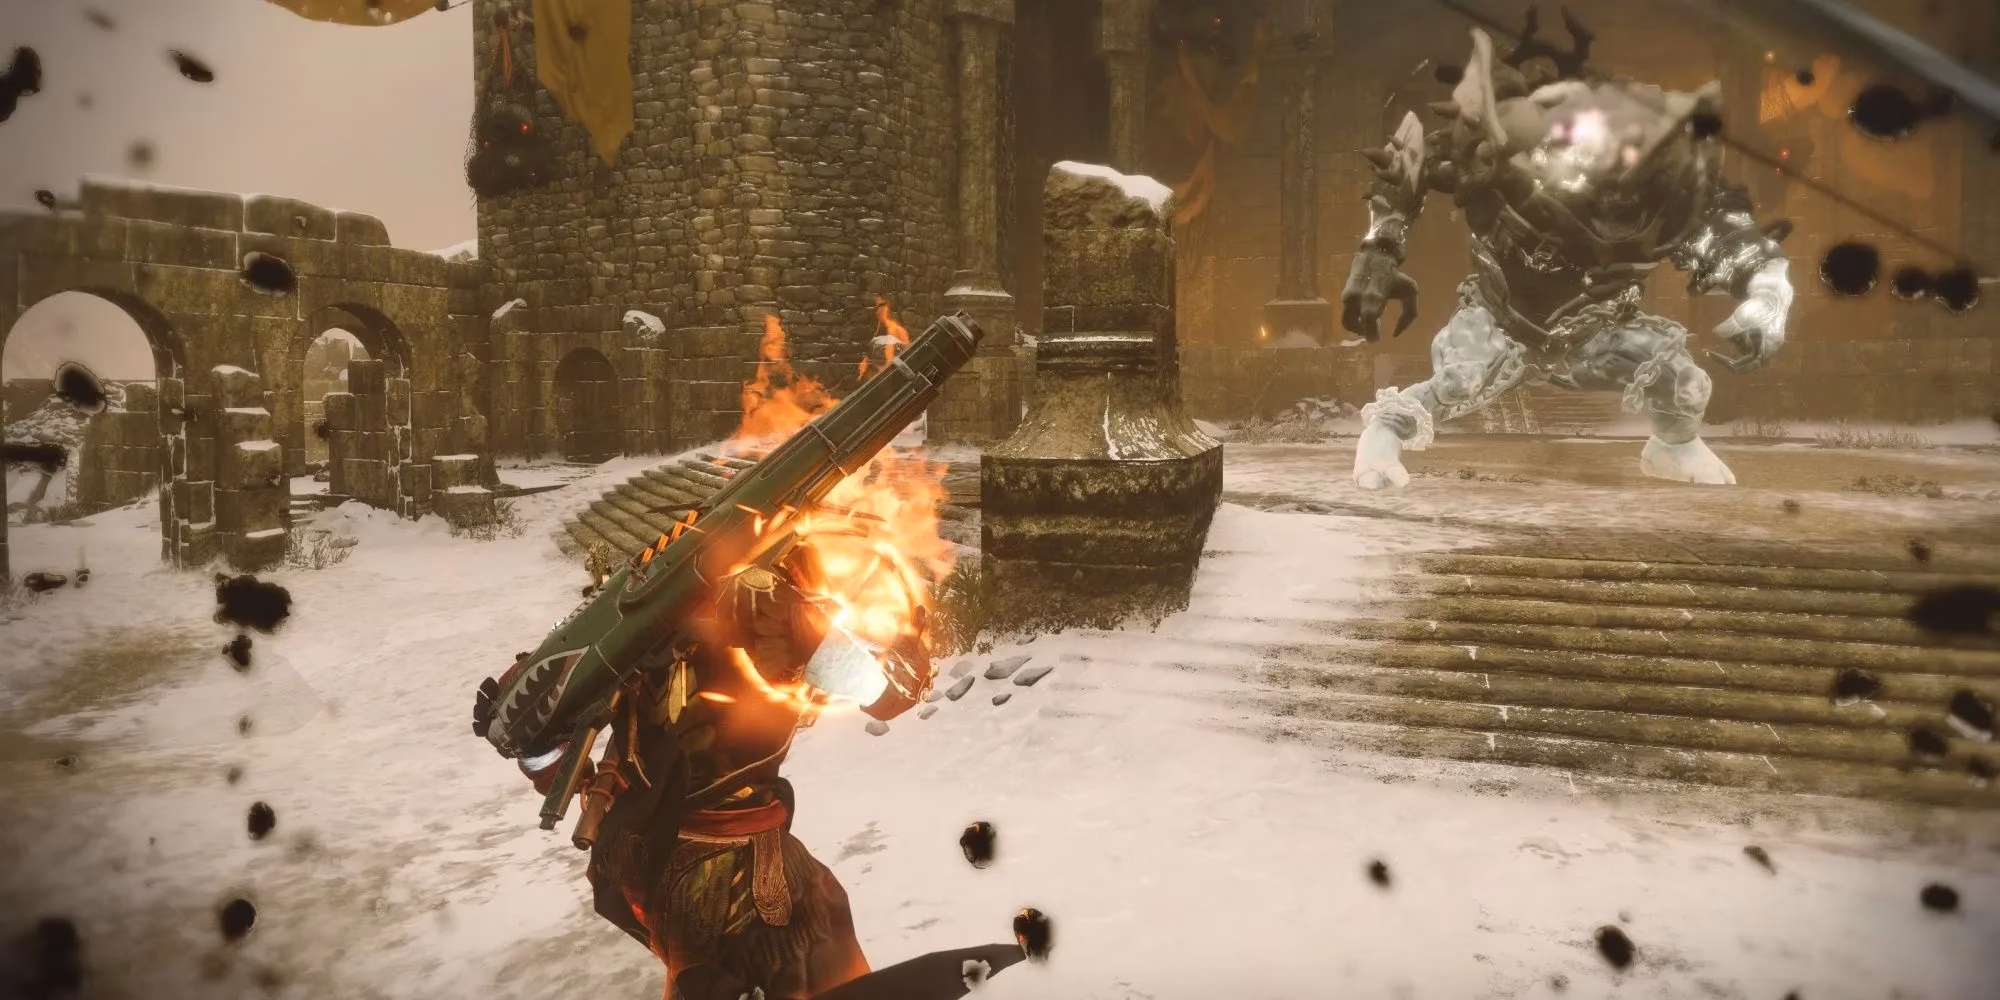
Encounter 3: Hefnd's Vengeance, Blighted Chimera
The finale! The structure is similar to the first encounter but on a grander, multi-stage scale.
-
Start: Break the Blight near the Ahamkara bones. Clear the initial Psion wave.
-
Eyes & Hex: Destroy the six Blighted Eyes near the boss. This spawns two Broken Knights and curses you with "Hex of Vengeful Corruption." If it expires, you die. To cleanse it, you must melee the immune Corrupted Hex Drinker enemy that appears.
-
The Loop: While managing the Hex, cleanse the totems the Knights spawn to extend your DPS timer. When "Imminent Wish" ends, you get a short damage window. You must deal 10% of the boss's health to advance to the next stage and ascend the ruins. Repeat this process two more times.
-
The True DPS Phase: At the top, there are three floating platforms. Each grants "Naeem's Wish Empowerment." Your damage window lasts until Hefnd regrows a full set of Blighted Eyes, then you must jump to a new, uncorrupted platform. Solo players must juggle damaging the boss and shooting its eyes. Sunshot is a godsend here.
-
Final Stand: At 10% health, it's all or nothing. You're teleported to a single platform. Kill the boss before it becomes immune. CONTROL THE EYES. This is a pure DPS and target-priority check.
Hefnd's Vengeance. A corrupted Servitor using Ahamkara bones for power. The final hurdle.
💎 Final Solo Tips & Mindset
-
Patience is a Super: This dungeon will test it. Don't rush mechanics. A failed run is slower than a careful one.
-
Add Control is King: In the final fights, letting adds pile up is a death sentence. Use your Sunshot or abilities constantly.
-
Know When to Hide: The arenas have minimal cover. Learn the safe spots in each phase. Sometimes, disengaging for 10 seconds to recover is the winning move.
-
Practice Makes Flawless: Don't expect to clear it solo on your first try. Learn each encounter's rhythm. It’s a marathon, not a sprint.
Conquering Warlord's Ruin solo is one of the most satisfying things you can do in Destiny 2. It's a brutal, beautiful dance. Arm yourself with these strategies, Guardian. That forgotten Ahamkara's wish awaits. Now go claim it.