Warzone 2 DMZ Failed Bombing Guide: Extract, Rearm, and Deliver the Charge
Warzone 2 DMZ's Failed Bombing mission is a Black Mous relay across Al Mazrah and Ashika Island; map the charge route for 15,000 XP.
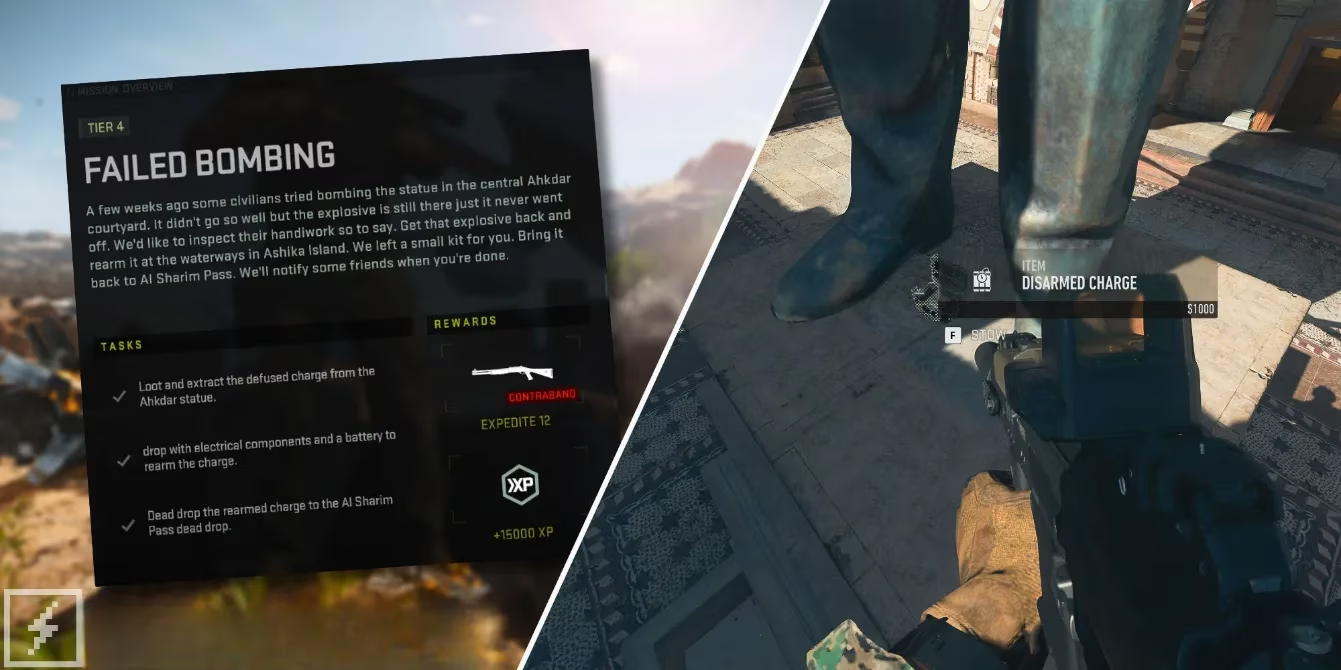
Warzone 2 DMZ's Failed Bombing mission remains one of the Black Mous faction's more memorable errands for players working through legacy faction content in 2026. The sixth Tier 4 Black Mous assignment sends operators on a three-stop relay across Al Mazrah and Ashika Island: recover a defused charge from the Ahkdar statue, rearm it at the Ashika Waterways Dead Drop, and then deliver the finished package to the Al Sharim Pass Dead Drop. The payoff is an Expedite 12 for the Contraband Stash plus 15,000 XP. It is not exactly a walk in the park, but once the route is mapped out, the whole thing is a piece of cake.
| 🧨 Objective | 📍 Location | 🔑 Key Item |
|---|---|---|
| Recover the defused charge | Ahkdar Village statue, Al Mazrah | Defused charge |
| Rearm the charge | Waterways Dead Drop, Ashika Island | Battery and electrical components |
| Deliver the rearmed charge | Al Sharim Pass Dead Drop, Al Mazrah | Rearmed charge |
Step 1: Finding and extracting the defused charge
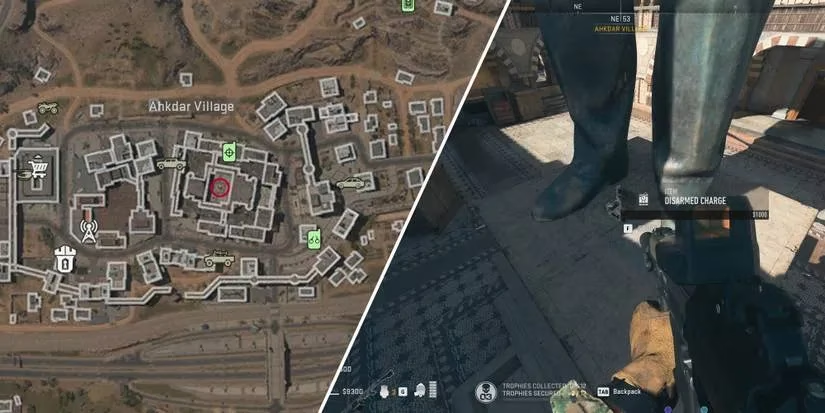
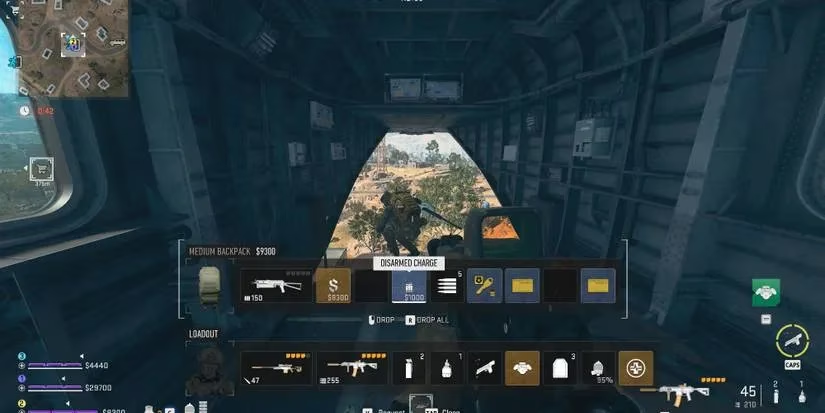
The first leg of Failed Bombing takes players to Ahkdar Village in Al Mazrah. The target is the statue in the center of the location, and the defused charge sits right between the statue's feet. Looting it is simple enough, but the area is usually crawling with Al Qatala soldiers, so a direct approach can turn into a real headache. A smarter play is to head to Zaya Observatory first and parachute down to Ahkdar Village, which helps avoid unwanted attention before the charge is secured. Once the item is in the backpack, players should proceed to extraction to complete the first part of the mission.
Step 2: Rearming the charge at the Waterways Dead Drop
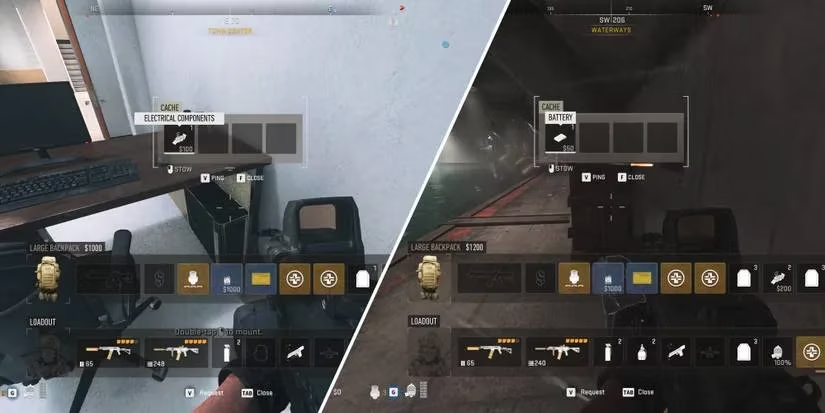
With the defused charge safely extracted, the next stop is Ashika Island. The mission asks operators to rearm the charge at the Waterways Dead Drop, but the job is not as simple as dropping one item into a dumpster. Players first need to find a single battery and electrical components. Both items commonly appear inside toolboxes and computers, which are abundant around the Beach Club and Town Centre. Rummaging through those spots is usually the quickest way to get the job done.
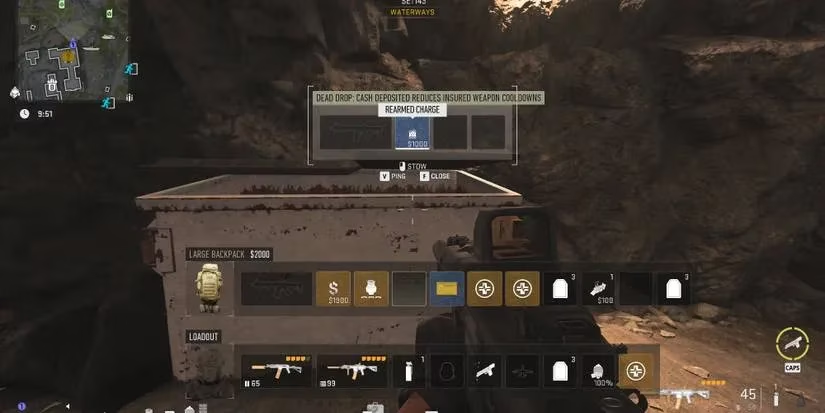
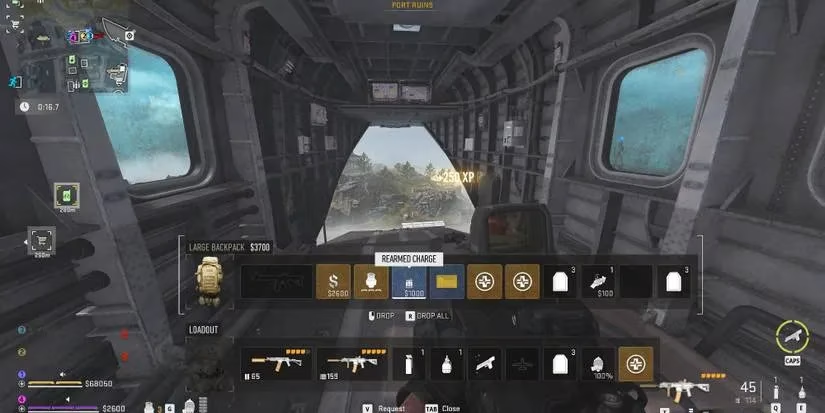
Once the battery and electrical components are in hand, players must head to the Waterways Dead Drop deep within the Waterways, directly below Tsuki Castle where the Weapon Case resides. The location can be reached through the waterway entrances on the north, west, and southeast portions of the map, or by taking any of the available zip lines. Dropping the charge, the electrical components, and the battery into the Dead Drop wraps up the second stage. Players should then extract the rearmed charge, because the third and final part of Failed Bombing requires it back in Al Mazrah.
Step 3: Dead dropping the rearmed charge at Al Sharim Pass
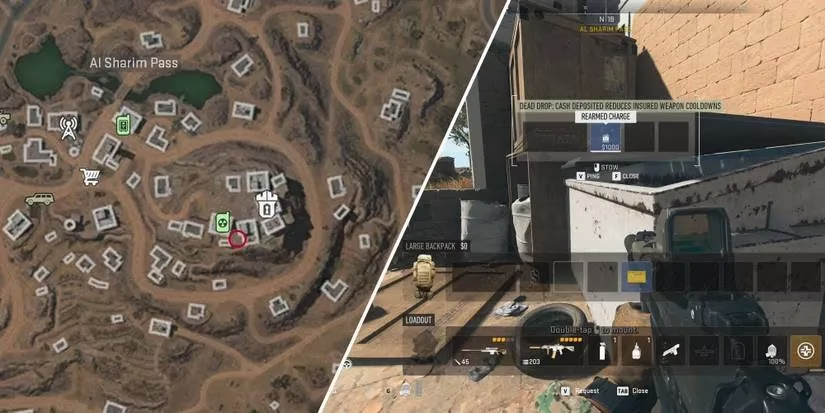
After the rearmed charge has been extracted from Ashika Island, players need to bring it back into Al Mazrah for the final objective. The delivery point is the Al Sharim Pass Dead Drop, and the dumpster in question is located between two buildings on the hillside portion of the location. Dropping the rearmed charge into that dumpster completes Failed Bombing and closes out the mission's three-part relay.
Practical tips for a smoother run
-
🎒 Clear backpack space before deploying. The mission juggles several key items, and a full bag can slow down the relay.
-
🪂 Use the Zaya Observatory parachute approach for the Ahkdar statue. It is a small trick, but it can save a lot of grief.
-
🔋 Loot toolboxes and computers early on Ashika Island. The battery and electrical components are common, but RNG can be cheeky.
-
🗺️ Treat the mission as a relay, not a scavenger hunt. Extract the charge after each stage instead of trying to do everything in one chaotic deployment.
-
🚫 Do not sleep on enemy activity around the Waterways. The area below Tsuki Castle can get spicy, especially when other players are chasing the Weapon Case.
In 2026, Failed Bombing still stands out as a classic DMZ errand that rewards planning over bravado. The mission is not about one big firefight; it is about moving the right items to the right Dead Drops without getting caught out. For Black Mous completionists, the Expedite 12 and 15,000 XP are a solid return on a route that can be knocked out in a few focused deployments. Once the three stops are memorized, Failed Bombing is less of a disaster and more of a brisk day out.